

[vc_row][vc_column][vc_column_text]
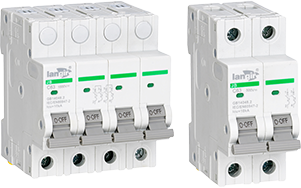
How to Test and Troubleshoot a Piezo Switch: Ensuring Reliability in Electronics
[/vc_column_text][vc_single_image image=”11789″ img_size=”full”][/vc_column][/vc_row][vc_row][vc_column][vc_column_text]In the realm of electronics and technology, the reliability and durability of piezo switches have made them indispensable. From industrial machinery to everyday consumer electronics, these switches are ubiquitous. However, like any electronic component, piezo switches can occasionally encounter issues. In this article, we’ll guide you through the essential steps to effectively test and troubleshoot a piezo switch, ensuring seamless functionality.[/vc_column_text][/vc_column][/vc_row][vc_row][vc_column][vc_column_text]
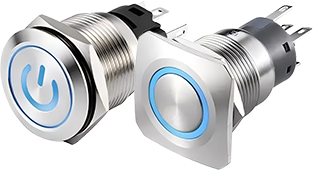
Understanding Piezo Switches
[/vc_column_text][/vc_column][/vc_row][vc_row content_placement=”middle”][vc_column width=”1/4″][vc_column_text] [/vc_column_text][/vc_column][vc_column width=”3/4″][vc_cta h2=”What is a Piezo Switch?” h2_font_container=”tag:h3|text_align:left” h2_use_theme_fonts=”yes” add_button=”bottom” btn_title=”Request a Quote” btn_style=”classic” btn_color=”warning” use_custom_fonts_h2=”true” btn_link=”url:https%3A%2F%2F#popmake-11886″]A piezo switch is an electrical component that uses the piezoelectric effect to generate a voltage when pressure is applied. This voltage is then used to activate or deactivate a circuit, making it a reliable choice for various applications.[/vc_cta][/vc_column][/vc_row][vc_row][vc_column][vc_column_text]
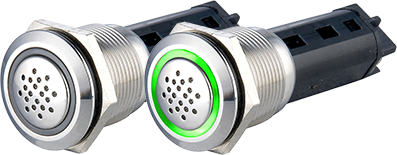
How Does a Piezo Switch Work?
Piezo switches rely on the piezoelectric effect, which occurs when certain materials produce an electric charge in response to mechanical stress. When you press a piezo switch, it generates a voltage that triggers the connected circuit, either opening or closing it.
Piezo switches are versatile and can be found in medical equipment, industrial machines, automotive applications, and even in everyday consumer electronics like microwave ovens and TV remote controls.[/vc_column_text][/vc_column][/vc_row][vc_row][vc_column][vc_column_text]
Tools and Equipment
Items You Will Need
Before you start testing and troubleshooting your piezo switch, gather the following tools and equipment:
- Multimeter: A digital multimeter with continuity and voltage measurement capabilities is recommended for accurate testing.
- Screwdriver set: To assist in opening electronic enclosures or removing the switch.
- Small brush: Useful for cleaning the switch and removing dust or debris.
- Isopropyl alcohol: A common cleaning solution for electronics.
- Replacement piezo switch (if needed): Have a replacement switch on hand in case the testing indicates a fault.
- Safety goggles and gloves: Always prioritize safety when working with electrical components.
Safety Precautions
Safety should always be a priority when working with electrical components. Ensure that you wear safety goggles and gloves to protect yourself from any potential hazards. Additionally, make sure to work in a well-ventilated area.
Testing a Piezo Switch
Testing a piezo switch is a crucial step in identifying any issues. There are two primary methods for testing a piezo switch:
Continuity Testing
Continuity testing helps you determine whether there is a continuous electrical path through the piezo switch, ensuring it can carry a current when activated. Here’s how to perform continuity testing:[/vc_column_text][/vc_column][/vc_row][vc_row content_placement=”middle”][vc_column width=”1/3″][vc_column_text]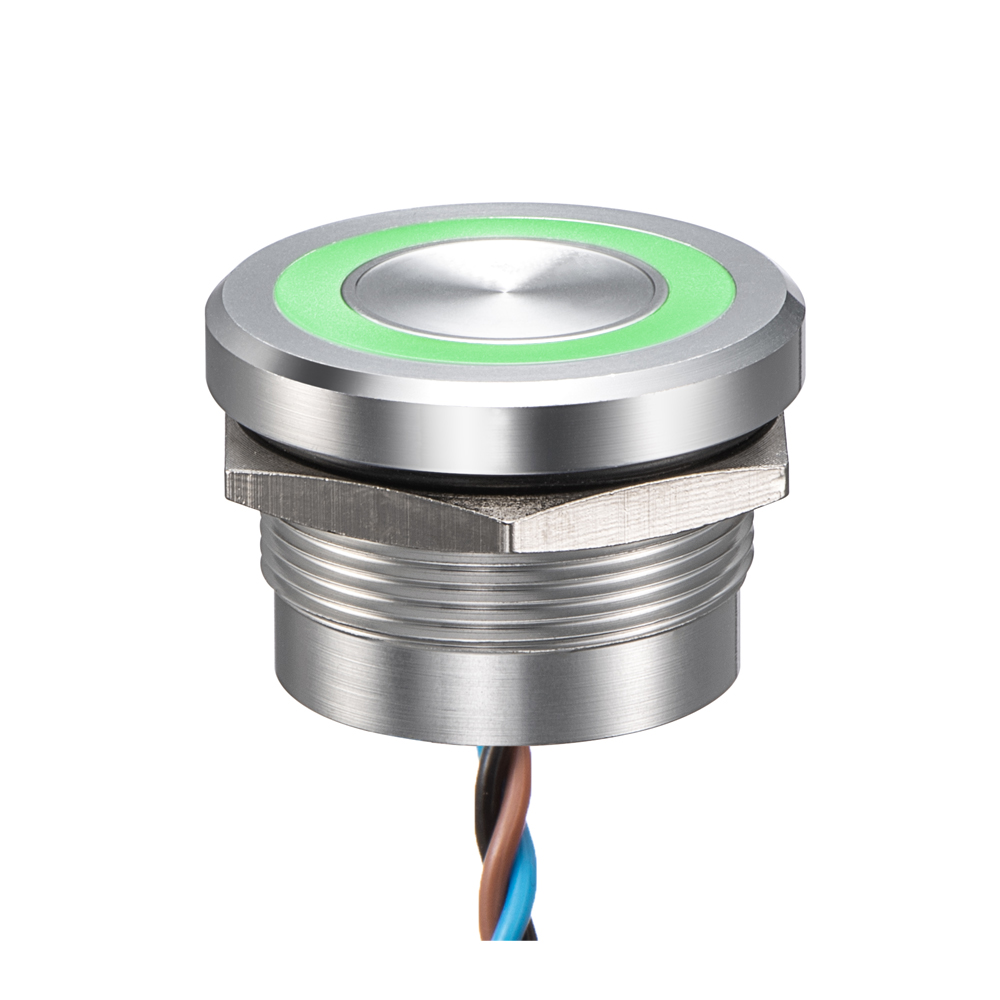
[/vc_column_text][/vc_column][vc_column width=”2/3″][vc_tta_accordion][vc_tta_section title=”1. Set your multimeter to the continuity or resistance setting” tab_id=”1705764051979-faa67cc3-19b2″][vc_column_text]To begin, make sure your multimeter is configured to measure continuity or resistance. This setting will allow you to check if there’s a continuous electrical path.[/vc_column_text][/vc_tta_section][vc_tta_section title=”2. Disconnect the piezo switch from the circuit” tab_id=”1705764051998-e3964670-9ff9″][vc_column_text]It’s crucial to isolate the piezo switch from the circuit before testing. This ensures that you’re testing the switch itself and not the entire circuit.[/vc_column_text][/vc_tta_section][vc_tta_section title=”3. Touch the multimeter probes to the terminals of the piezo switch” tab_id=”1705764176181-3316f851-3fe4″][vc_column_text]Gently touch the multimeter probes to the terminals of the piezo switch. One probe should be connected to each terminal.[/vc_column_text][/vc_tta_section][vc_tta_section title=”4. Interpret the multimeter reading” tab_id=”1705764205641-cb4ed607-92b4″][vc_column_text]If the multimeter beeps or shows a low resistance reading (usually close to zero ohms), it indicates that there is continuity in the switch, and it is functioning correctly. If there’s no response, it may suggest a fault in the switch’s continuity.[/vc_column_text][/vc_tta_section][/vc_tta_accordion][vc_btn title=”Request a Quote” style=”classic” color=”warning” align=”left” link=”url:https%3A%2F%2F#popmake-11886″][/vc_column][/vc_row][vc_row][vc_column][vc_column_text]Continuity testing is an essential initial step because it helps identify whether the switch’s internal electrical path is intact. A lack of continuity can indicate a problem with the switch.
Voltage Testing
Voltage testing allows you to check if the piezo switch generates the expected voltage when pressure is applied. Here’s how to perform voltage testing:[/vc_column_text][/vc_column][/vc_row][vc_row content_placement=”middle”][vc_column width=”2/3″][vc_tta_accordion][vc_tta_section title=”1. Set your multimeter to the voltage measurement setting” tab_id=”1705765031056-07d0444f-b4de”][vc_column_text]Configure your multimeter to measure voltage. Ensure that it is set to an appropriate range, typically a low voltage range.[/vc_column_text][/vc_tta_section][vc_tta_section title=”2. Connect the multimeter probes to the terminals of the piezo switch” tab_id=”1705765031099-e0e05663-e88b”][vc_column_text]Attach the multimeter probes to the terminals of the piezo switch. One probe should be connected to each terminal.[/vc_column_text][/vc_tta_section][vc_tta_section title=”3. Apply pressure to the switch” tab_id=”1705765031147-218cff38-5781″][vc_column_text]Gently press the piezo switch and observe the multimeter reading.[/vc_column_text][/vc_tta_section][vc_tta_section title=”4. Interpret the multimeter reading” tab_id=”1705765031196-bf83f7c8-2d28″][vc_column_text]If the multimeter shows a voltage change when pressure is applied, the switch is functioning correctly. The voltage change indicates that the piezo effect is working as intended.[/vc_column_text][/vc_tta_section][/vc_tta_accordion][vc_btn title=”Request a Quote” style=”classic” color=”warning” align=”right” link=”url:https%3A%2F%2F#popmake-11886″][/vc_column][vc_column width=”1/3″][vc_column_text]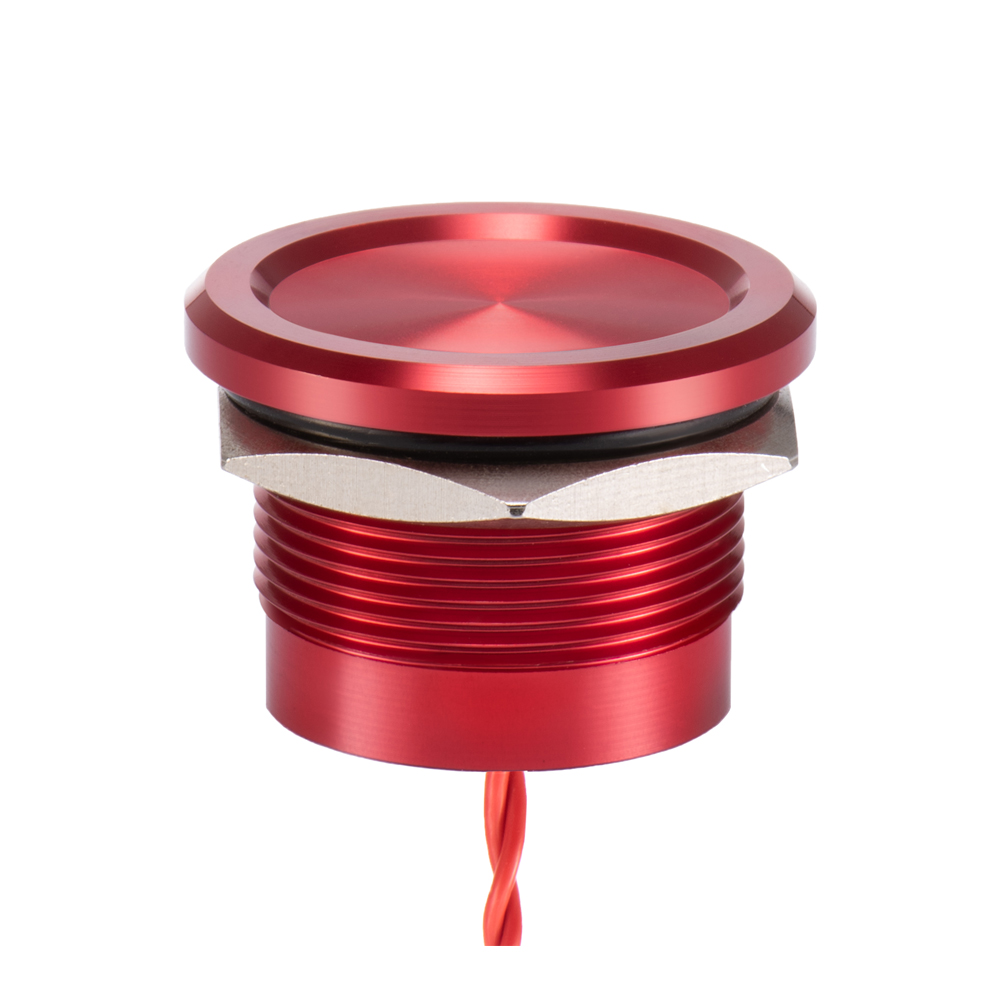
[/vc_column_text][/vc_column][/vc_row][vc_row][vc_column][vc_column_text]Voltage testing confirms that the piezo switch generates the necessary voltage when activated. This is crucial for ensuring that the switch can effectively control a circuit.
Common Issues and Troubleshooting
Piezo switches are generally reliable, but like any electronic component, they can experience issues. Here are some common problems and troubleshooting steps:
No Response from the Switch
If your piezo switch doesn’t respond when pressed, follow these steps:[/vc_column_text][/vc_column][/vc_row][vc_row content_placement=”middle”][vc_column width=”1/3″][vc_column_text] [/vc_column_text][/vc_column][vc_column width=”2/3″][vc_tta_accordion][vc_tta_section title=”1. Check the wiring for loose connections” tab_id=”1705765152103-faeca19d-8d51″][vc_column_text]Ensure that the wires connected to the piezo switch are securely fastened. Loose connections can prevent the switch from working correctly.[/vc_column_text][/vc_tta_section][vc_tta_section title=”2. Inspect the switch for physical damage” tab_id=”1705765152127-decb4e59-8249″][vc_column_text]Examine the piezo switch for any visible damage or signs of wear and tear. Physical damage can affect its performance.[/vc_column_text][/vc_tta_section][vc_tta_section title=”3. Test the switch using continuity and voltage testing methods” tab_id=”1705765221053-acdbfc0f-2203″][vc_column_text]Perform both continuity and voltage testing as previously described to identify any internal issues with the switch.[/vc_column_text][/vc_tta_section][/vc_tta_accordion][vc_btn title=”Request a Quote” style=”classic” color=”warning” align=”left” link=”url:https%3A%2F%2F#popmake-11886″][/vc_column][/vc_row][vc_row][vc_column][vc_column_text]
Inconsistent Switching
If the switching action of your piezo switch is inconsistent, consider the following:
- Clean the switch: Inconsistent switching can sometimes be caused by dirt or debris on the switch’s surface. To address this, clean the switch using isopropyl alcohol and a small brush. This can restore its responsiveness.
- Ensure proper mounting: Check that the piezo switch is securely mounted in its housing or enclosure. Loose mounting can lead to erratic behavior.
Physical Damage
If you notice physical damage to your piezo switch, such as cracks or visible breaks, it’s often best to consider replacement. Piezo switches are robust, but physical damage can impair their functionality, and repairing such damage can be challenging.
Cleaning and Maintenance
Keeping your piezo switch clean and well-maintained can extend its lifespan and ensure reliable performance. Here are the steps for cleaning and maintaining your piezo switch:[/vc_column_text][/vc_column][/vc_row][vc_row content_placement=”middle”][vc_column width=”2/3″][vc_tta_accordion][vc_tta_section title=”1. Disconnect the switch from the circuit” tab_id=”1705765528265-2b5b1d53-c826″][vc_column_text]Before cleaning, always disconnect the piezo switch from the circuit to prevent any accidental electrical contact.[/vc_column_text][/vc_tta_section][vc_tta_section title=”2. Gently clean the switch surface with isopropyl alcohol and a small brush” tab_id=”1705765528295-bf7f94ef-7c2d”][vc_column_text]Apply a small amount of isopropyl alcohol to a clean, lint-free cloth or a small brush. Gently clean the surface of the piezo switch to remove dirt, dust, or contaminants. Be careful not to use excessive force to avoid damaging the switch.[/vc_column_text][/vc_tta_section][vc_tta_section title=”3. Allow it to dry completely before reconnecting it” tab_id=”1705765585031-eea490c0-2699″][vc_column_text]After cleaning, allow the piezo switch to air dry completely before reconnecting it to the circuit. This ensures that there is no residual moisture that could affect its performance.[/vc_column_text][/vc_tta_section][/vc_tta_accordion][vc_btn title=”Request a Quote” style=”classic” color=”warning” align=”right” link=”url:https%3A%2F%2F#popmake-11886″][/vc_column][vc_column width=”1/3″][vc_column_text] [/vc_column_text][/vc_column][/vc_row][vc_row][vc_column][vc_column_text]Regular cleaning every few months or as needed can help maintain the switch’s performance and prevent issues related to dirt or contaminants.
Replacing a Faulty Piezo Switch
Sometimes, despite your best efforts, a piezo switch may be beyond repair, especially if it exhibits irreversible damage. In such cases, it’s essential to know when to consider replacement and how to perform the replacement effectively.
When to Consider Replacement
Consider replacing a piezo switch if:
- It fails the continuity and voltage testing, indicating internal faults.
- There is visible physical damage that cannot be repaired.
- Despite troubleshooting, the switch remains unresponsive.
Steps for Replacement
If you decide to replace a faulty piezo switch, follow these steps:[/vc_column_text][/vc_column][/vc_row][vc_row content_placement=”middle”][vc_column width=”1/3″][vc_column_text] [/vc_column_text][/vc_column][vc_column width=”2/3″][vc_tta_accordion][vc_tta_section title=”1. Disconnect the old switch from the circuit” tab_id=”1705765958081-28562820-f524″][vc_column_text]Ensure that the power is off, and disconnect the old piezo switch from the circuit.[/vc_column_text][/vc_tta_section][vc_tta_section title=”2. Remove it carefully using a screwdriver” tab_id=”1705765958119-464c0fdd-5109″][vc_column_text]Depending on the design of your device, you may need to open an enclosure or housing to access the switch. Use a screwdriver or appropriate tools to carefully remove the old switch.[/vc_column_text][/vc_tta_section][vc_tta_section title=”3. Install the new piezo switch, ensuring proper connections” tab_id=”1705766017150-c9d33d98-0217″][vc_column_text]Carefully connect the wires from the circuit to the new piezo switch. Ensure that the connections are secure and match the previous configuration.[/vc_column_text][/vc_tta_section][vc_tta_section title=”4. Test the new switch to ensure it functions correctly” tab_id=”1705766045819-ced5c6c4-3ba3″][vc_column_text]Before closing the device’s enclosure, test the new switch to verify that it operates as expected. Perform continuity and voltage testing to confirm its functionality.[/vc_column_text][/vc_tta_section][/vc_tta_accordion][vc_btn title=”Request a Quote” style=”classic” color=”warning” align=”left” link=”url:https%3A%2F%2F#popmake-11886″][/vc_column][/vc_row][vc_row][vc_column][vc_column_text]Replacing a faulty piezo switch can breathe new life into your electronic device, ensuring that it continues to function as intended.[/vc_column_text][/vc_column][/vc_row][vc_row][vc_column][vc_column_text]
Conclusion
Piezo switches are reliable components used in various electronic devices. Understanding how to test and troubleshoot them is essential for ensuring their proper functioning. By following the steps outlined in this article, you can identify and resolve issues with your piezo switch effectively.[/vc_column_text][/vc_column][/vc_row][vc_row][vc_column][vc_column_text]
FAQs
[/vc_column_text][/vc_column][/vc_row][vc_row][vc_column][vc_toggle title=”Can I use any multimeter for testing a piezo switch?” custom_font_container=”tag:h3|font_size:18|text_align:left” custom_use_theme_fonts=”yes” use_custom_heading=”true”]It’s recommended to use a digital multimeter with continuity and voltage measurement capabilities for accurate testing. This ensures precise results.[/vc_toggle][vc_toggle title=”What are the common applications of piezo switches?” custom_font_container=”tag:h3|font_size:18|text_align:left” custom_use_theme_fonts=”yes” use_custom_heading=”true”]Piezo switches find applications in medical equipment, industrial machines, automotive controls, and various consumer electronics like microwave ovens and remote controls.[/vc_toggle][vc_toggle title=”How often should I clean my piezo switch?” custom_font_container=”tag:h3|font_size:18|text_align:left” custom_use_theme_fonts=”yes” use_custom_heading=”true”]Regular cleaning every few months or when you notice dirt or contaminants can help maintain the switch’s performance. However, the frequency may vary depending on the environment in which the switch is used.[/vc_toggle][vc_toggle title=”Can I repair a faulty piezo switch, or should I always replace it?” custom_font_container=”tag:h3|font_size:18|text_align:left” custom_use_theme_fonts=”yes” use_custom_heading=”true”]Small issues like loose connections or surface contamination can often be repaired. However, if the switch exhibits irreversible internal faults or physical damage, replacement is usually the best course of action.[/vc_toggle][vc_toggle title=”Where can I purchase replacement piezo switches?” custom_font_container=”tag:h3|font_size:18|text_align:left” custom_use_theme_fonts=”yes” use_custom_heading=”true”]Replacement piezo switches are available at electronic component stores, online retailers, and from manufacturers specializing in electronic components. We recommend considering Langir piezo switches. Langir is a reputable manufacturer known for producing reliable and durable electronic components, including piezo switches. Their products are highly regarded for their performance and longevity. Send your inquiry now![/vc_toggle][/vc_column][/vc_row][vc_row][vc_column][vc_zigzag]
[/vc_column][/vc_row][vc_row][vc_column][vc_zigzag][/vc_column][/vc_row]
Leave a Reply