[vc_row][vc_column][vc_column_text css=””]
Are your boat horn switches not working as they should? You’re not alone—many boaters face issues with their marine horn buttons. In this post, we’ll cover common problems you might encounter, step-by-step solutions to fix them, and tips for choosing the right replacement. Engaging with this content will help you troubleshoot effectively, saving you time and ensuring your safety on the water. If you need reliable options, be sure to contact Langir for quality 12-volt horn buttons. Let’s get started on keeping your horn switches in top shape!
Identifying Common Problems With Boat Horn Switches
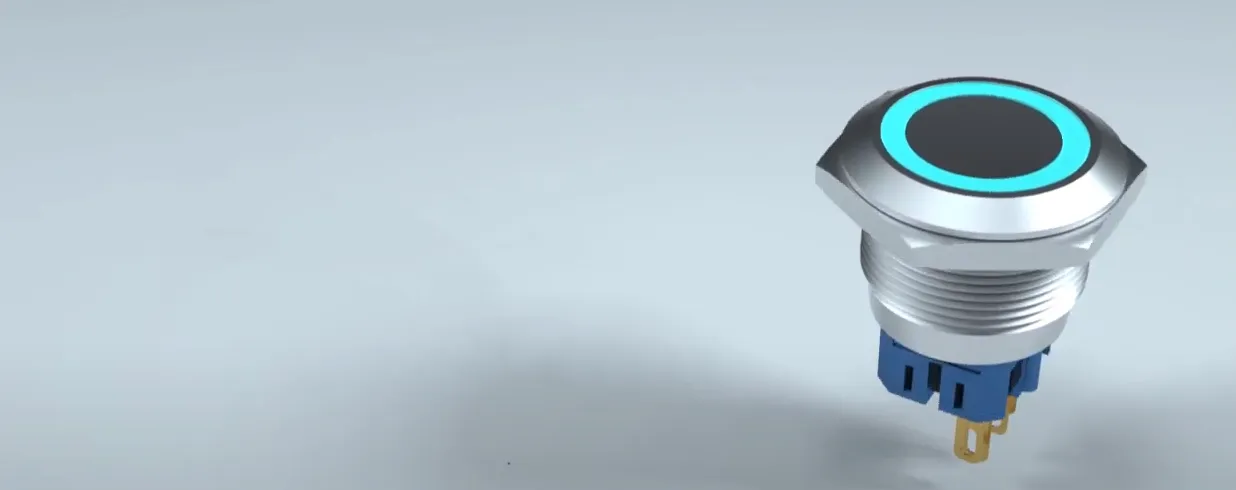
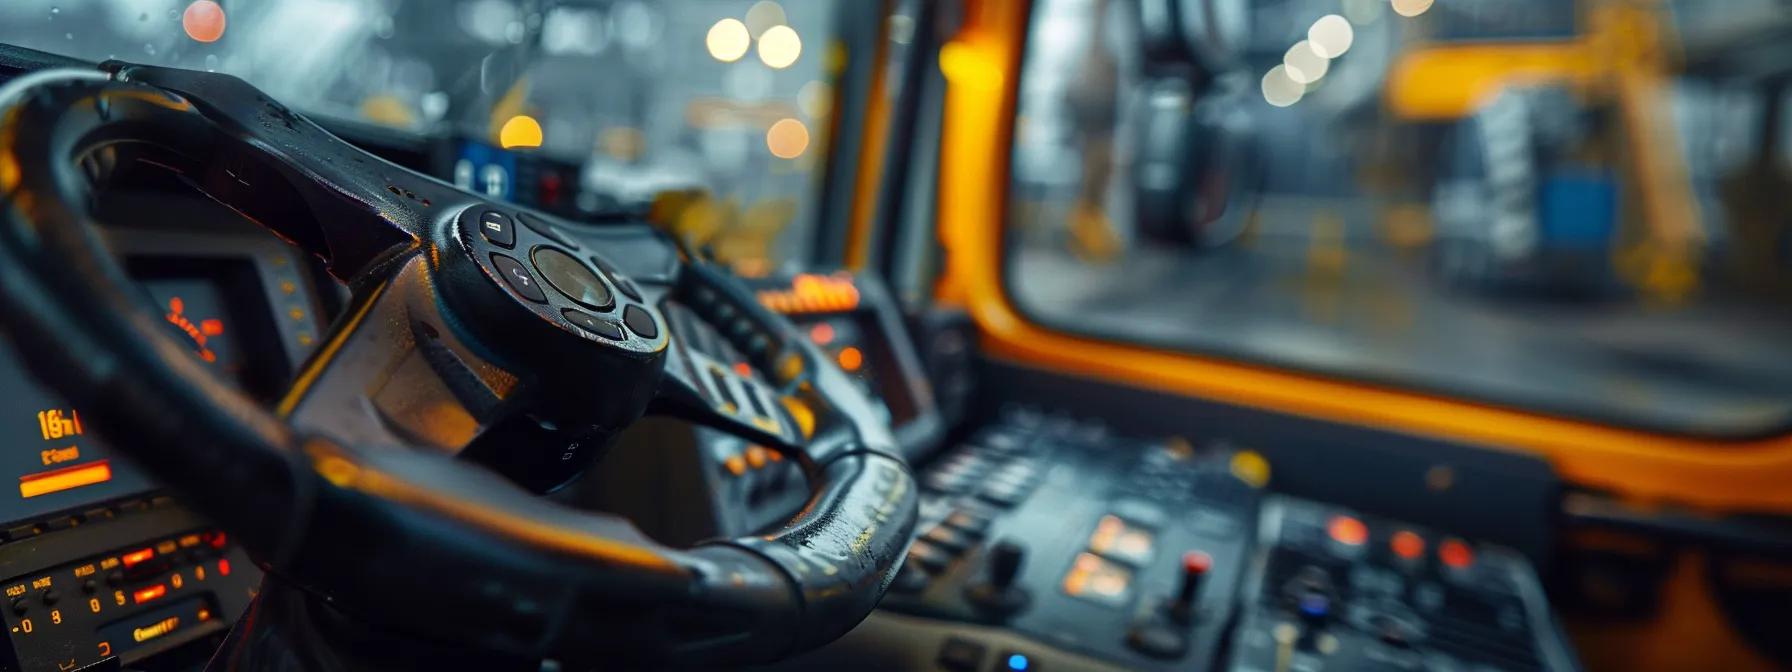
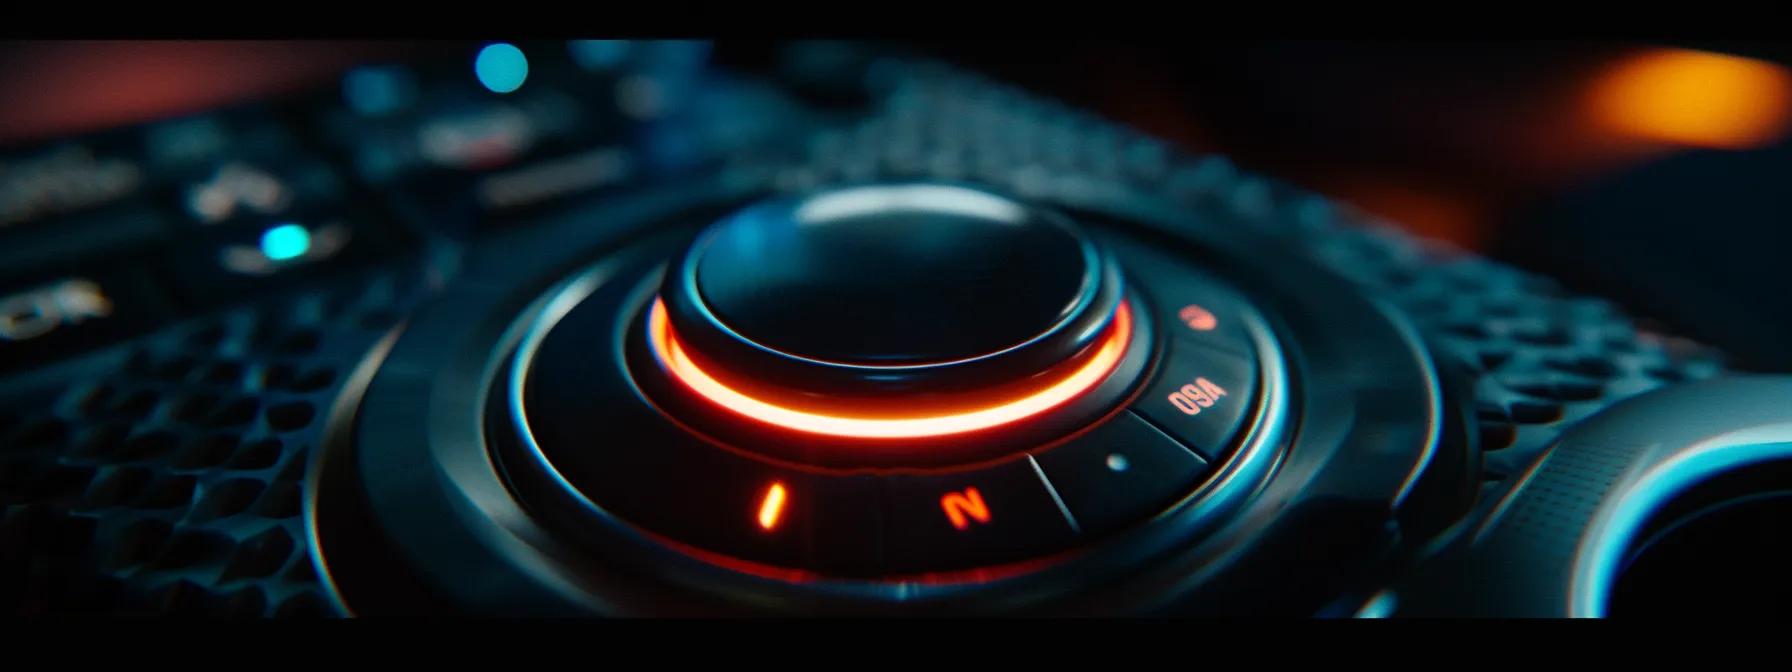
Understanding the types of switches available (like push button horn switches) can make troubleshooting easier when dealing with boat horn switches. You might notice symptoms of a failing boat horn switch, such as inconsistent sounds or complete silence. In this section, you’ll learn how to troubleshoot the wiring for your marine horn switches and ensure the electricity flows correctly from the wheel to the horn.
Types of Boat Horn Switches
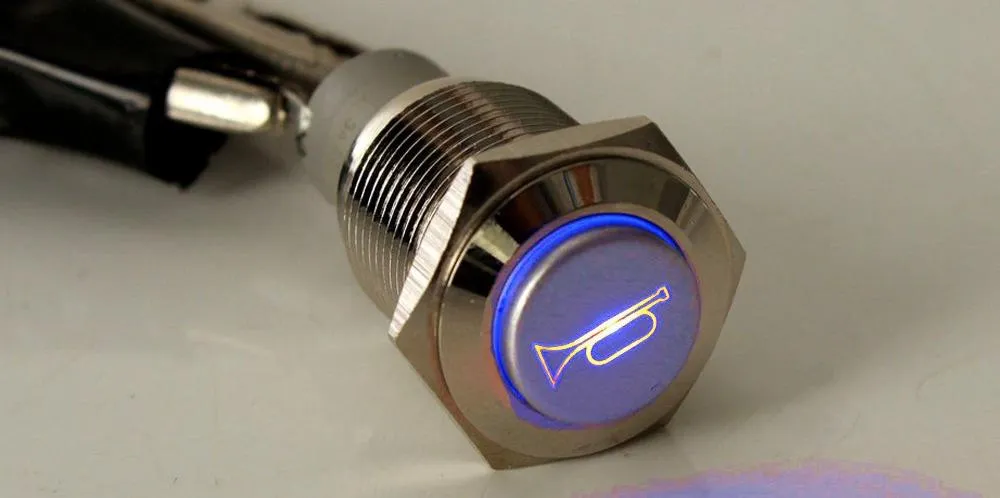
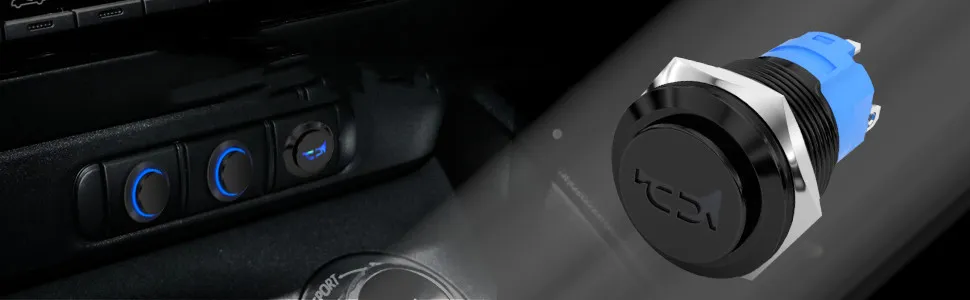
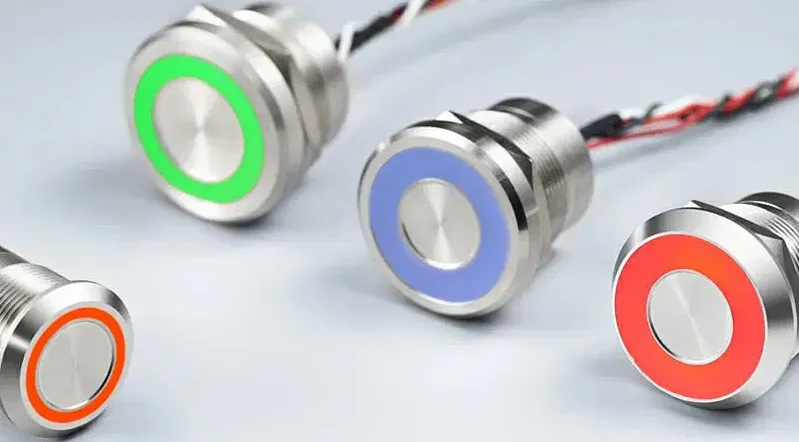
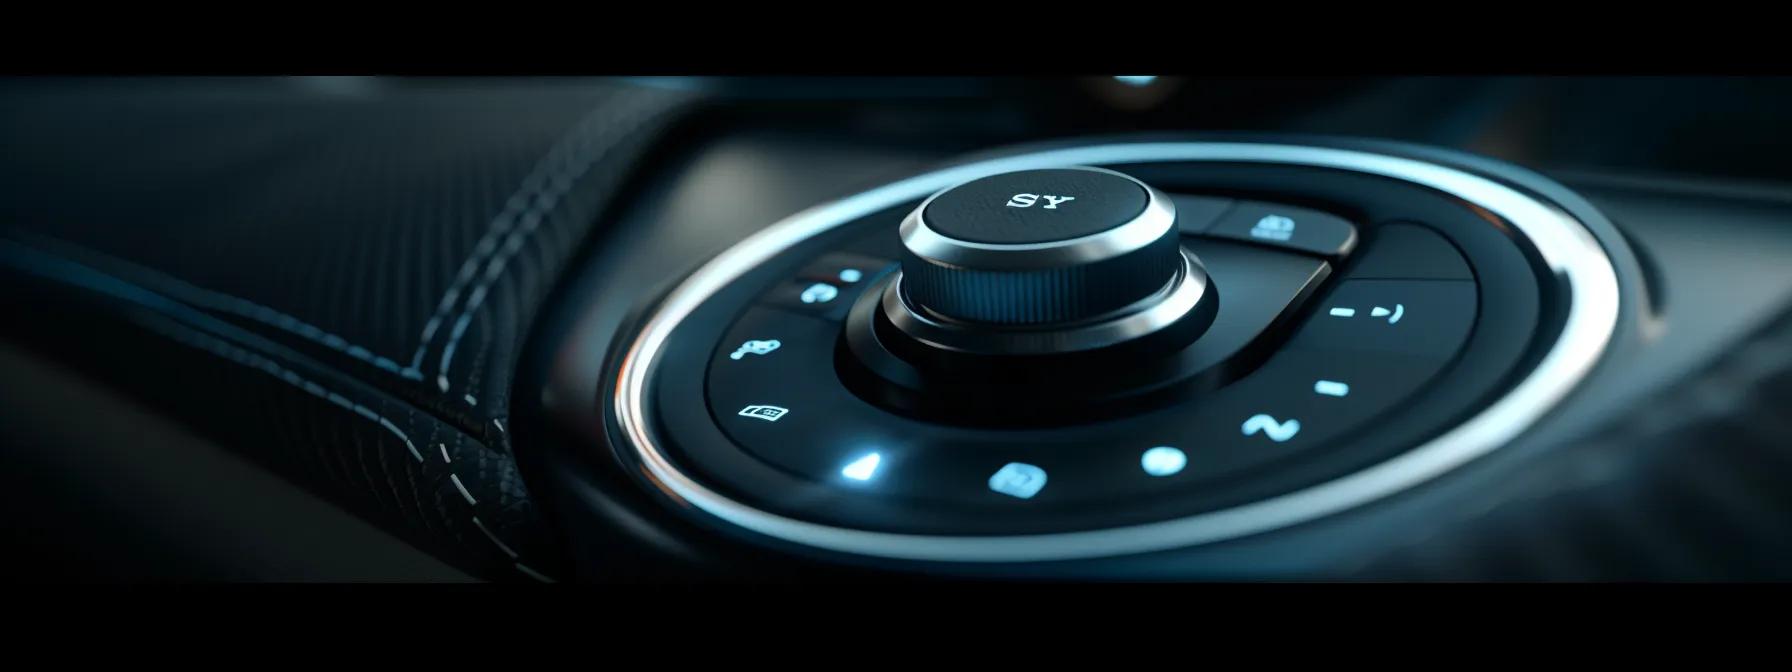
When you think about boat horn switches, there are a few types to consider, including push button and toggle switches. These switches often work similarly to those in vehicles, ensuring that your boat horn functions smoothly when pressing the button located on the steering wheel. Understanding the specifications of your boat horn switch is essential, particularly if you’re dealing with a system that might operate a train horn for added loudness.
Symptoms of a Failing Push Button Horn Switch
If you’re experiencing issues with your push button horn switch, you might notice some telltale signs that your boat’s horn isn’t performing as it should. Symptoms such as inconsistent sounds can indicate problems with the relay or faulty wiring. Additionally, if the air horn doesn’t sound at all when you press the switch, it could mean there’s an issue with the valve or the connection between the switch and the actual horn. Taking a closer look at these components can help you pinpoint the trouble and get back on the water with a functional horn.
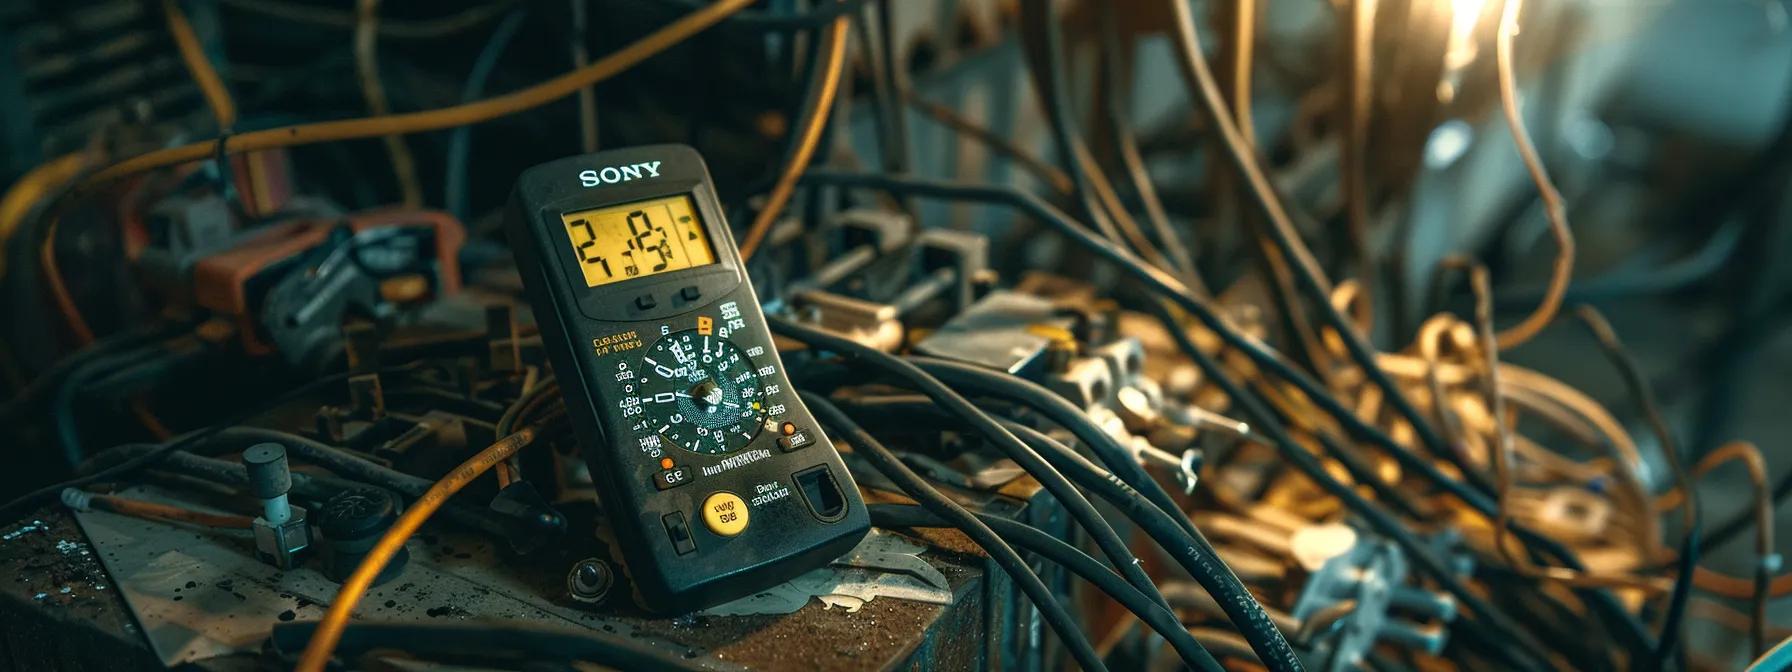
Troubleshooting the Wiring for Marine Horn Switches
Troubleshooting the wiring for marine horn switches can feel a bit like deciphering a complex javascript program, but it doesn’t have to be that way. Start by checking the connections, making sure everything is secure and that no corroded stainless steel components are causing a problem. If you’re still hitting bumps, it might help to think like a truck mechanic: trace the wiring from the switch all the way to the engine. This way, you can spot any breaks or issues that could be disrupting the flow of power to your horn.
Typical Issues With Marine Horn Buttons
Difficulty activating your horn can be frustrating, especially when you’re on the water. You might also notice inconsistent sounds or, at worst, no sound at all. Corrosion and moisture damage in waterproof boat horn buttons can also lead to these problems. Each of these issues involves checking connections, assessing voltage levels, and evaluating warranty information on components like brass or steel switches.
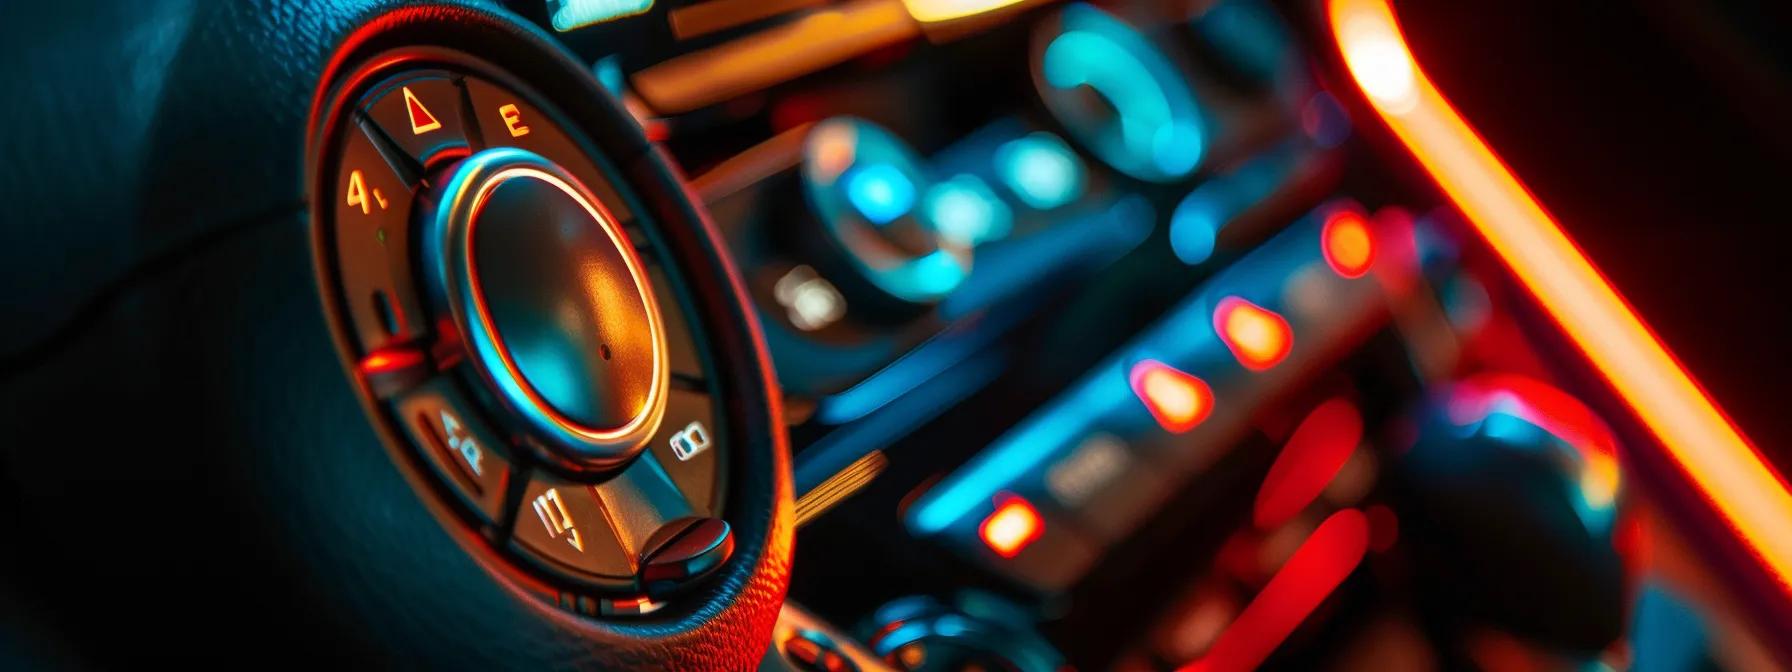
Difficulty in Activating the Horn
Activating your boat horn can be incredibly frustrating, especially in critical moments when you’re out on the water. Common culprits include a blown fuse, which might also affect other lighting or brake systems in your boat. It’s important to check that all connections are secure and that there’s no corrosion, particularly if you’re using components from your motorcycle or other vehicles, like laser-cut switches, for enhanced reliability.
Inconsistent Sound or No Sound at All
If you’ve ever found yourself in a situation where your boat horn emits inconsistent sounds or is completely quiet, it’s frustrating, especially when you need it to alert others. Start by checking your dashboard for any loose or corroded connections, as these can affect the electrical flow. If you’re using a high-quality metal switch, make sure it isn’t at fault; sometimes, customs can even mess with how those switches operate, so it’s worth inspecting all components, including any additional lighting that might interfere.
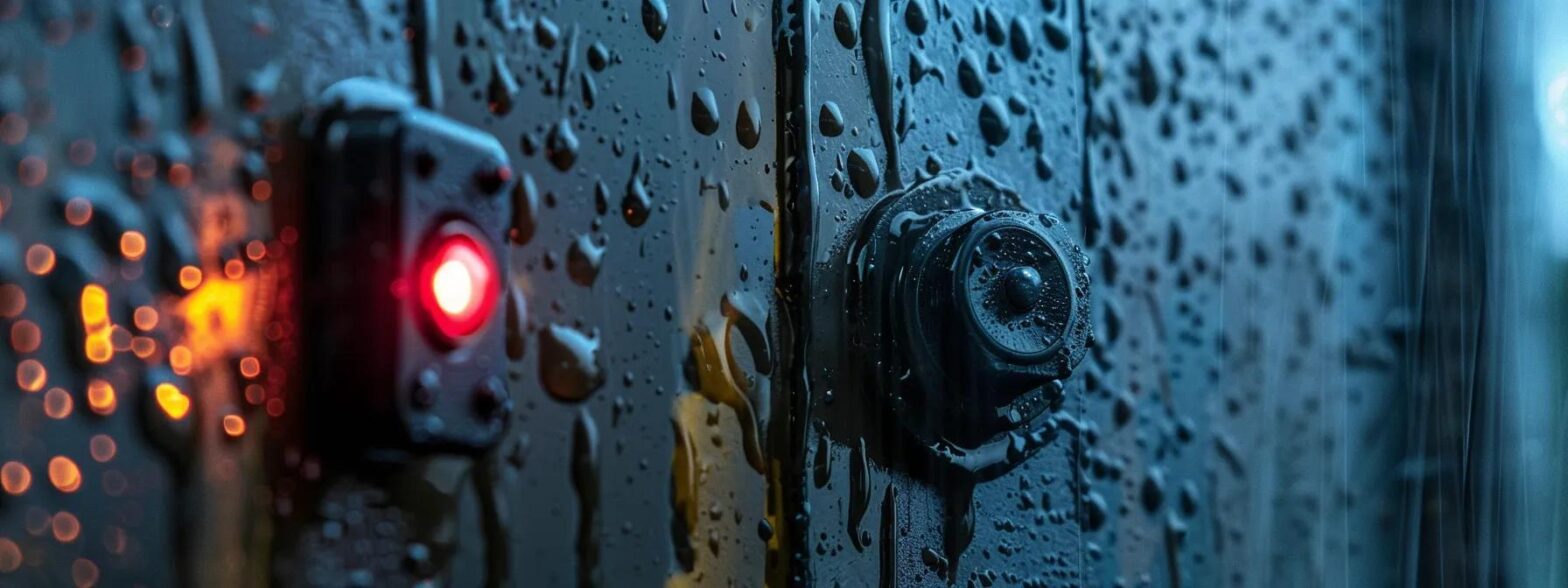
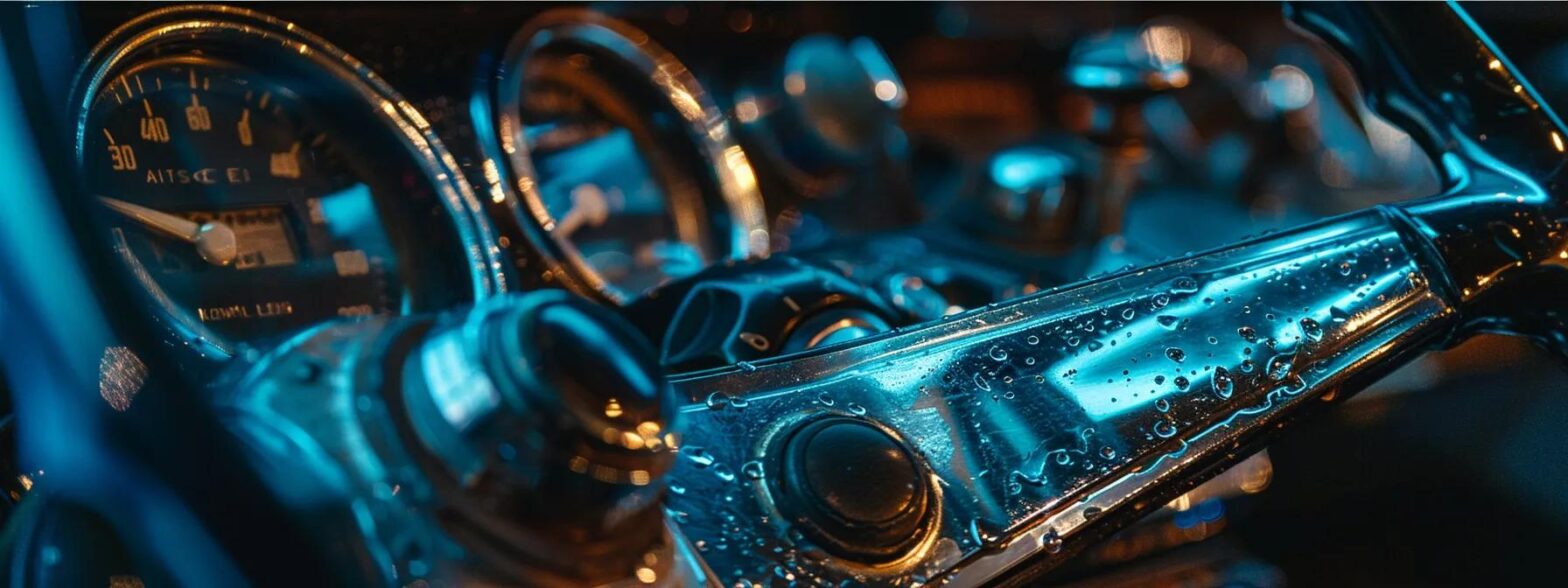
Corrosion and Moisture Damage in Waterproof Boat Horn Buttons
Corrosion and moisture damage in waterproof boat horn buttons can lead to serious issues when you’re out on the water. Even well-designed components can fall victim if they’re not properly maintained. If you notice your horn is not functioning correctly, check for any rust or signs of wear around the switch. Sometimes, using a little bit of sealant can provide extra protection against moisture, keeping your horn ready to go when you need it most:
Step-by-Step Guide to Fixing Boat Horn Switches
First up, let’s look at how to reset the push button switch for your horn, which can often solve activation issues. Then, we’ll dive into replacing damaged wiring in boat horn switches to ensure a stable connection. Lastly, cleaning corroded contacts will help maintain the efficiency of your marine horn switches, keeping everything working smoothly—because nobody wants a faulty horn, especially when you need it most!
Resetting the Push Button Switch for Horn
When dealing with a push button switch for your boat horn, resetting it can often bring your sound back to life. Start by checking the electrical connections, looking for any loose wires or corrosion that could be interrupting the flow, much like a trumpet struggling to make a clean sound when the heat gets to it. If you suspect moisture is an issue, ensure everything is dry and secure under the switch cap; sometimes, a simple reset is all it takes to solve the problem, just like pumping a little extra air into a slightly deflated structure on your roof.
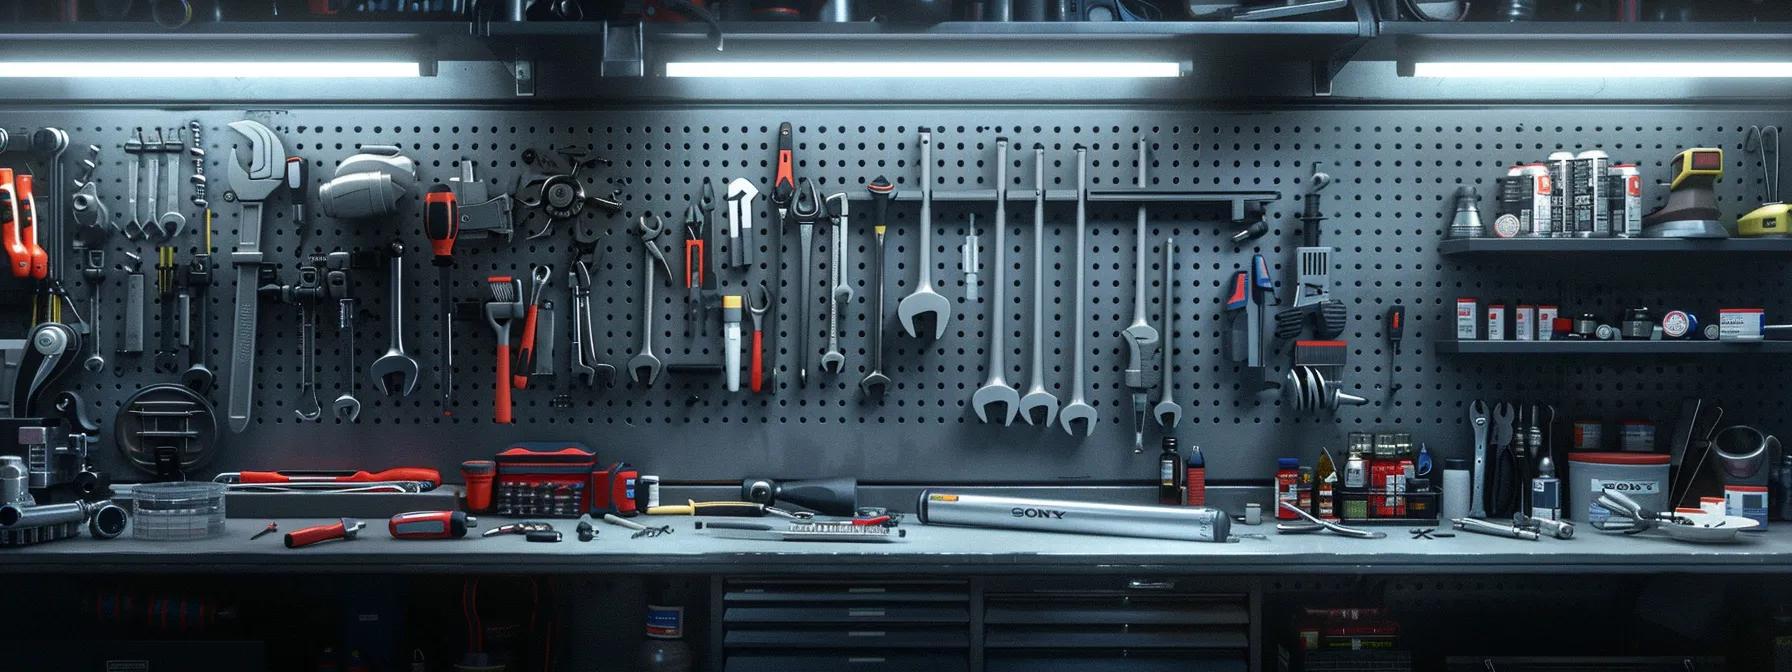
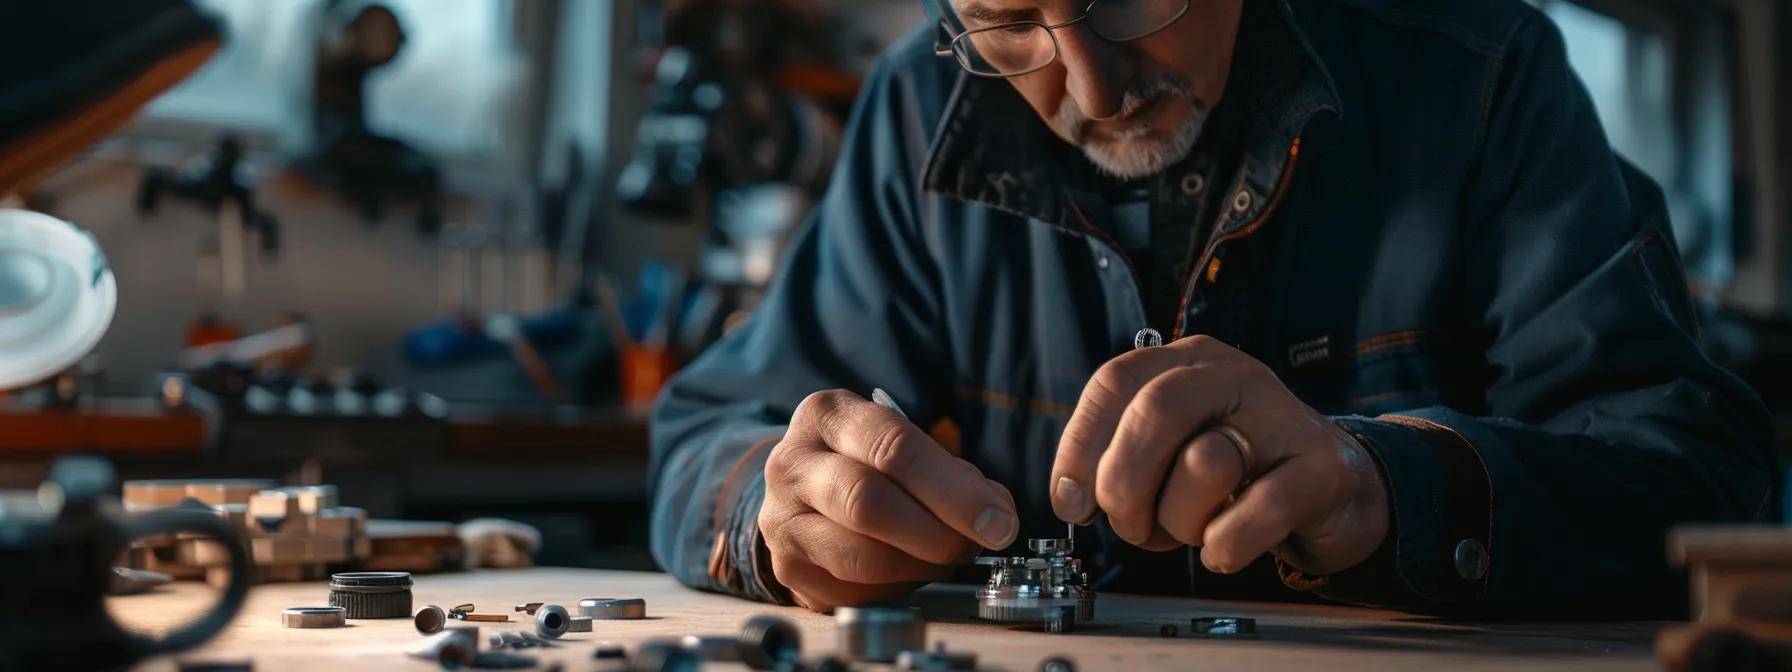
Replacing Damaged Wiring in Boat Horn Switches
Replacing damaged wiring in boat horn switches is crucial for ensuring that your horn functions as intended. Start by inspecting the wiring for any frays or breaks; these weak spots can stifle the flow of electricity and keep your horn silent when you need it. If you find damage, use high-quality replacement wires—plastic insulation can help resist moisture and wear, which is essential in a marine environment:
- Check for visible damage on the wiring.
- Disconnect the power supply before starting repairs.
- Remove any damaged sections of wiring carefully.
- Use waterproof connectors to ensure a reliable connection.
- Securely fasten new wiring in place to avoid future issues.
Cleaning Corroded Contacts in Marine Horn Switches
Cleaning corroded contacts in your marine horn switches is essential for maintaining a strong connection and ensuring your horn operates reliably. Start by disconnecting the lead from the solenoid and examining the wiring diagram to locate the affected contacts. If you notice any buildup, carefully scrub them using a fine brush and an appropriate cleaner to restore their functionality; this can make a big difference when your compressor needs to activate quickly.
- Disconnect the lead from the solenoid.
- Refer to the wiring diagram for guidance.
- Scrub corroded contacts with a fine brush.
- Use a suitable cleaner for best results.
- Reconnect and test to ensure proper functionality.
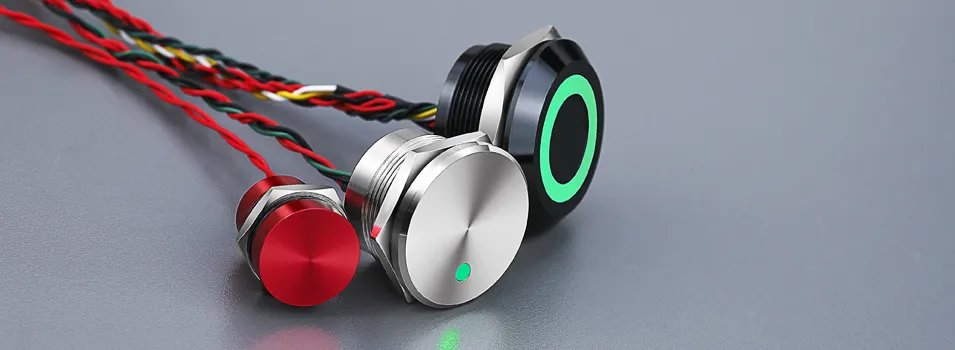
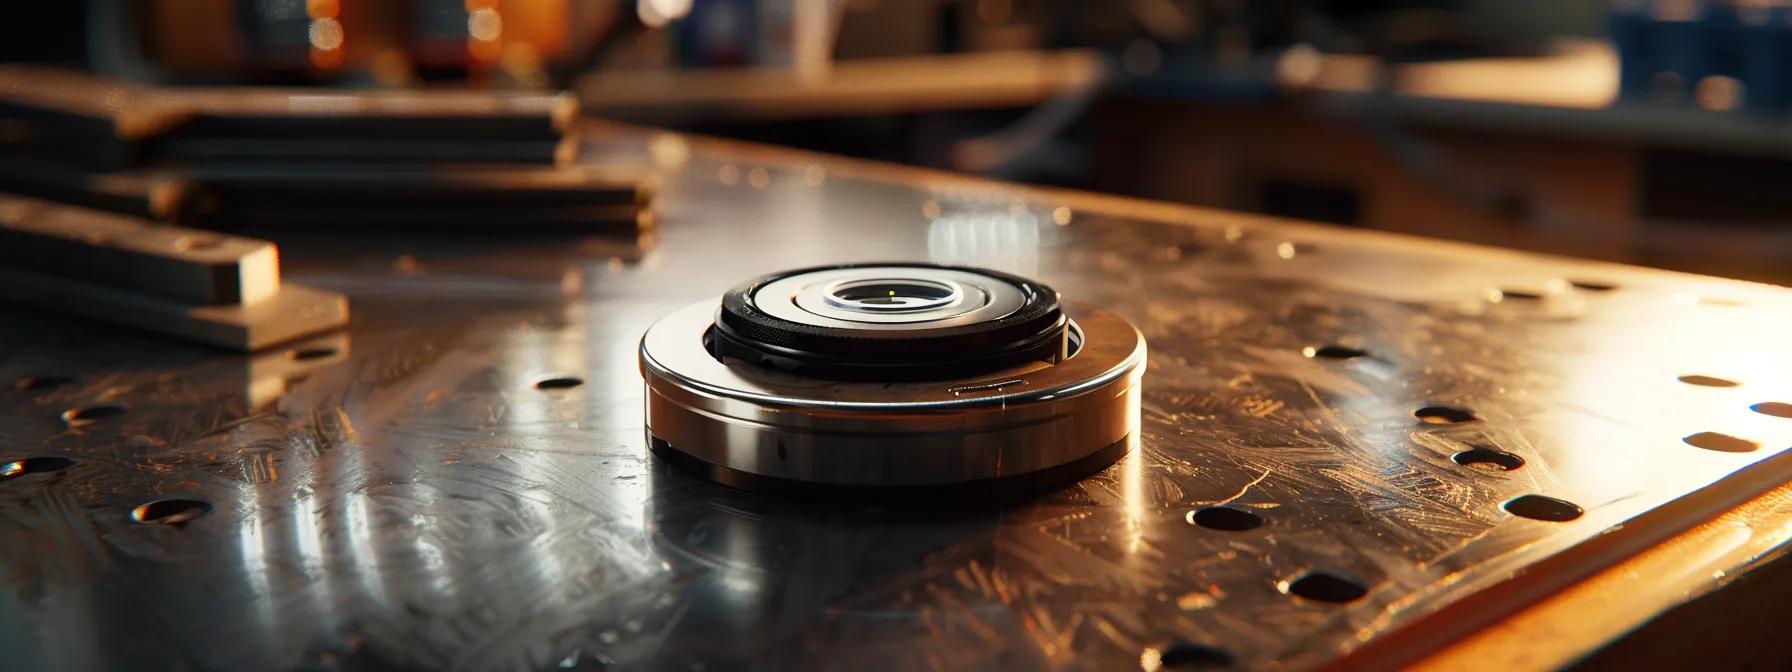
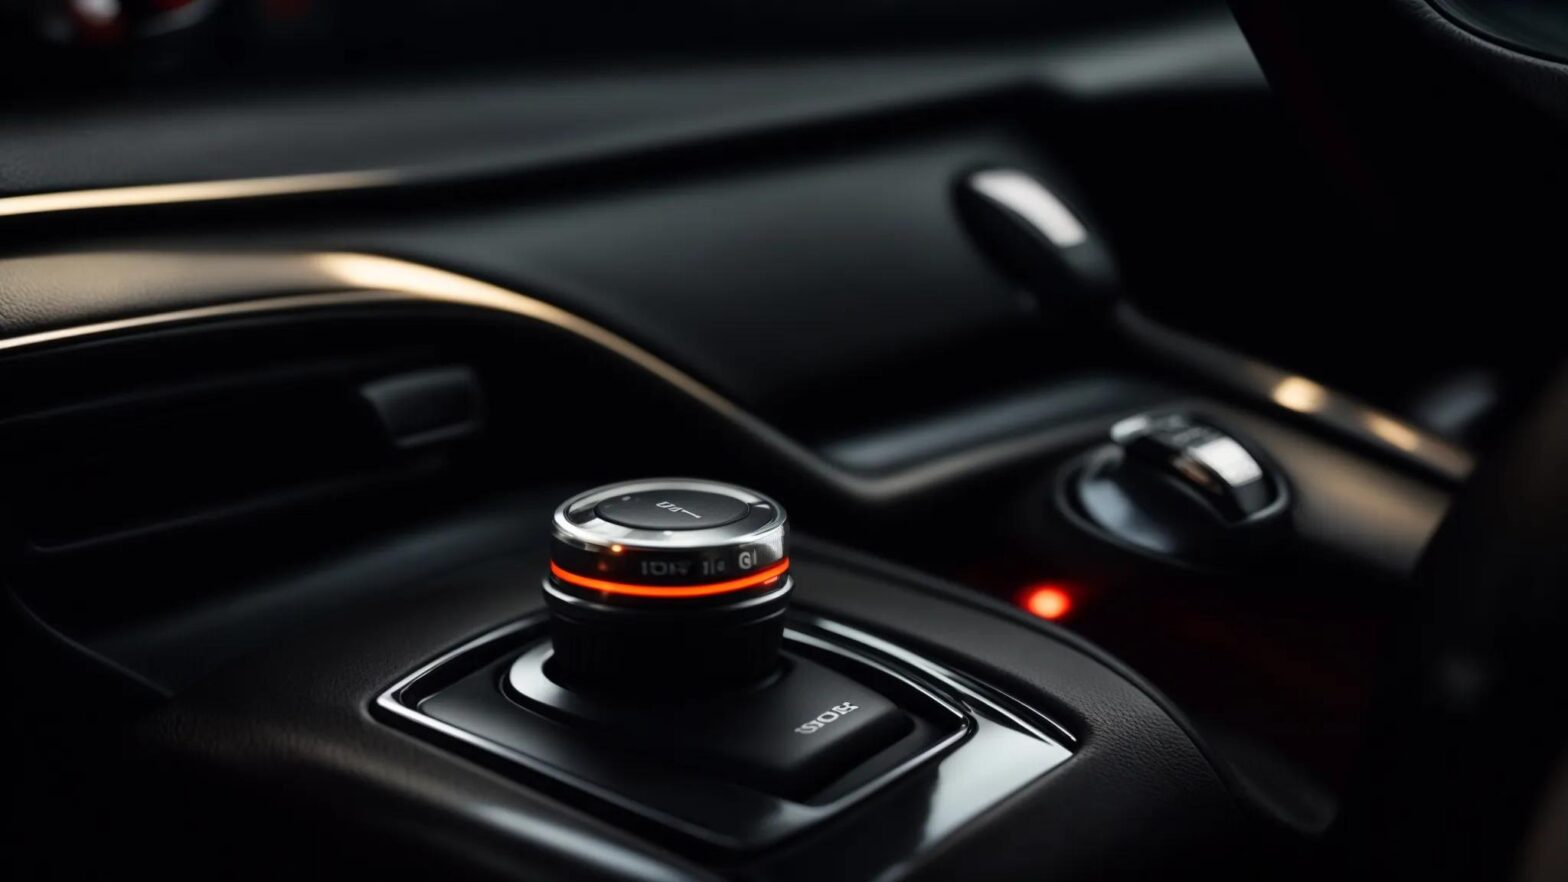
Choosing the Right Replacement for Your Boat Horn Switch

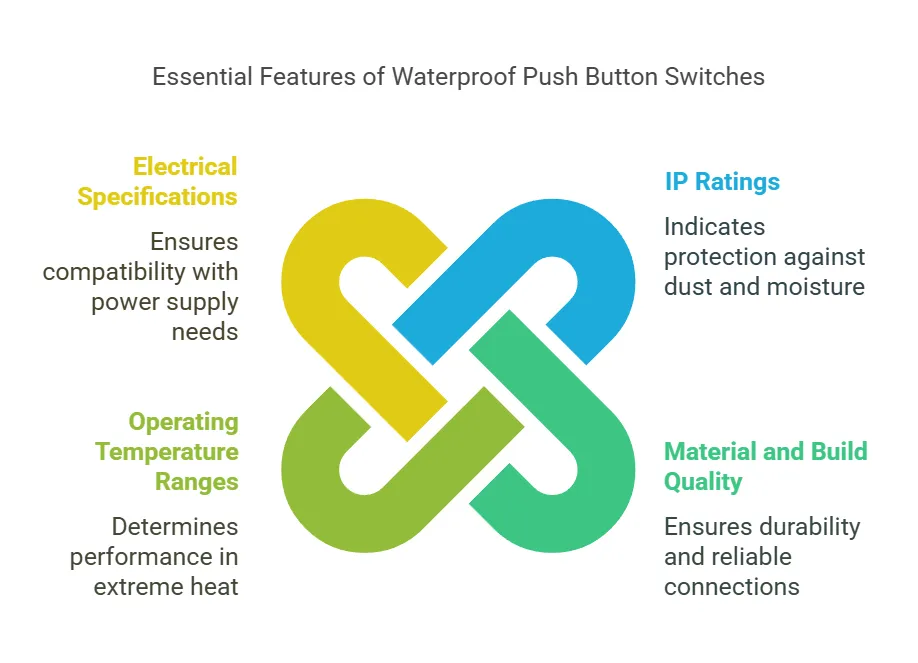
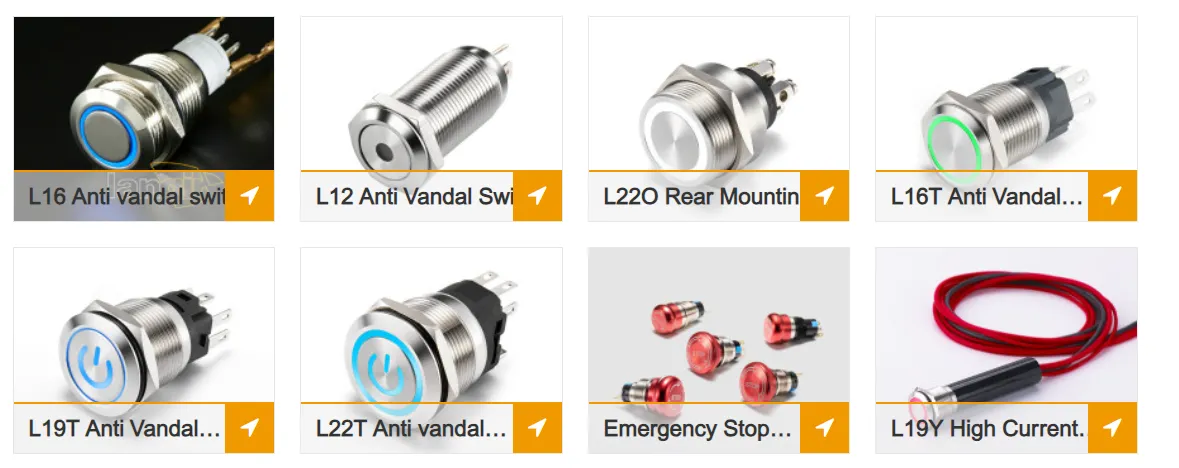
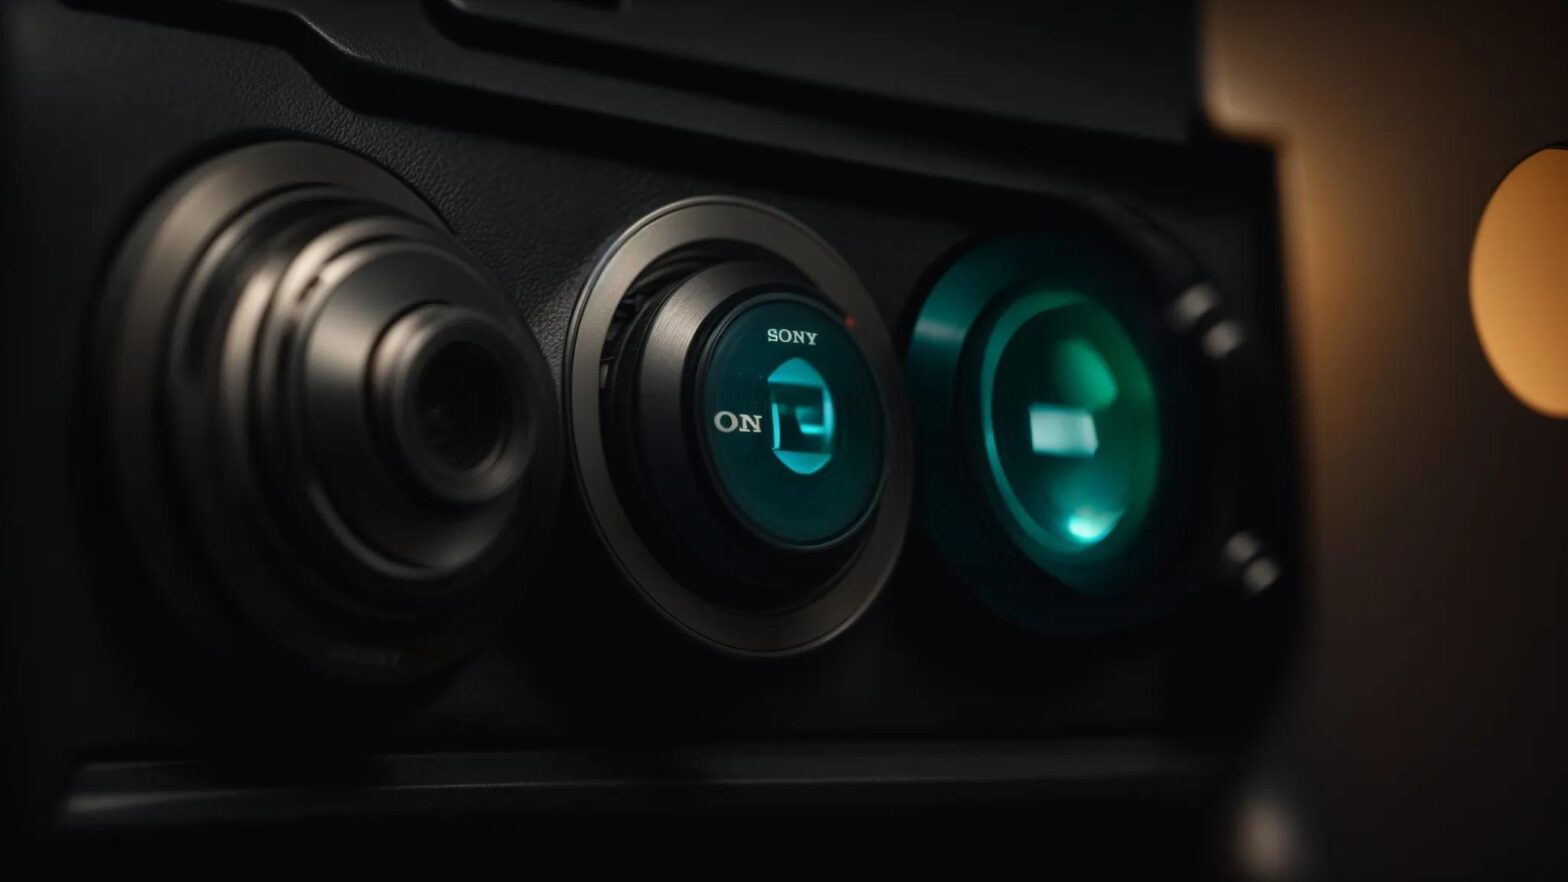
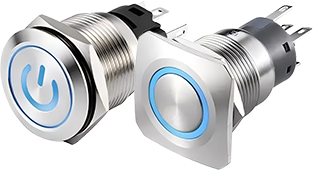
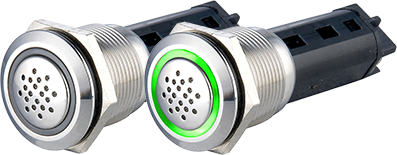
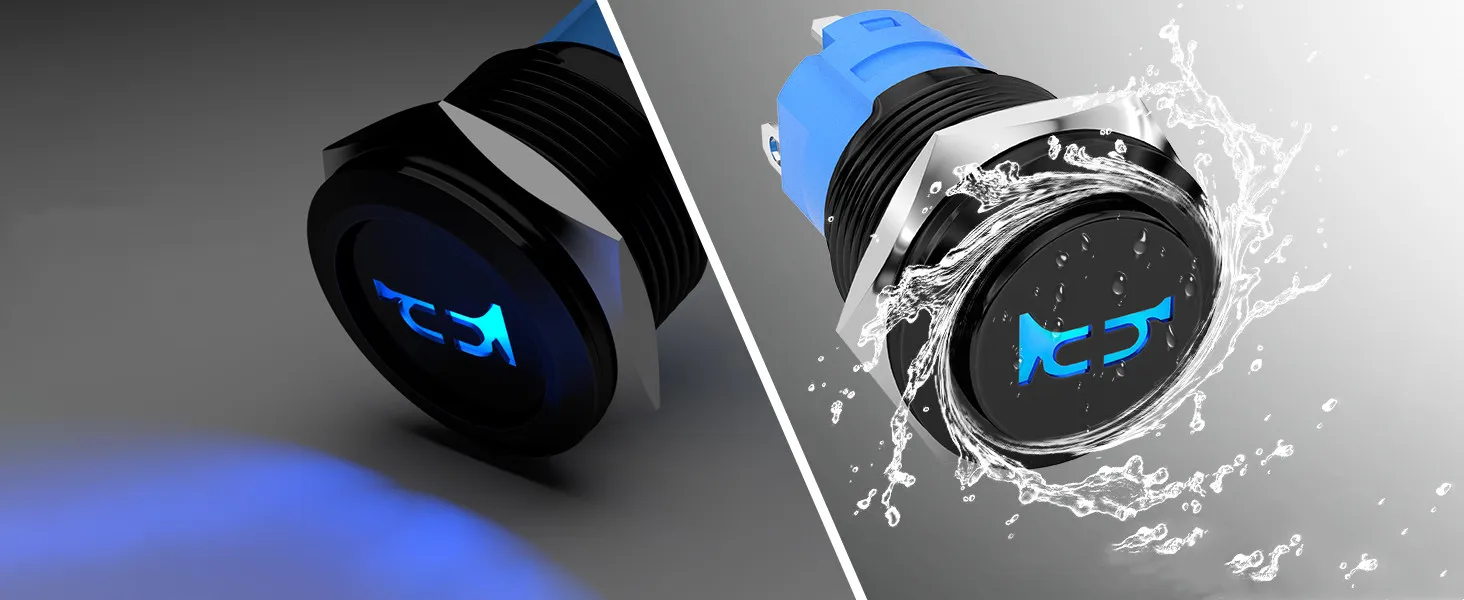
When it comes to finding the right replacement for your boat horn switch, consider your options for high-quality horn push switches and the specifics of a 12-volt horn button. Understanding the actuator types and referring to a wiring diagram can make troubleshooting easier. In this section, you’ll get information essential to making a decision that works for you in the United Kingdom, all while keeping your boat safe and sound on the water.
Options for High-Quality Horn Push Switches
When you’re sourcing high-quality horn push switches, pay attention to the transmission quality, ensuring it provides reliable signal transfer. Look for switches that can withstand the rigors of marine environments, and check that the screws are corrosion-resistant for longevity. Consider options tailored for vehicles like the Jeep Wrangler, as they may have added robustness, and confirm that the crimp connections are secure, fostering optimal feedback for seamless functionality.
Factors to Consider When Buying a 12 Volt Horn Button
When buying a 12-volt horn button, consider the price and your specific application. Make sure the switch fits your budget and is rated for the correct voltage to ensure safe operation. Check the manufacturer’s website for specifications, as selecting a compatible switch will ensure a long-lasting, reliable horn system.
Preventive Maintenance Tips for Boat Horn Switches
Regular inspections for corrosion and wear are vital for maintaining your boat’s horn switches. By sealing and protecting push button horn switches, you can prevent moisture damage and ensure reliable performance. This section covers practical tips on how to inspect for issues and keep your horns in top shape, so you can enjoy the water worry-free.
Regular Inspections for Corrosion and Wear
Regularly inspecting your boat horn switches for corrosion and wear is key to keeping everything in working order. You should pay special attention to areas where moisture might build up, especially if your boat has bright backlighting around the controls, as this could lead to issues with a red horn or even your winch operation later on. Choosing components designed to handle electrical flow, like reliable starters and connections, will help you avoid frustrating problems down the line, letting you enjoy your time on the water without worrying about unexpected failures.
Sealing and Protecting Push Button Horn Switches
To protect your push button horn switches, sealing them against moisture and potential corrosion should be your first line of defense. You can use silicone sealant around the edges to keep out water, ensuring that the electronics remain dry and functional, which in turn supports the power supply needed for high voltage applications. If your remote control horn switch is exposed, consider adding a protective cover to avoid unnecessary wear and tear, preserving its reliability when you really need it out on the water.
Seeking Professional Help for Complex Issues
When your boat horn switch issues become too complicated to handle, it’s time to contact a marine electrician. Their expertise can be crucial for resolving complex problems and ensuring proper circuit protection. Professional servicing not only saves you time but also ensures effective communication in your horn system. In the following sections, you’ll learn when it’s necessary to seek help and the advantages of doing so for your horn switch issues.
When to Contact a Marine Electrician
If you find yourself tangled in complicated issues with your boat horn switch, it might be time to reach out to a marine electrician. These pros can help you navigate intricate wiring problems and ensure the security of your horn system, especially when dealing with faulty fuses that can leave your horn silent at critical moments. Remember, trying to troubleshoot everything on your own can lead to more headaches, so don’t hesitate to consult a specialist, particularly if you’re in California where local experts can access the latest patent technologies to keep your boat buzzing, even in the toughest waters.
Benefits of Professional Servicing for Horn Switch Problems
When dealing with stubborn boat horn issues, turning to professional servicing can save you a lot of frustration. Imagine not having to guess whether your wiring is intact or if changes to your gear are causing problems; experts have the know-how and tools to diagnose and fix issues that may leave you stranded without sound. They bring a level of skill that ensures your horn functions when you need it most, letting you focus on enjoying your time on the water instead of worrying about whether your equipment is up to par.
FAQs | Boat Horn Switches
What are the common problems with boat horn switches?
Common problems with boat horn switches include electrical failure, corrosion from moisture, and poor connection or wiring issues, which can hinder performance when loud signaling is crucial. Regular maintenance is essential to prevent these issues.
How can I fix a marine horn button issue?
To fix a marine horn button issue, check for wiring faults, clean connections, or test the button for continuity with a multimeter. If necessary, replace the button entirely for reliable performance on your vessel.
What should I consider when replacing a boat horn switch?
When replacing a boat horn switch, consider its compatibility with your boat’s electrical system, the desired amperage rating, and the switch’s durability against marine conditions. Choose a reliable manufacturer for quality and longevity.
How do I maintain my boat horn switch effectively?
To keep your boat horn switch in optimal condition, regularly inspect for corrosion, clean contacts, and ensure a secure connection. Replace any worn components promptly to maintain reliability and effectiveness during use.
When should I seek professional help for horn switch issues?
If you experience persistent horn switch issues, such as unresponsiveness or intermittent operation, it’s time to seek professional help. An expert can diagnose and repair underlying problems to ensure your horn functions properly.
[/vc_column_text][/vc_column][/vc_row][vc_row][vc_column][vc_zigzag]
[/vc_column][/vc_row][vc_row][vc_column][vc_zigzag][/vc_column][/vc_row]