[vc_row][vc_column][vc_column_text]
Everything About Piezoelectric Effect | Materials, Applications, Types
[/vc_column_text][/vc_column][/vc_row][vc_row][vc_column][vc_single_image image=”11565″ img_size=”1200×600″ alignment=”center”][/vc_column][/vc_row][vc_row][vc_column][vc_column_text]Have you ever marveled at the seamless operation of a touch-sensitive screen or contemplated the intricacies behind the functioning of certain medical devices? Perhaps you’ve pondered the technology that allows some speakers to produce sound with remarkable precision. The answer to all these intriguing questions lies in a phenomenon called the piezoelectric effect.
This remarkable property, found in specific materials, allows them to generate electric charge in response to mechanical stress and vice versa. It’s a silent force that ensures the smooth operation of Piezoelectric motors, microphones, and some other actuators in consumer electronics like printers, etc.
Let’s learn about the piezoelectric effect, its causes, types, applications, and more![/vc_column_text][/vc_column][/vc_row][vc_row][vc_column][vc_column_text]
What is the Piezoelectric Effect?
The piezoelectric effect is also known as Piezoelectricity and originates from the Greek word “Piezo,” meaning to push or to put pressure. It’s a phenomenon where the application of mechanical stress to a crystal or piezoelectric material induces the generation of voltage along its sides.
If an object is Piezoelectric, it means it has the ability to change the mechanical stress applied to it into electricity. Due to this unique characteristic, the piezoelectric effect makes it possible to implement renewable and sustainable energy in buildings through power harvesting and self-sustained smart sensing. [/vc_column_text][/vc_column][/vc_row][vc_row][vc_column][vc_message message_box_color=”alert-info”]Piezoelectric Effect Equation
The principal equation governing piezoelectricity is given by:
P = d x stress
Where d represents the piezoelectric coefficient, a material-specific factor. For quartz, the piezoelectric coefficient is 3 x 10^-12, while for lead zirconate titanate (PZT), it is 3 x 10^-10. [/vc_message][/vc_column][/vc_row][vc_row][vc_column][vc_column_text]
History of Piezoelectric Effect
In 1880, brothers Pierre Curie and Jacques Curie were working together when they came across a surprising phenomenon. They discovered that applying pressure to quartz – a Piezoelectric material – results in electric charge generation. This shift of mechanical energy into electrical energy is the basis of the piezoelectric effect or direct piezoelectric effect.
However, the discoveries didn’t stop there! Gabriel Lippman, in 1881, via mathematical deduction from fundamental thermodynamic principles, predicted an effect that’s opposite to the direct Piezoelectric Effect. He found out that applying electrical charge to a material causes the production of mechanical strain. This was also further elaborated by the Curie brothers.
These discoveries by Gabriel Lippman and Curies further ignited the interest of the European scientific community. This phenomenon became a field of research in the last quarter of the 19th century, and the first application of this effect was SONAR. It was developed in France in World War I. [/vc_column_text][/vc_column][/vc_row][vc_row][vc_column width=”2/5″][vc_column_text]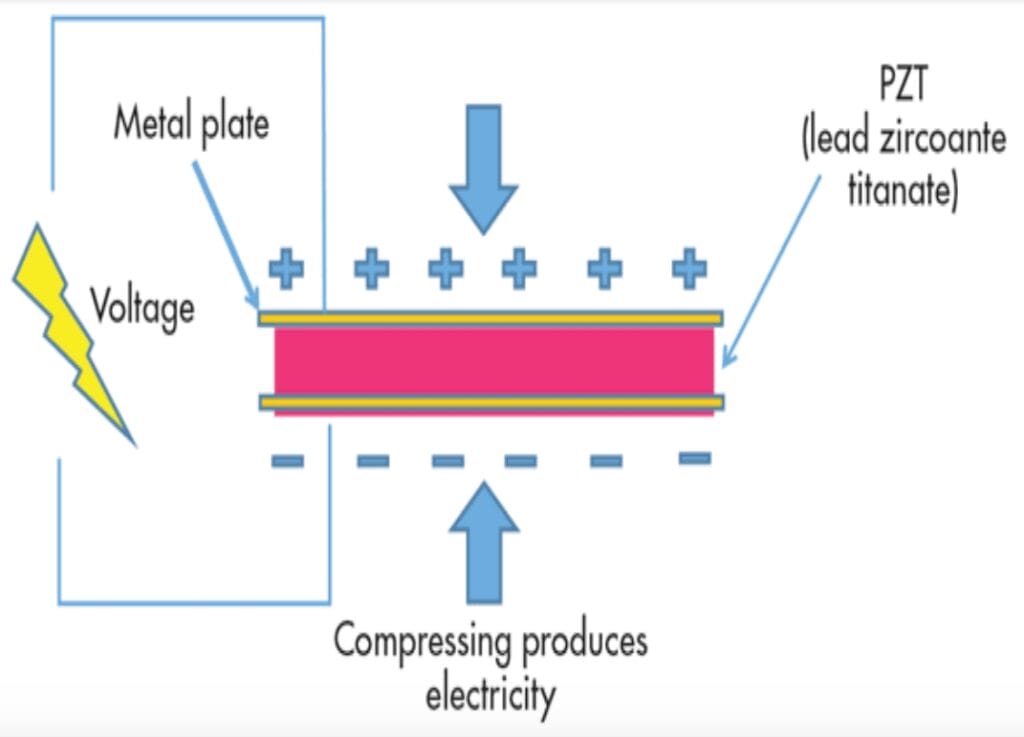 [/vc_column_text][/vc_column][vc_column width=”3/5″][vc_cta h2=”How Does Piezoelectric Effect Work” add_button=”bottom” btn_title=”Contact Langir” btn_style=”classic” btn_color=”warning” btn_link=”url:https%3A%2F%2F#popmake-11886″]The piezoelectric effect may seem like a lot to take in, but in reality, it’s very simple.
Here’s how a Piezoelectric effect occurs in a crystal or solid:
- Piezoelectric materials don’t have a center of symmetry, and the positive charges are surrounded by the negative ones. They cancel out each other’s effect, leaving no net charge on the crystal.
- As you apply a force on the crystal lattice, you force the charges to change their position, unbalancing them.
- The negative charges don’t cancel out the positive ones. Net positive and net negative charges appear on the lattice, producing AC voltage. This voltage generation due to mechanical stress is known as the piezoelectric effect or piezoelectricity.
[/vc_cta][/vc_column][/vc_row][vc_row][vc_column][vc_column_text]
Types of Piezoelectric Effect
The piezoelectric effect comes in two distinct types, each showcasing unique characteristics. Here’s their detail:[/vc_column_text][/vc_column][/vc_row][vc_row][vc_column width=”1/2″][vc_column_text]
Direct Piezoelectric Effect
The direct piezoelectric effect occurs when you apply stress or pressure to a piezoelectric material, generating an electric charge as charges move within the crystal lattice. The outcome is net positive and negative charge distribution on the lattice. Fundamentally, the direct piezoelectric effect lays the groundwork for various applications, prominently featuring the design and integration of sensors and actuators.[/vc_column_text][/vc_column][vc_column width=”1/2″][vc_column_text]
Converse Piezoelectric Effect
Contrarily to the direct piezoelectric effect, the converse piezoelectric effect entails the application of an electric field to a crystal, leading to a transformation in its mechanical form. This phenomenon occurs as the electric field prompts charges within the crystal to shift, thereby causing a modification in the material’s shape.
The piezoelectric effect finds practical applications in the production of various devices. A notable mention is the piezoelectric transducers, which convert electrical signals into mechanical vibrations or motion. [/vc_column_text][/vc_column][/vc_row][vc_row][vc_column][vc_column_text]
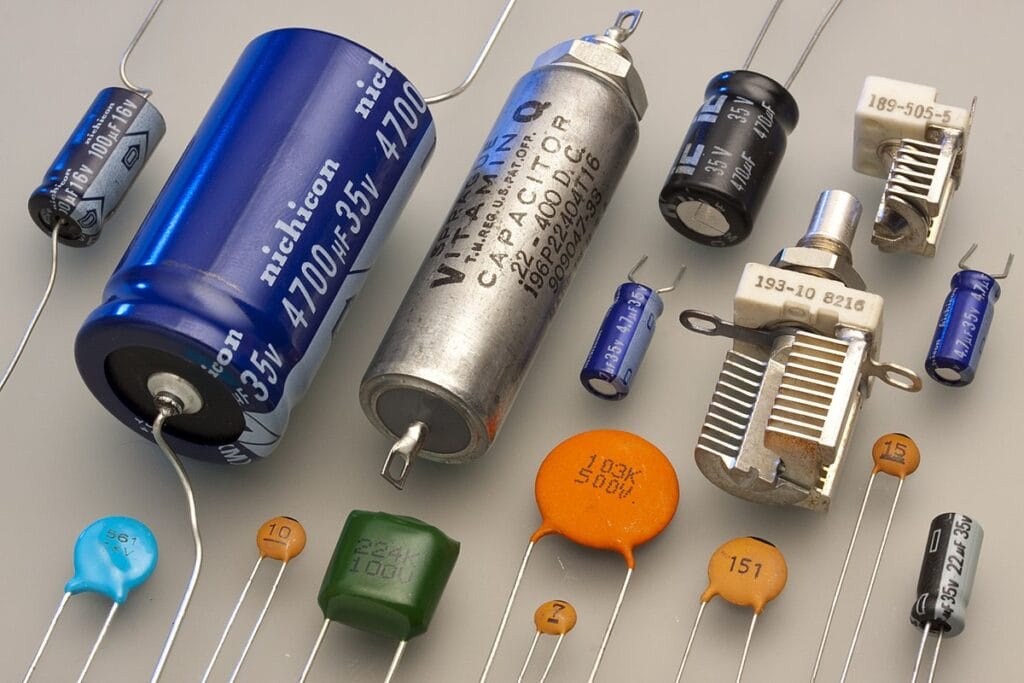
What are Piezoelectric Materials
Piezoelectric Materials exhibit the piezoelectric effect – they generate an electric charge against to applied mechanical stress or deformation. In addition, piezoelectric effect materials also show reversible behavior — when an electric current is applied, it undergoes a slight change in shape, typically up to a maximum of 4%.
Woldemar Voigt, in his Lehrbuch der Kristallphysik (Textbook on Crystal Physics), mentioned around 20 classes of materials in which the piezoelectric effect occurs.
So, let’s learn about Piezoelectric materials![/vc_column_text][/vc_column][/vc_row][vc_row][vc_column][vc_tta_accordion][vc_tta_section title=”Natural Piezoelectric Materials” tab_id=”1702831625251-3ce1a83e-b20e”][vc_column_text]These materials occur in nature and exhibit inherent piezoelectric properties, such as:
- Tourmaline
- Topaz
- Rochelle salt
- Sucrose
- Quartz
[/vc_column_text][/vc_tta_section][vc_tta_section title=”Man-Made Piezoelectric Materials” tab_id=”1702831625278-f37f4ea4-7742″][vc_column_text]These materials are engineered to possess piezoelectric characteristics, such as:
- Gallium orthophosphate (GaPO4) is a quartz analog.
- Langasite (La3Ga5SiO14), a quartz analog.
[/vc_column_text][/vc_tta_section][vc_tta_section title=”Biological Piezoelectric Materials” tab_id=”1702831680952-dab51333-6cbb”][vc_column_text]They are found in biological entities, and common forms of biological Piezoelectric Materials are:
- Wood
- Dentin
- Enamel
- Tendon
- Collagen
[/vc_column_text][/vc_tta_section][vc_tta_section title=”Piezoelectric Ceramics” tab_id=”1702831709531-56c957c1-23e3″][vc_column_text]Some Piezoelectric Ceramics are:
- Lithium niobate (LiNbO3)
- Potassium niobate (KNbO3)
- Lead zirconate titanate (PZT)
- Barium titanate (BaTiO3)
- Lead titanate (PbTiO3)
[/vc_column_text][/vc_tta_section][/vc_tta_accordion][/vc_column][/vc_row][vc_row][vc_column][vc_column_text]
Applications of Piezoelectric Effect
Here are some common applications of piezoelectric effect:
Piezoelectric Sensors in Industrial Applications
Here are the applications of Piezoelectric switches or sensors in various industries:[/vc_column_text][/vc_column][/vc_row][vc_row][vc_column width=”1/2″][vc_column_text]
Pressure Sensors
In industrial settings, pressure sensors are deployed to monitor and regulate various processes. They play a vital role in measuring fluid pressures, ensuring optimal operation of machinery, and contributing to the overall efficiency of industrial processes. However, using ordinary pressure sensors may yield unreliable results.
That’s why many industries are relying on Piezoelectric pressure sensors. These sensors leverage the piezoelectric effect to convert mechanical pressure into electrical signals, giving accurate results.[/vc_column_text][/vc_column][vc_column width=”1/2″][vc_column_text]
Engine Knock Sensors
Piezoelectric sensors play a critical role in engine knock detection within the automotive and industrial sectors. These sensors detect vibrations or knock in an engine, which may indicate irregular combustion.
By converting these mechanical vibrations into electrical signals, piezoelectric knock sensors provide valuable feedback to engine control systems. This information allows for real-time adjustments, optimizing engine performance and preventing potential damage.[/vc_column_text][/vc_column][/vc_row][vc_row][vc_column][vc_column_text]
Piezoelectric Actuators in Industrial Applications
Some common industrial applications of Piezoelectric actuators are:[/vc_column_text][/vc_column][/vc_row][vc_row][vc_column width=”1/2″][vc_column_text]
Fast Response Solenoids
In contrast to electromagnetic solenoids, which often struggle with speed limitations, piezoelectric actuators emerge as a game-changer. These actuators, driven by the piezoelectric effect, showcase remarkable speed and precision. Their ability to swiftly convert electrical signals into mechanical motion is leveraged in systems such as high-speed valves and dispensing mechanisms.[/vc_column_text][/vc_column][vc_column width=”1/2″][vc_column_text]
Optical Adjustment
Piezoelectric actuators shine in optical adjustment applications. Their minute and controlled movements make them invaluable for fine-tuning optical components with unparalleled accuracy. Cameras, lasers, and various optical instruments benefit from the nanometer-scale adjustments facilitated by piezoelectric actuators.[/vc_column_text][/vc_column][/vc_row][vc_row][vc_column][vc_column_text]
Advantages of Devices Showing Piezoelectric Effect
Let’s discuss the many advantages of Piezoelectric devices:[/vc_column_text][/vc_column][/vc_row][vc_row][vc_column][vc_tta_accordion][vc_tta_section title=”Easy Installation” tab_id=”1702877339676-ba98e417-a62c”][vc_column_text]Piezoelectric devices boast a simplicity in installation that sets them apart in various applications. Their lightweight nature and compact size contribute to the ease of integration into diverse systems.
It doesn’t matter if they are used in industrial machinery, medical devices, or consumer electronics; their straightforward installation enhances their versatility. This characteristic facilitates their seamless incorporation into existing technologies. It also allows for innovative and space-efficient design solutions across different industries.[/vc_column_text][/vc_tta_section][vc_tta_section title=”No External Power Source is Required” tab_id=”1702877339706-03b82d66-31a1″][vc_column_text]One of the significant advantages of piezoelectric devices is their ability to operate without an external power source. The reason behind this is the materials’ capability to generate electric charge against mechanical stress.
This self-generating feature makes piezoelectric devices particularly advantageous in applications where a continuous power supply may be challenging to implement. Examples include certain sensors, actuators, and energy harvesting systems. [/vc_column_text][/vc_tta_section][vc_tta_section title=”Highly Flexible” tab_id=”1702877390956-3f025ab0-8fd5″][vc_column_text]The integration of highly flexible materials into piezoelectric devices brings a new dimension of adaptability to various applications. These materials enable the creation of devices that can conform to unconventional shapes and structures, broadening their versatility. Applications like soft robotics, wearables, and healthcare benefit significantly from this adaptability. [/vc_column_text][/vc_tta_section][vc_tta_section title=”High Resonance Frequency” tab_id=”1702877414645-5b1d1bda-ae23″][vc_column_text]Piezoelectric devices exhibit a notable advantage in their ability to operate at high resonance frequencies. The high resonance frequency allows these devices to offer quick and efficient reactions to external stimuli. It’s particularly beneficial in applications where rapid and precise responses are crucial, like ultrasonic sensors and actuators.[/vc_column_text][/vc_tta_section][/vc_tta_accordion][/vc_column][/vc_row][vc_row][vc_column][vc_column_text]
Disadvantages of Piezoelectric Devices
Here are the disadvantages of Piezoelectric devices: [/vc_column_text][/vc_column][/vc_row][vc_row][vc_column][vc_tta_accordion][vc_tta_section title=”Minimum Quantity of Electrical Charge” tab_id=”1702877453234-66972db4-e600″][vc_column_text]Piezoelectric devices produce a relatively small amount of electric charge. This limitation necessitates the use of high-impedance cables when connecting these devices to an electrical interface.
The high impedance is required to minimize signal loss during transmission. It ensures that the weak electrical signals generated by piezoelectric materials are effectively captured and utilized.[/vc_column_text][/vc_tta_section][vc_tta_section title=”Environmental Conditions Affect Performance” tab_id=”1702877453271-c35ad699-74ed”][vc_column_text]Environmental factors – temperature, humidity, and external pressures impact the reliability and efficiency of Piezoelectric devices. Fluctuating temperature can alter the material properties of piezoelectric elements, impacting their sensitivity and responsiveness. Changes in humidity levels may also influence the dielectric properties of the materials, introducing variability in performance. [/vc_column_text][/vc_tta_section][/vc_tta_accordion][/vc_column][/vc_row][vc_row][vc_column][vc_column_text]
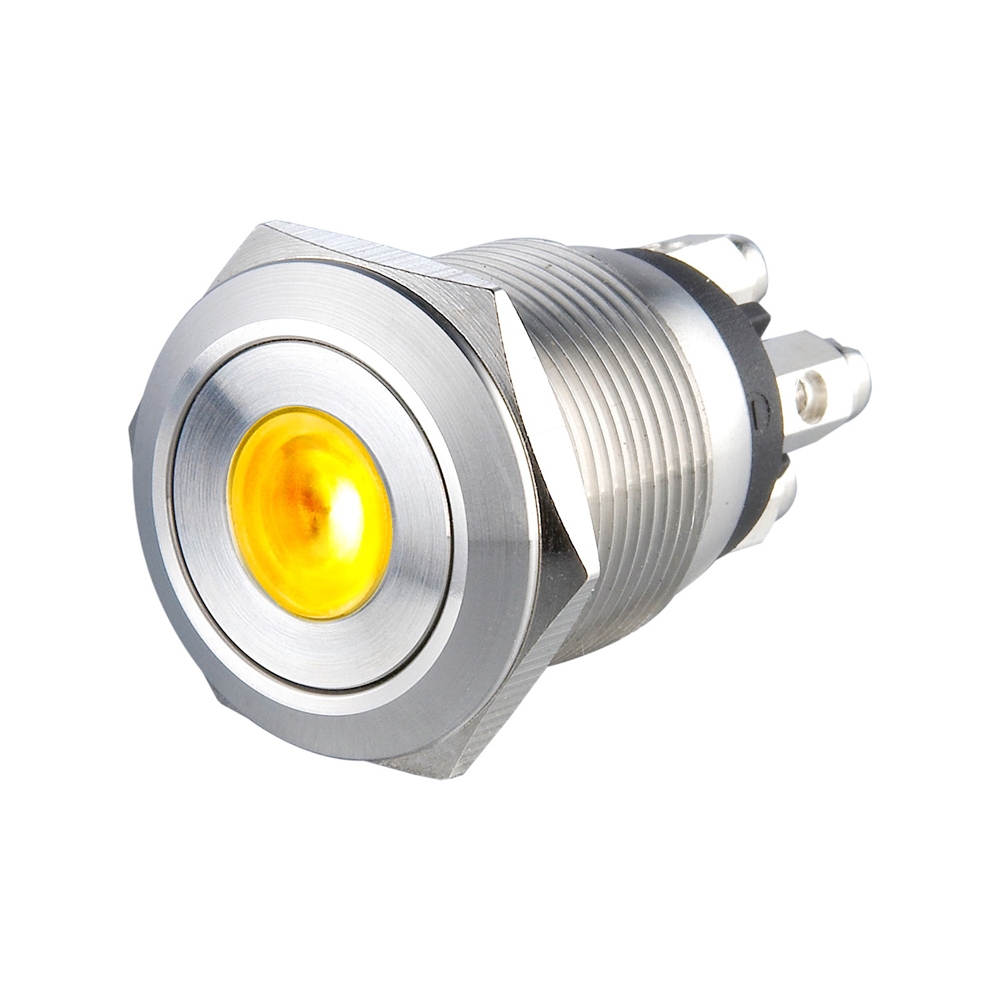
Best Piezoelectric Switch Options for You!
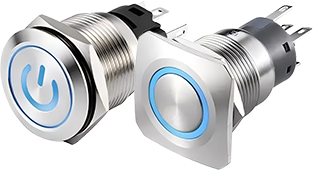
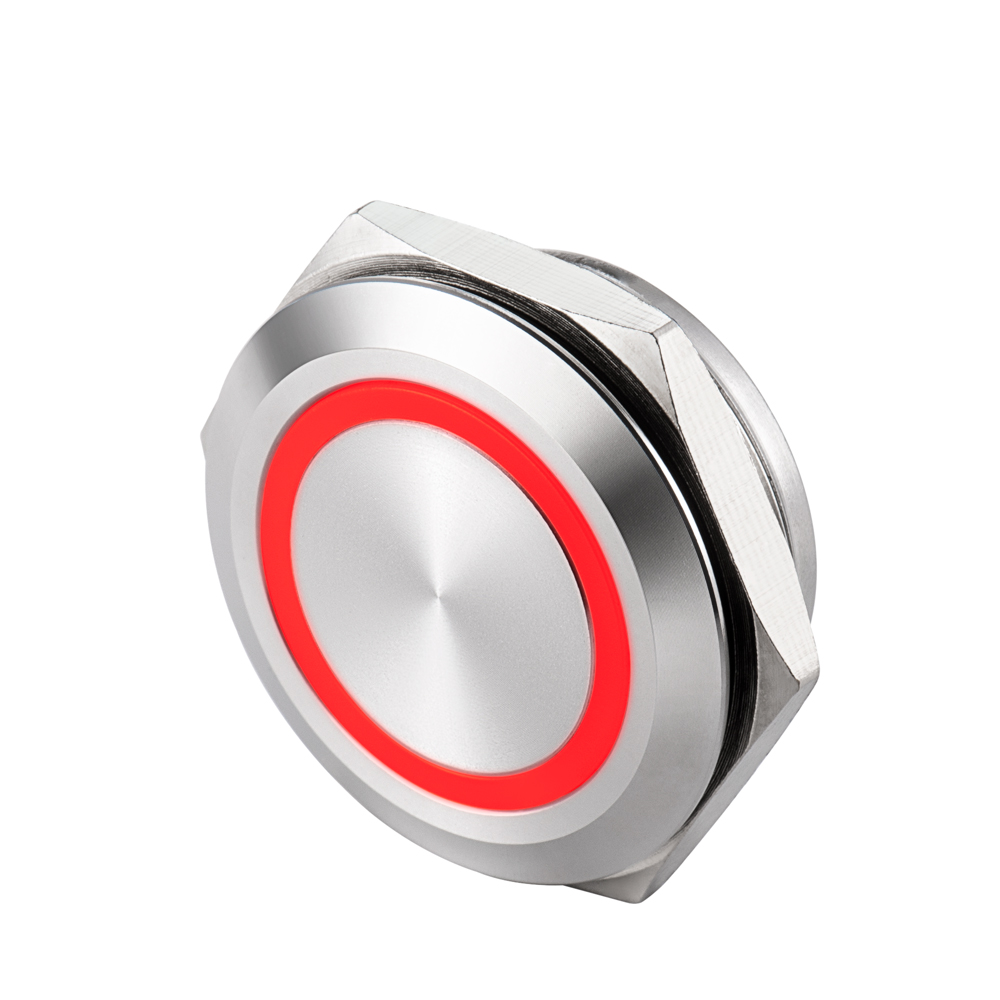
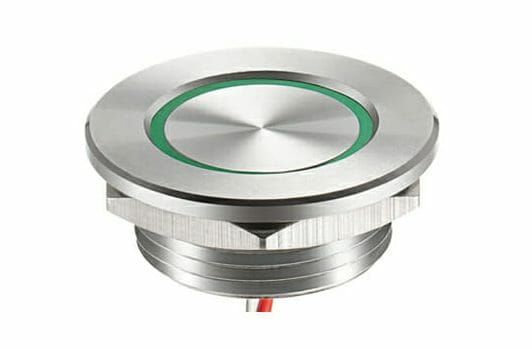
Here are the best Piezo switch options you can try for various industrial or medical applications:[/vc_column_text][/vc_column][/vc_row][vc_row][vc_column width=”1/3″][vc_column_text css=””]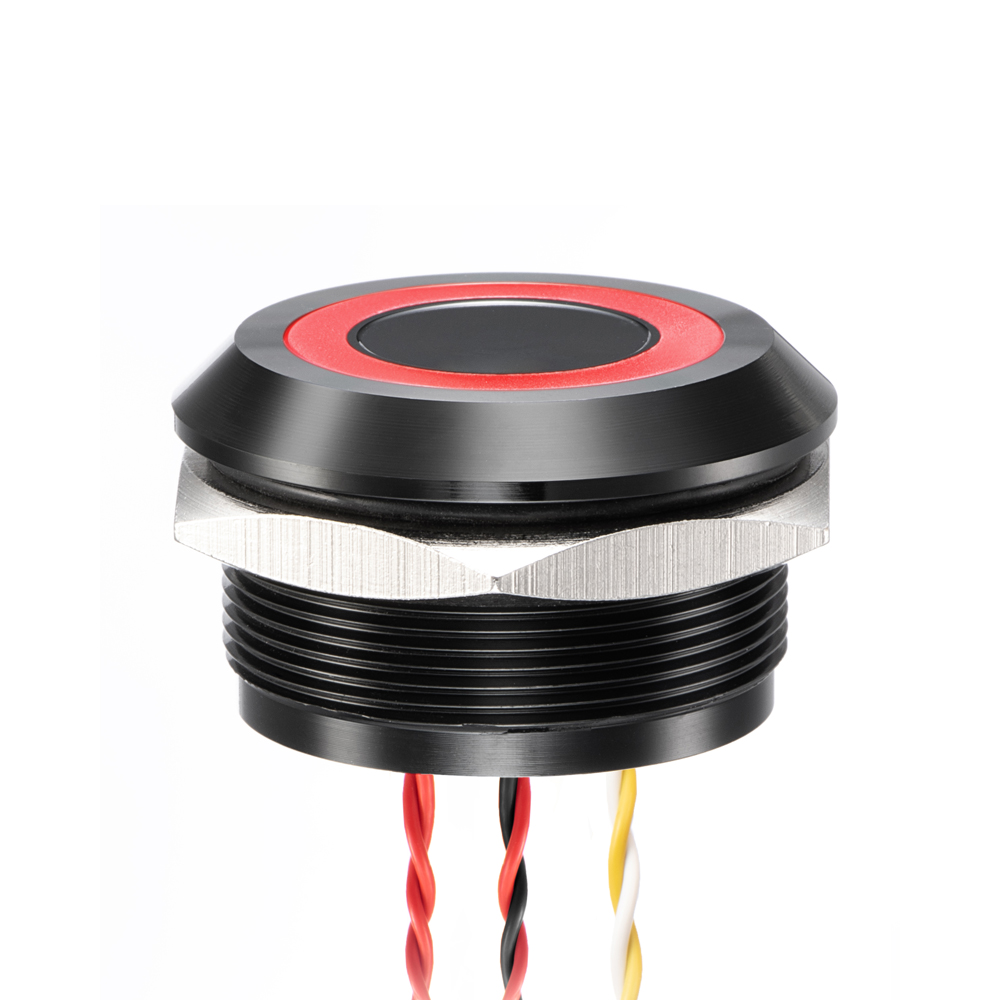 [/vc_column_text][/vc_column][vc_column width=”2/3″][vc_cta h2=”30mm Piezo Push Button” h2_font_container=”tag:h3|text_align:left” h2_use_theme_fonts=”yes” add_button=”bottom” btn_title=”Request a Quote” btn_style=”classic” btn_color=”warning” css=”” use_custom_fonts_h2=”true” btn_link=”url:https%3A%2F%2F#popmake-11886″ h2_link=”url:https%3A%2F%2Fwww.langir.com%2F30mm-piezo-switch%2F|target:_blank”]The 30mm Piezo Push Button is a cutting-edge solution designed for demanding applications where reliability is paramount. This button boasts a solid-state output, ensuring an exceptionally long life expectancy of more than 50 million cycles. Ideal for rigorous environments, the flat actuation surface is completely enclosed, guarding against the intrusion of liquids or contaminants.
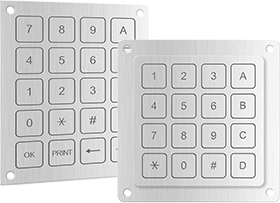
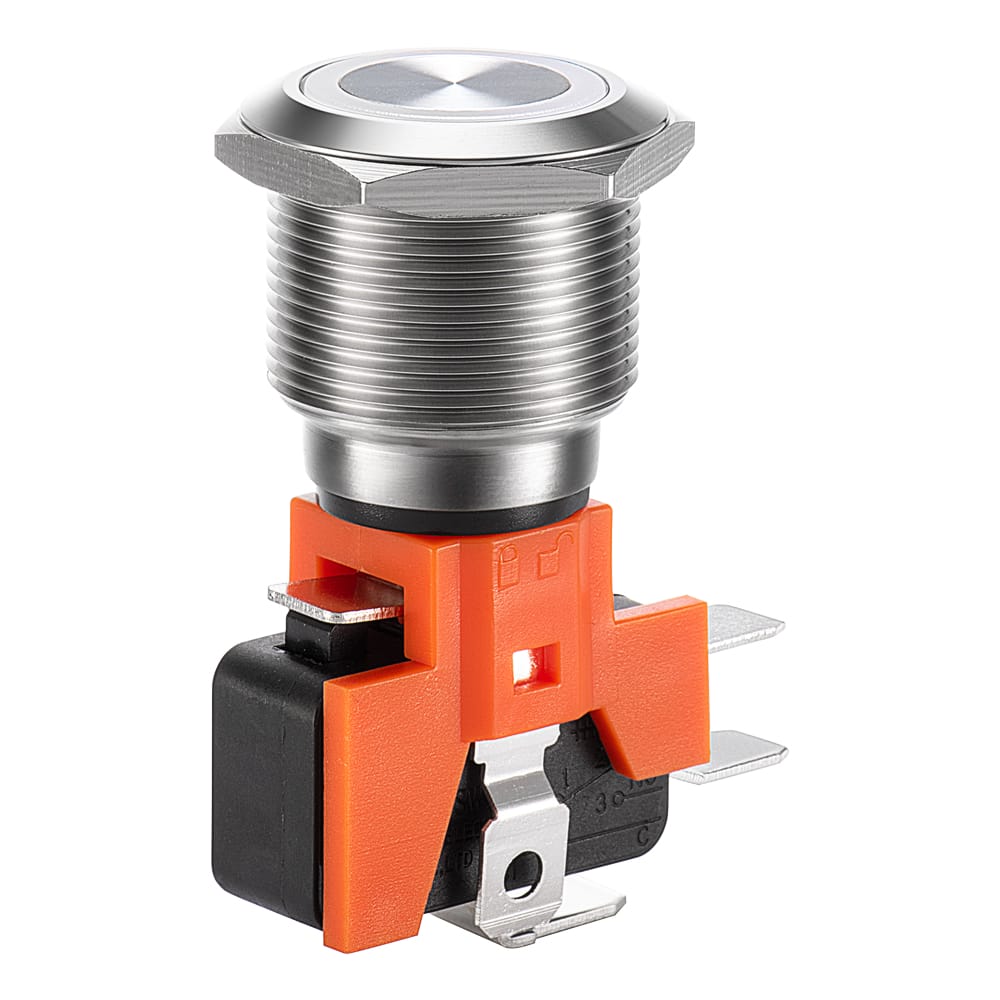
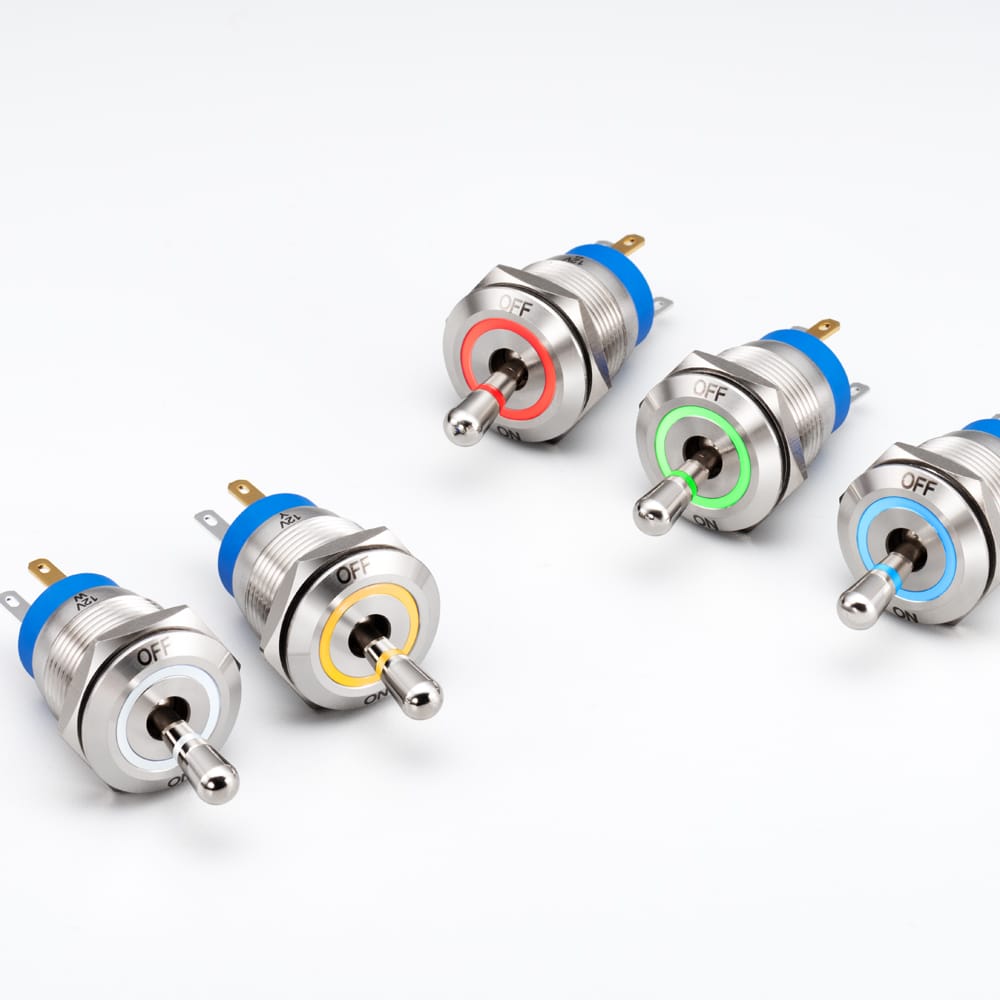
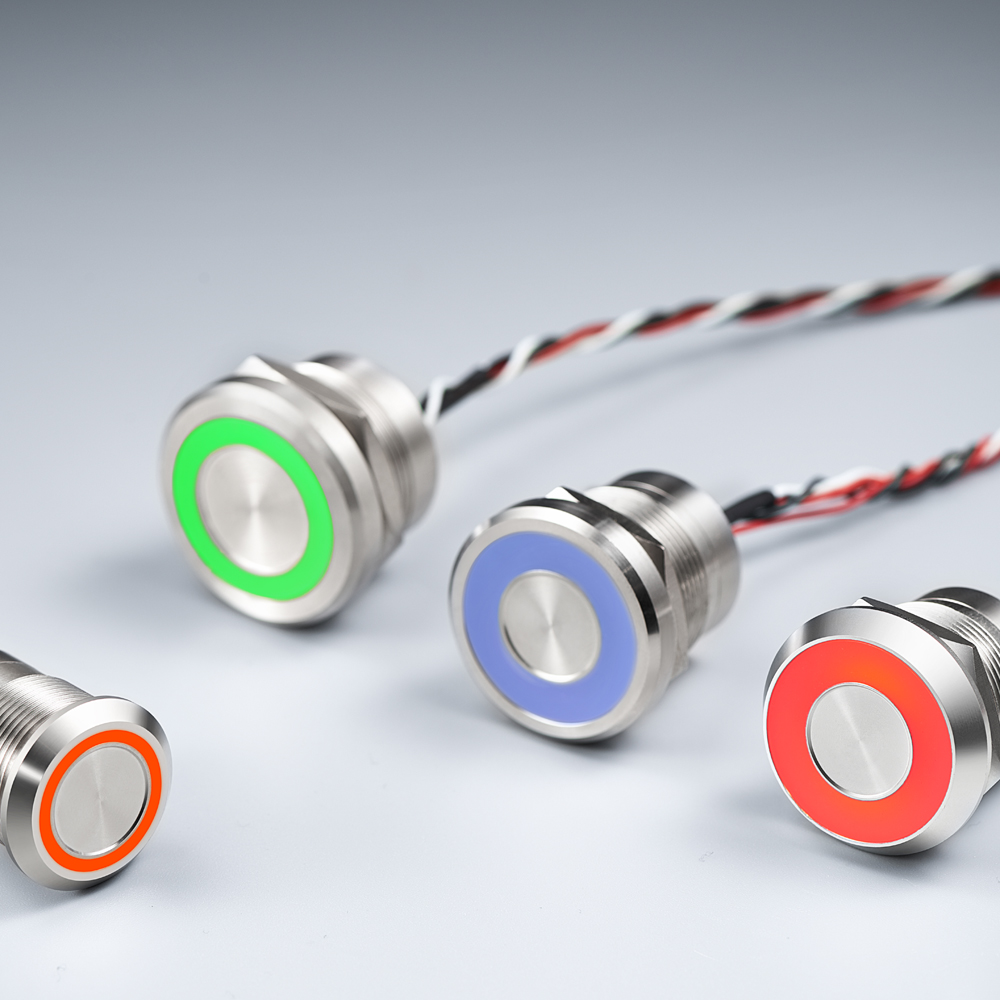
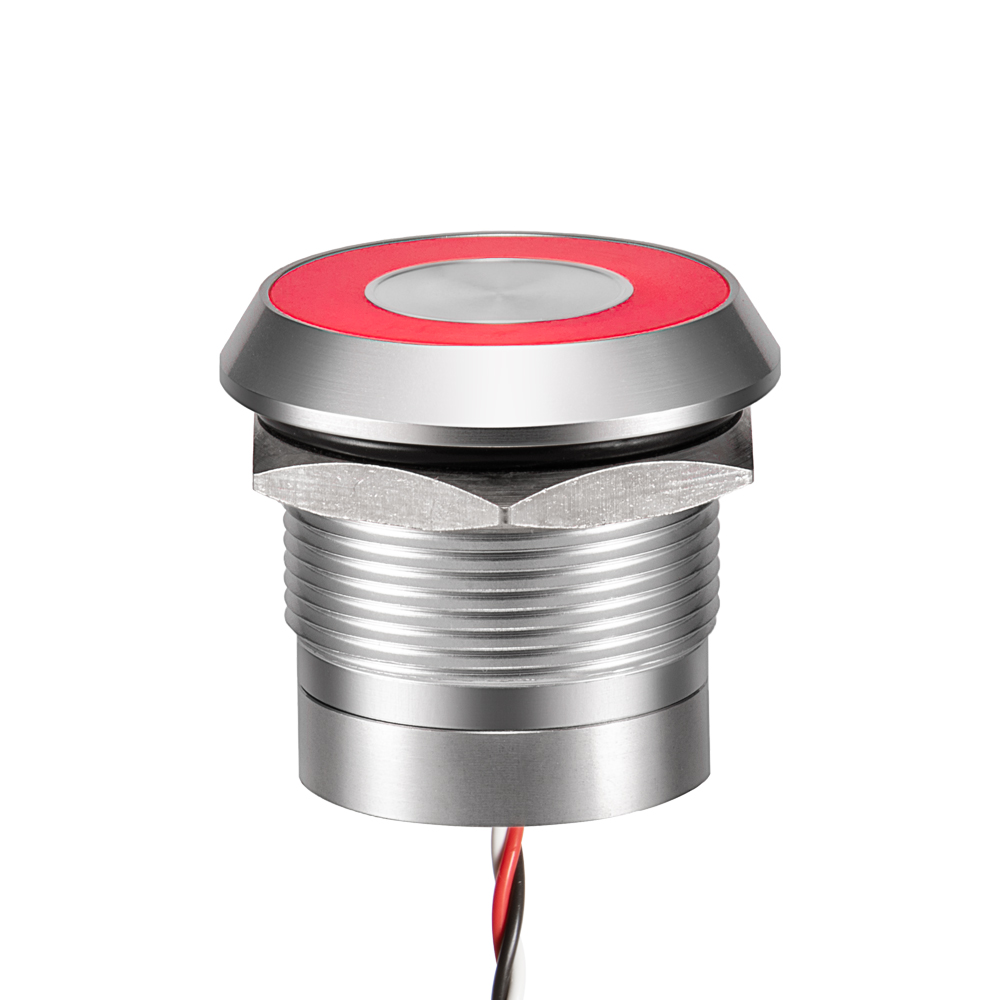
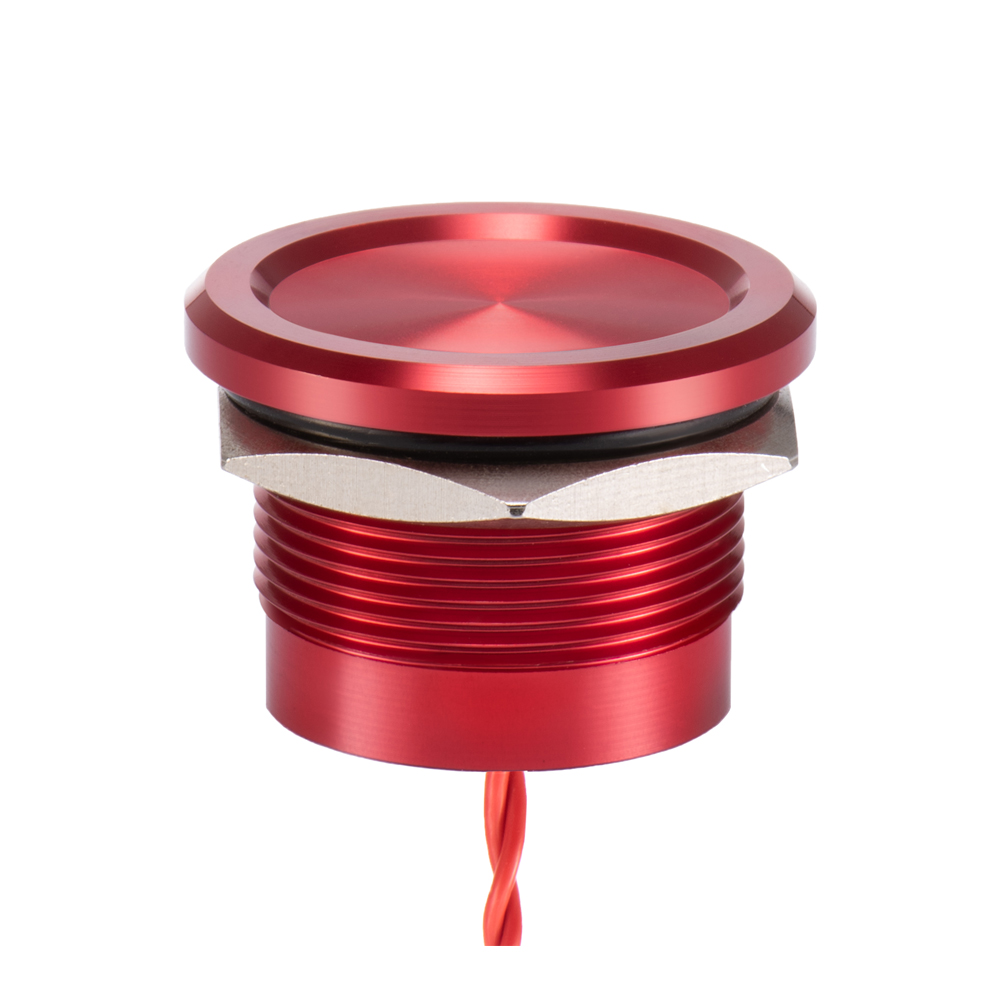
This feature makes it particularly well-suited for applications in the medical and food-processing industries, where stringent cleanliness standards are imperative. The switch’s one-piece construction achieves high-performance sealing, securing an impressive IP68 and IP69K rating. Notably, this level of protection ensures resilience against both dust and water, making the button highly durable in various industrial settings. [/vc_cta][/vc_column][/vc_row][vc_row][vc_column width=”2/3″][vc_cta h2=”Plastic Piezo Push Button Electrical Switch” h2_font_container=”tag:h3|text_align:left” h2_use_theme_fonts=”yes” add_button=”bottom” btn_title=”Request a Quote” btn_style=”classic” btn_color=”warning” use_custom_fonts_h2=”true” h2_link=”url:https%3A%2F%2Fwww.langir.com%2Fplastic-piezo-switch%2F|target:_blank” btn_link=”url:https%3A%2F%2F#popmake-11886″]The Plastic Piezo Push Button Electrical Switch is a versatile solution for seamless integration into various electronic systems. With a 25mm diameter actuator and a 22.2mm diameter mounting hole, this switch offers a compact yet functional design suitable for a range of applications. Operating on a normally open, momentary action principle, the switch provides a precise make impulse time of 125-300 milliseconds.
This ensures responsive and efficient performance. Its recessed face adds an extra layer of protection and aesthetic appeal. The IP68 sealing ensures robust protection against dust and water ingress, making it suitable for challenging environments. Moreover, the Plastic Piezo Push Button Electrical Switch is available with 12V and 24V LEDs, offering customizable illumination options.[/vc_cta][/vc_column][vc_column width=”1/3″][vc_column_text]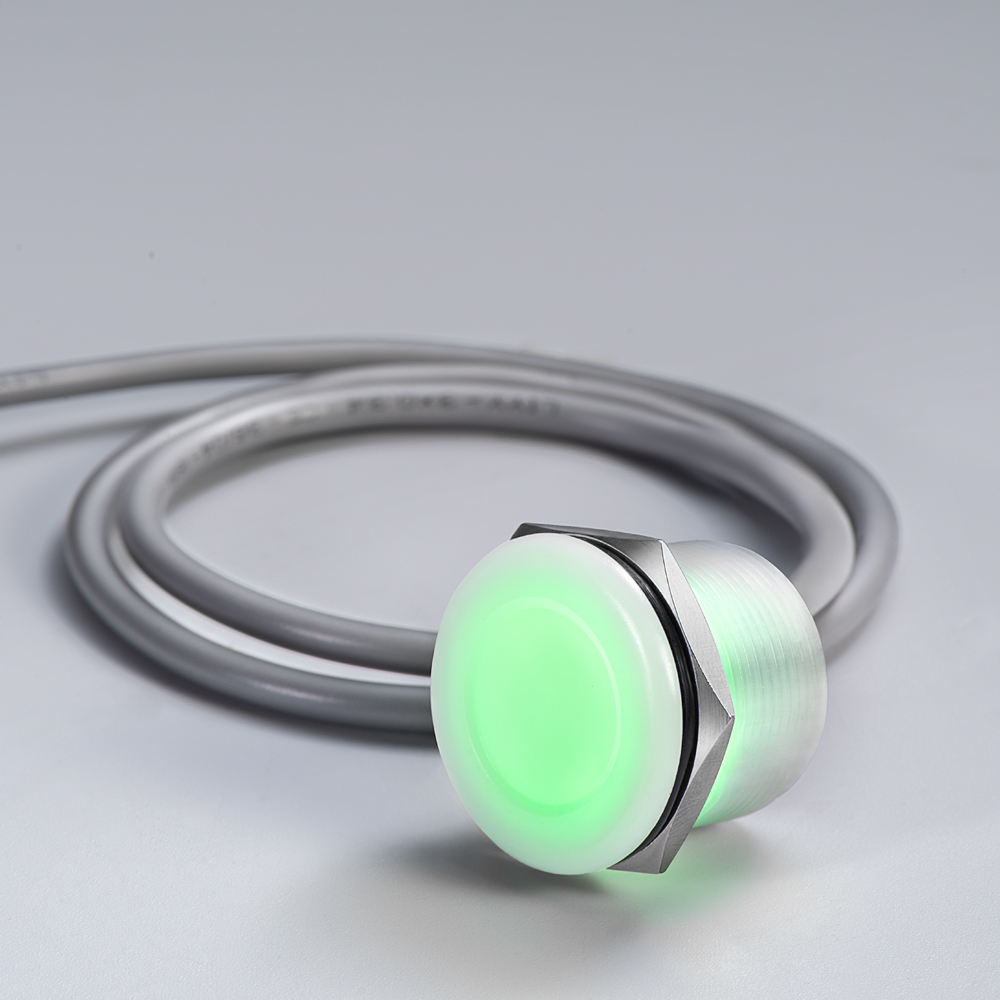
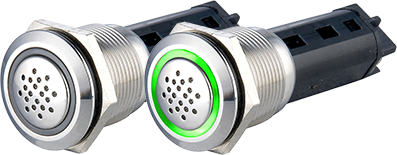
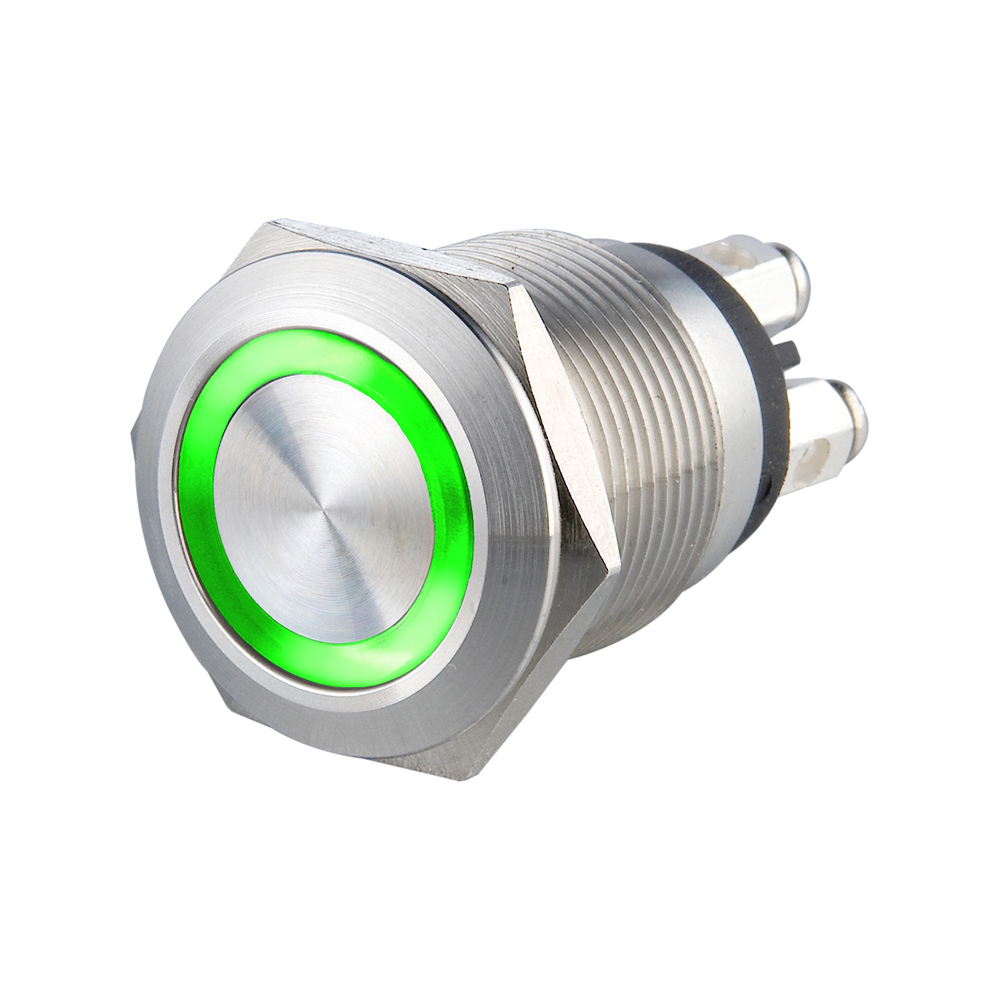
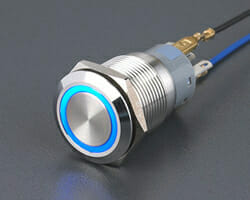
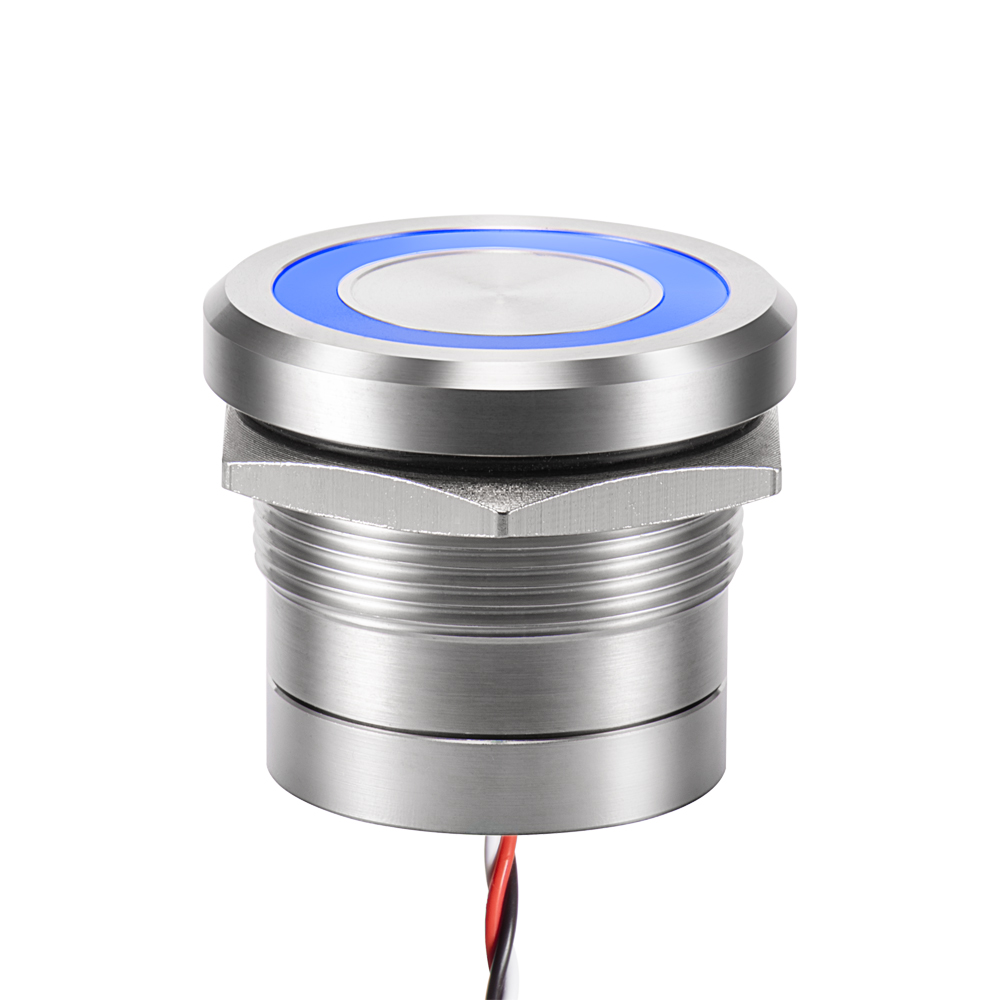
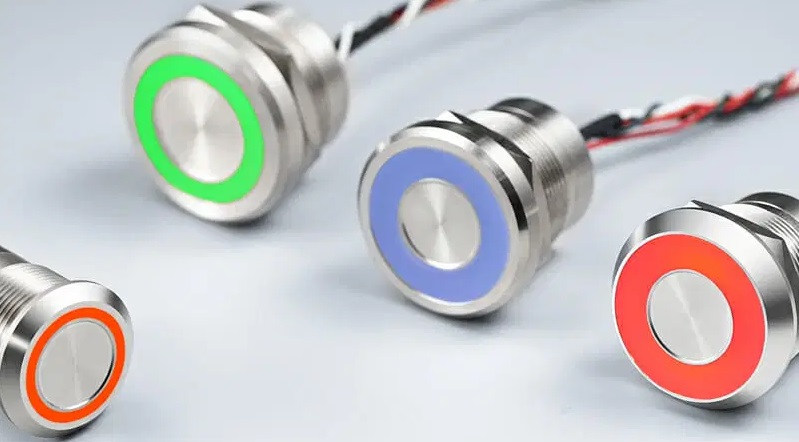
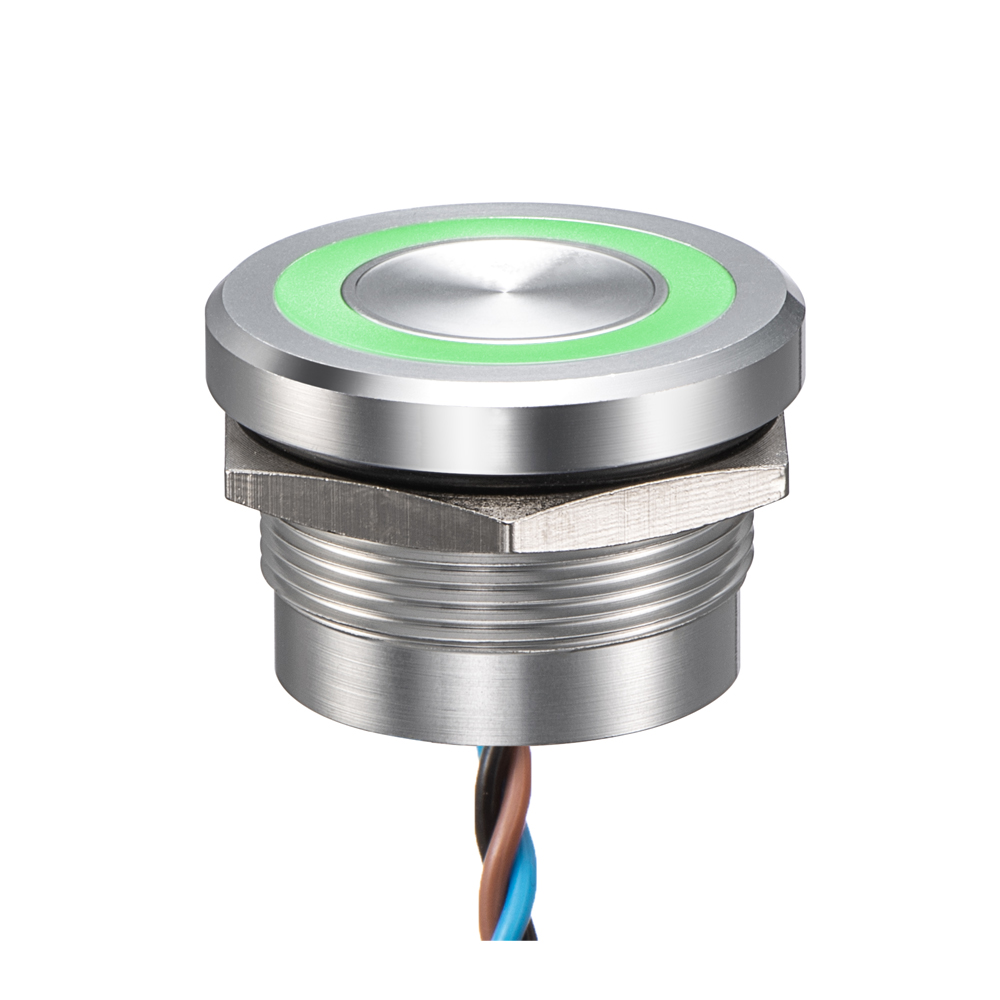
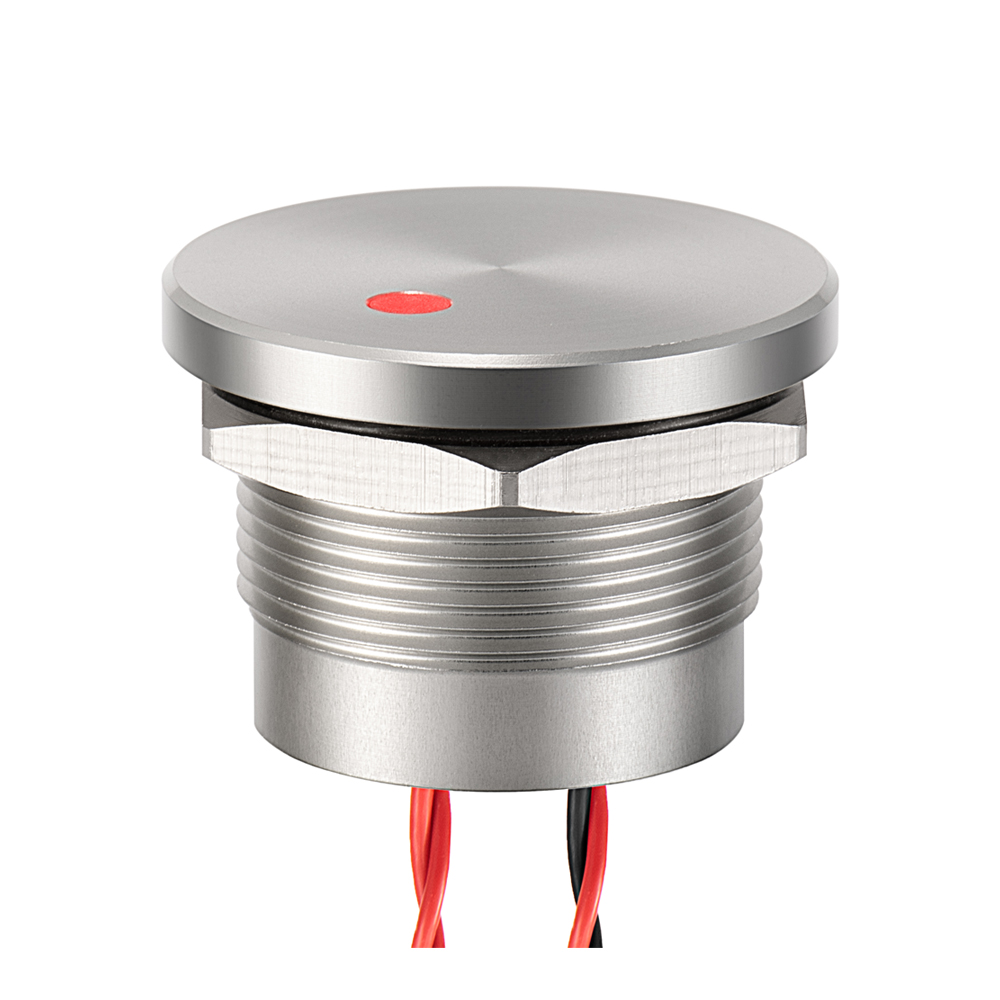
[/vc_column_text][/vc_column][/vc_row][vc_row][vc_column width=”1/3″][vc_column_text css=””]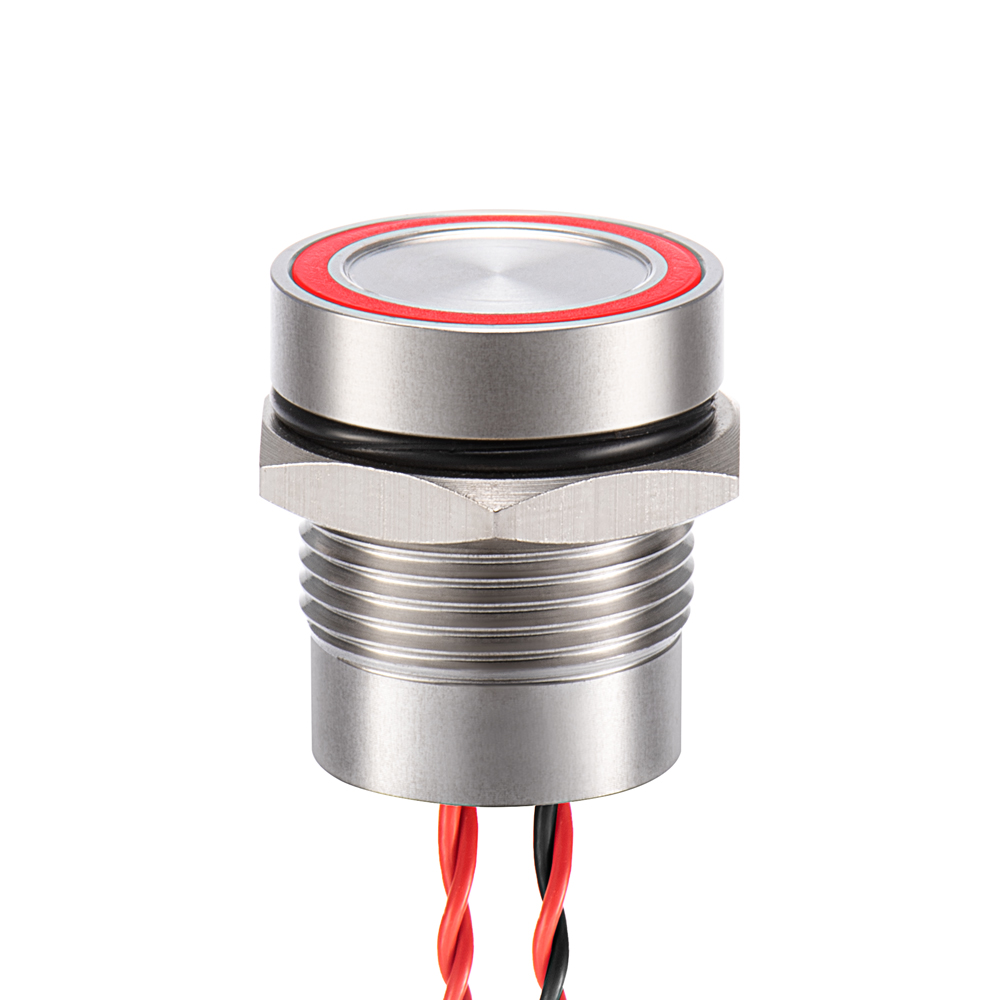 [/vc_column_text][/vc_column][vc_column width=”2/3″][vc_cta h2=”16mm Piezo Touch Switch” h2_font_container=”tag:h3|text_align:left” h2_use_theme_fonts=”yes” add_button=”bottom” btn_title=”Request a Quote” btn_style=”classic” btn_color=”warning” use_custom_fonts_h2=”true” h2_link=”url:https%3A%2F%2Fwww.langir.com%2F16mm-piezo-switch%2F|target:_blank” btn_link=”url:https%3A%2F%2F#popmake-11886″]At last, the 16mm Piezo Touch Switch is a sophisticated solution tailored for user-friendly interactions and enduring performance. Designed with an easy-to-clean metal surface, this switch not only ensures a sleek appearance but also facilitates maintenance, making it ideal for applications where hygiene is crucial.
Boasting an impressive life expectancy of 50 million cycles, the switch guarantees longevity and reliability. Furthermore, its robust design includes sealing options of IP68 or IP69K. This ensures superior protection against dust, water, and high-pressure cleaning, making it suitable for demanding environments. [/vc_cta][/vc_column][/vc_row][vc_row][vc_column][vc_column_text]
FAQs
[/vc_column_text][/vc_column][/vc_row][vc_row][vc_column][vc_toggle title=”Is Piezoelectric AC or DC?” custom_font_container=”tag:h3|font_size:16|text_align:left” custom_use_theme_fonts=”yes” use_custom_heading=”true”]Piezoelectricity primarily generates an alternating current (AC) when a piezoelectric material experiences mechanical stress or pressure variations. This phenomenon is a result of the crystal lattice’s response to the applied force, causing a displacement of positive and negative charges.[/vc_toggle][vc_toggle title=”Why is Piezoelectricity Important?” custom_font_container=”tag:h3|font_size:16|text_align:left” custom_use_theme_fonts=”yes” use_custom_heading=”true”]Piezoelectricity is crucial for its role in sensors, actuators, and energy harvesting. It enables the conversion of mechanical stress into electrical signals, making it essential for various applications. Common ones include pressure sensors, accelerometers, and precision positioning systems.[/vc_toggle][vc_toggle title=”How Many Volts is Piezoelectric?” custom_font_container=”tag:h3|font_size:16|text_align:left” custom_use_theme_fonts=”yes” use_custom_heading=”true”]Piezoelectric devices typically generate voltages ranging from a few milli-Volts to tens of Volts. Piezo transducers suitable for hobby purposes commonly produce voltages in the range of 10mV to 100mV. The output voltage depends on factors such as the type of piezoelectric material, applied stress, and the device’s specific design and application.[/vc_toggle][vc_toggle title=”Can Piezoelectric Effect Charge a Phone?” custom_font_container=”tag:h3|font_size:16|text_align:left” custom_use_theme_fonts=”yes” use_custom_heading=”true”]Piezoelectricity isn’t very helpful for charging phones due to the small voltage output. However, you can use it when there’s no alternative power source available.[/vc_toggle][/vc_column][/vc_row][vc_row][vc_column][vc_column_text]
Conclusion
The piezoelectric effect is useful in various industries and has two major types: direct and converse piezoelectric effect. To leverage the benefits of piezoelectricity, investing in quality components is crucial. Langir stands out as a reliable choice for Piezo switches, offering advanced technology to enhance the efficiency and reliability of your devices. Get in touch with us today and grab high-quality switches for a wide range of applications![/vc_column_text][/vc_column][/vc_row][vc_row][vc_column][vc_zigzag]
[/vc_column][/vc_row][vc_row][vc_column][vc_zigzag][/vc_column][/vc_row]

 [/vc_column_text][/vc_column][vc_column width=”2/3″][vc_column_text]
 [/vc_column_text][/vc_column][vc_column width=”2/3″][vc_column_text]
 [/vc_column_text][/vc_column][vc_column width=”2/3″][vc_column_text]


 [/vc_column_text][/vc_column][vc_column width=”2/3″][vc_column_text]
 [/vc_column_text][/vc_column][vc_column width=”2/3″][vc_column_text]
 [/vc_column_text][/vc_column][vc_column width=”2/3″][vc_column_text]
 [/vc_column_text][/vc_column][vc_column width=”2/3″][vc_column_text]
 [/vc_column_text][/vc_tta_section][vc_tta_section title=”Single Pole Double Throw (SPDT) Toggle Switches” tab_id=”1705651513929-9dc29e78-2775″][vc_column_text]
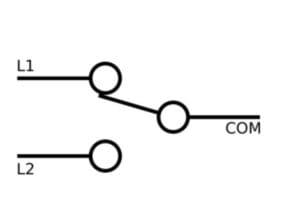 [/vc_column_text][/vc_tta_section][vc_tta_section title=”Double Pole Single Throw (DPST) Toggle Switches” tab_id=”1705652308647-13850c86-6ea4″][vc_column_text]
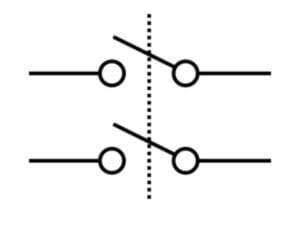 [/vc_column_text][/vc_tta_section][vc_tta_section title=”Double Pole Double Throw (DPDT) Toggle Switches” tab_id=”1705652366081-9c02ec9c-2e9d”][vc_column_text]
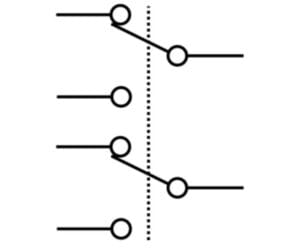 [/vc_column_text][/vc_tta_section][/vc_tta_accordion][/vc_column][/vc_row][vc_row][vc_column][vc_column_text]