
[vc_row][vc_column][vc_column_text css=””]
Ever wonder which switch type fits your project best? This post breaks down momentary and latching switches, their core differences, and key applications. It helps readers pinpoint which option works for their needs, especially those dealing with bulk push button switch orders. The article offers a clear look at each switch type, weighing strengths and weaknesses so you get the right solution fast.
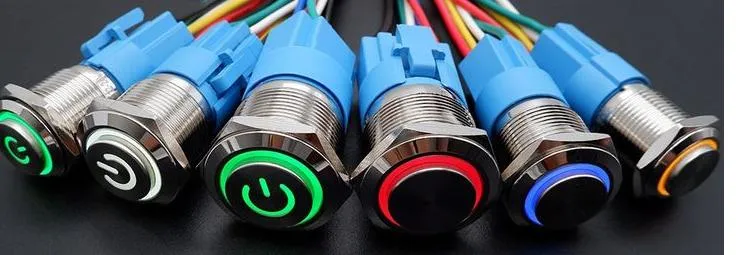
What is a Momentary Switch
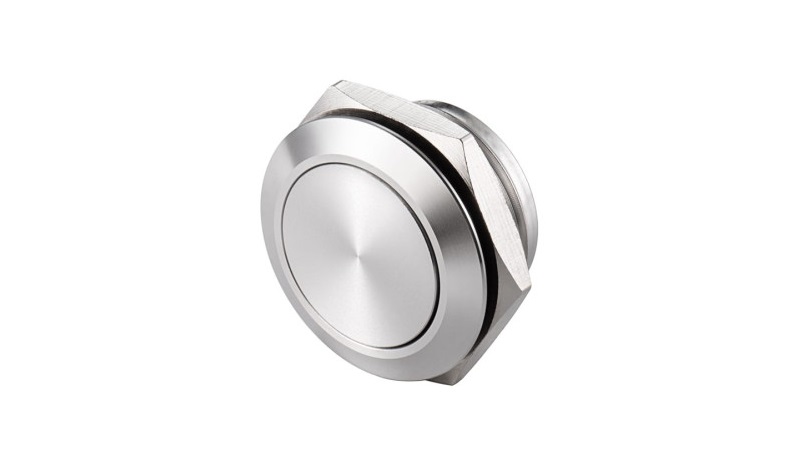
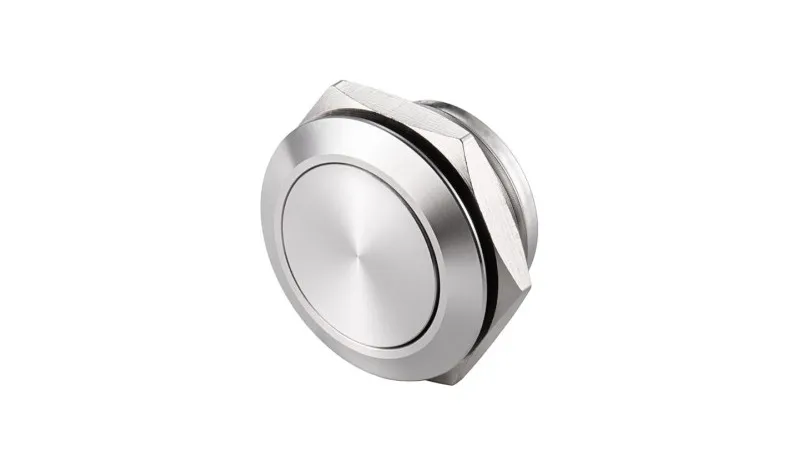
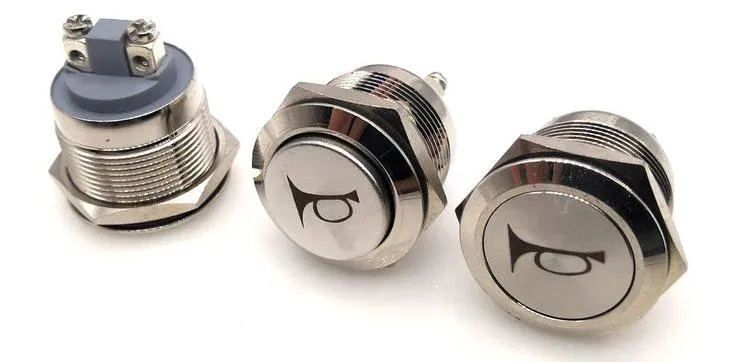
Momentary switches work by sending a quick burst of power when pressed, thanks to a small capacitor. With normally open switches, the contact closes only while pressed; normally closed ones break the circuit instead. These momentary contact switches pop up in everyday electronics, often shielding systems from dust. They contrast with what is a latching switch, which stays engaged after a push.

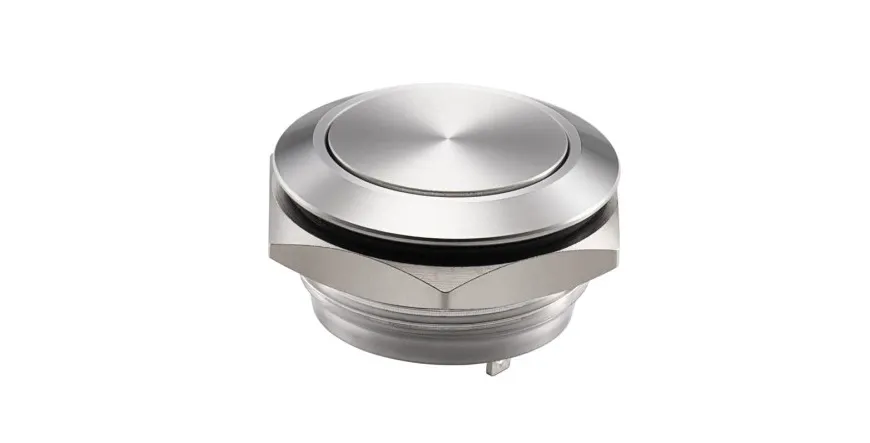
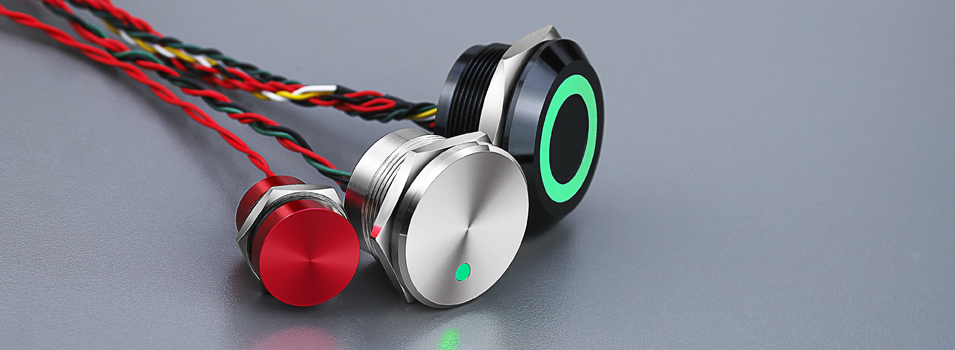
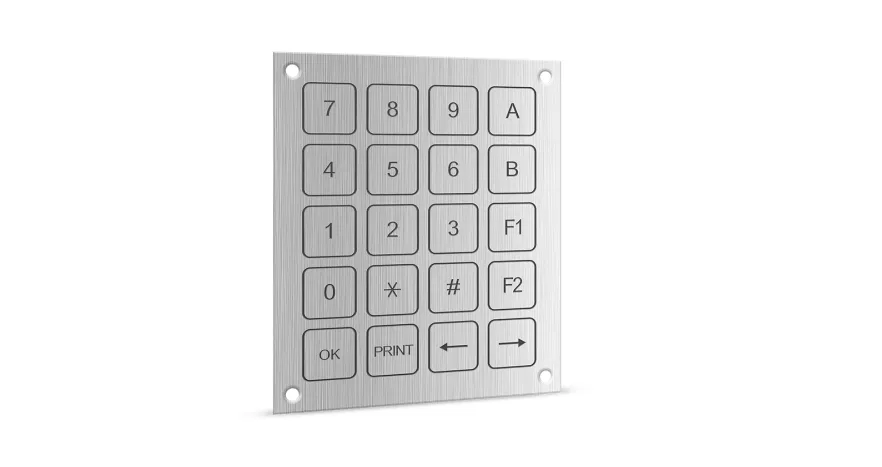
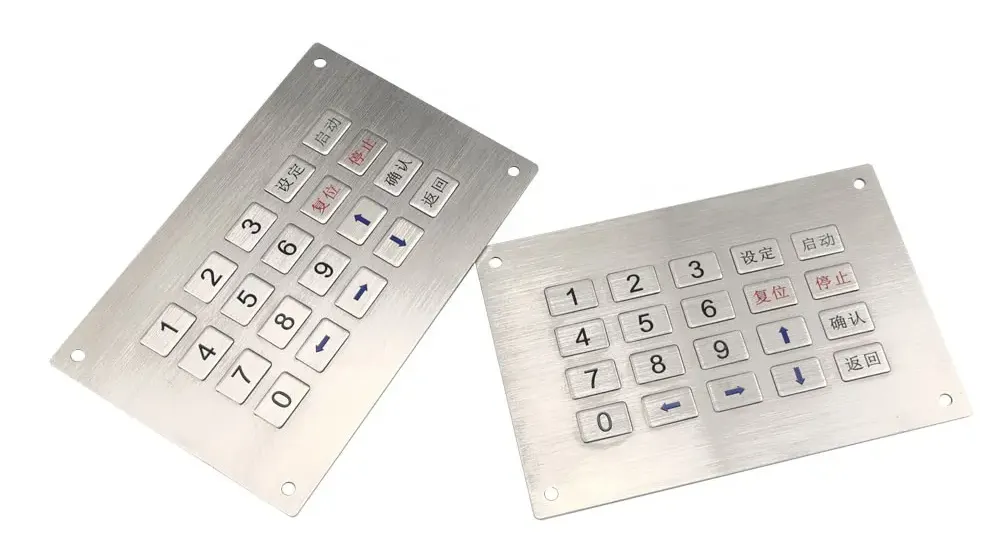
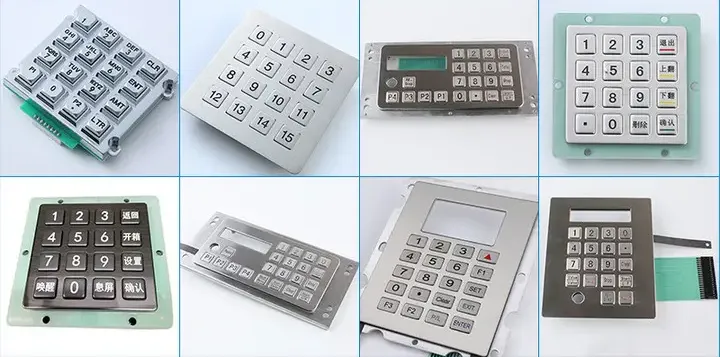
Contact Langir for Custom Metal Push Button Switches
The Basic Function of a Momentary Switch
A momentary switch sends a quick spark of power only when pressed, acting like a tiny relay that flicks on and off in an instant. Experts in steel construction, elevator design, and micro momentary switch manufacturing know that these switches keep systems safe and grounded, even when browsing the internet for the latest tech tips.
How a Momentary Push Button Switch Works Internally
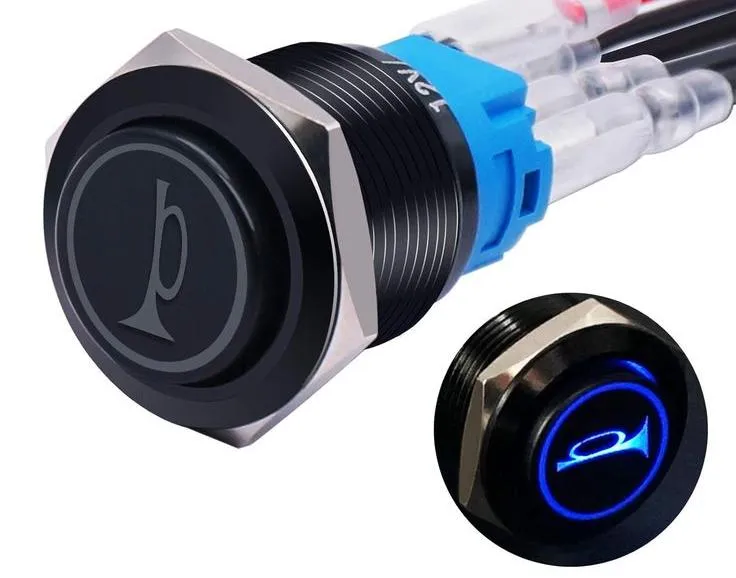
A momentary push button switch works like a tiny relay that only fires when pressed, quickly sending power through circuits like a dpdt momentary switch in an industrial machine or a 12v momentary switch in a compact gadget. With solid engineering similar to otto designs, the button momentary system efficiently sparks a response, whether it’s lighting up an led lamp or controlling other devices in a reliable, user-friendly way.
Normally Open Momentary Switches Functionality
In a circuit design, a normally open momentary on off on switch triggers a response only during the press, letting engineers use a waterproof momentary switch when needed and ensuring connections by solder without fuss, while a silicon controlled rectifier keeps the flow safe. This simple yet efficient setup cleans up the clutter in industrial controls, making maintenance straightforward and reliable.
Normally Closed Momentary Switches Functionality
A normally closed momentary push button switch works so that the circuit is complete until the button is pressed, which breaks the wire connection and stops the power supply in its tracks. This simple yet clever setup makes it ideal for systems that need to default to an active state, especially when considering issues like corrosion on components such as mushroom switches that see heavy use in industrial settings.
Everyday Examples of Momentary Switch Use
In everyday use, momentary switches power up a range of equipment—like a machine in the automotive industry that scans a datasheet to check sensor outputs or a cart in a warehouse that uses a magnetic field sensor for safety shutdowns. These switches keep operations smooth by activating the system only when needed, ensuring reliability and precision in critical processes.
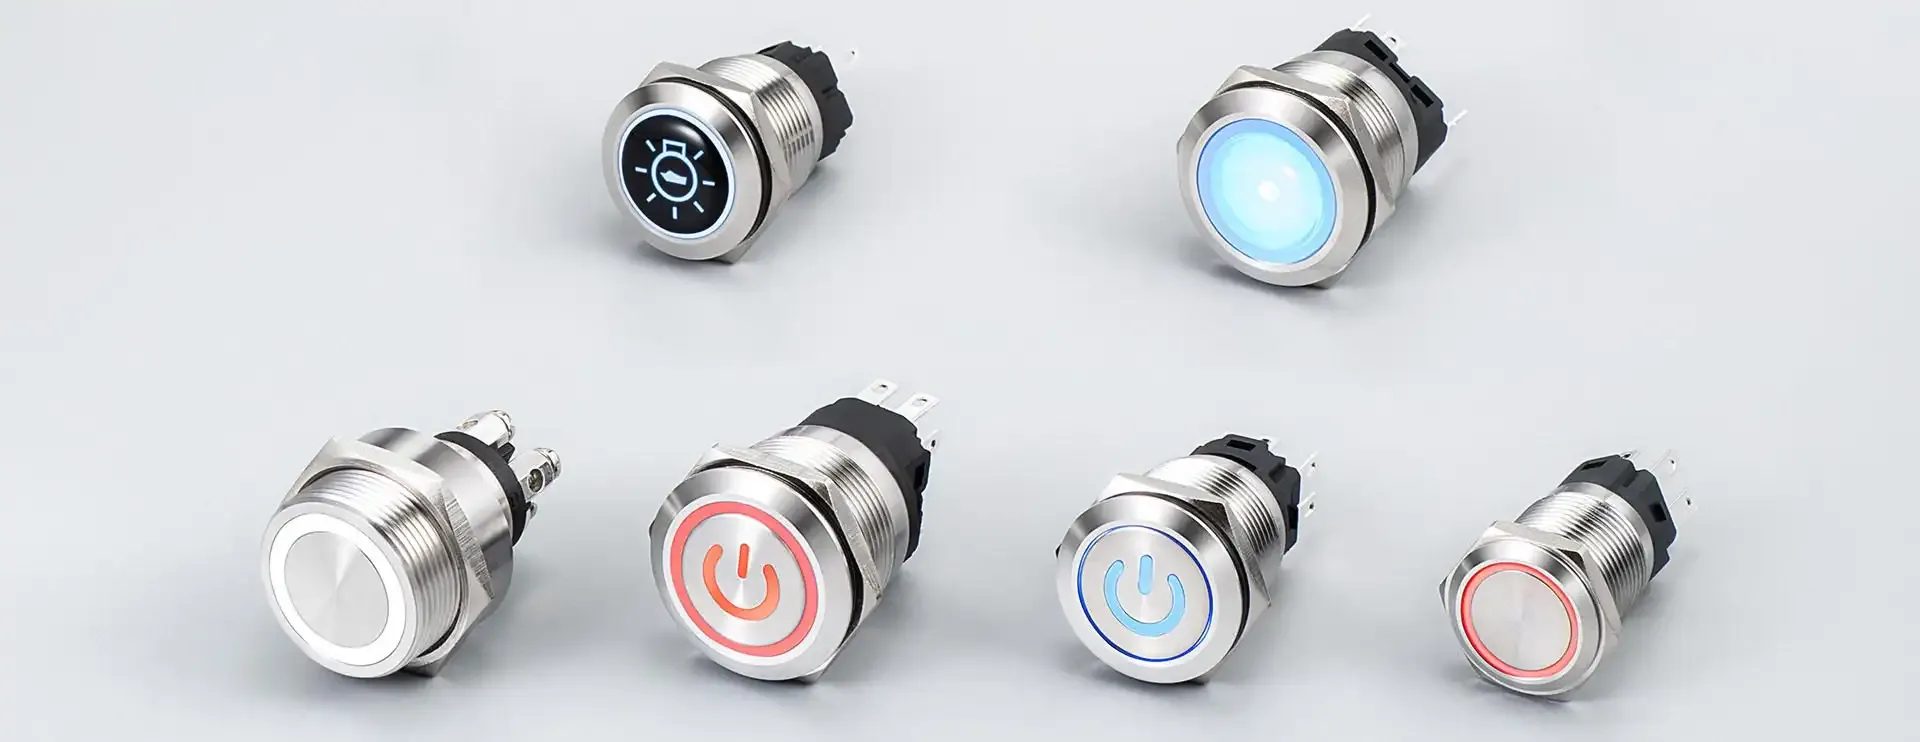
What is a Latching Switch
A latching switch holds its state after activation, keeping a circuit closed or open until reset. This button-based design often handles an electrical load with steady pressure and can control devices like buzzers or intercom systems. It differs from momentary types by not reverting instantly, offering reliable performance across various applications.

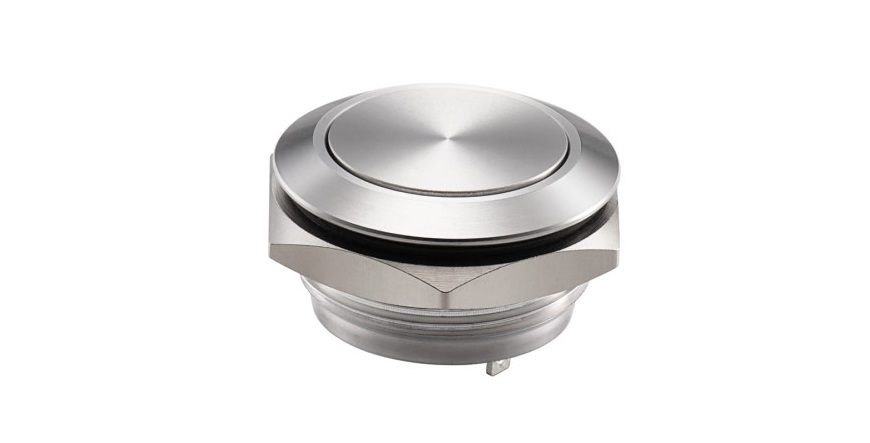
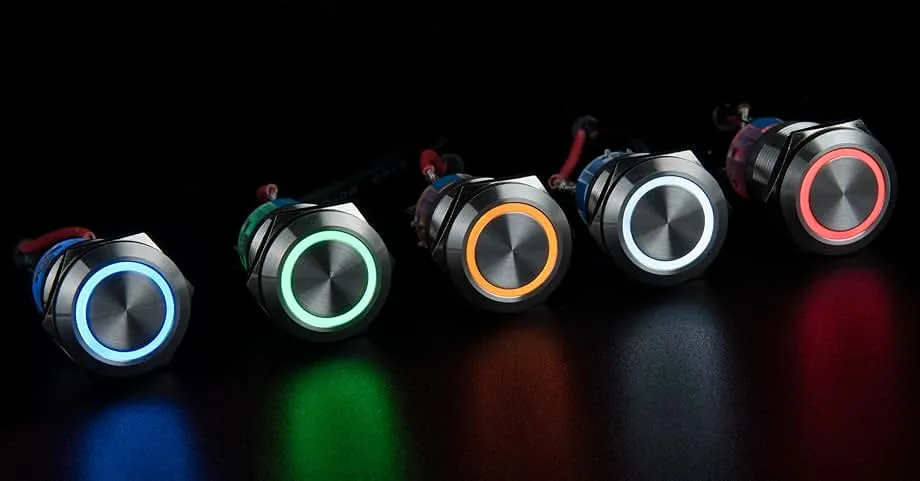
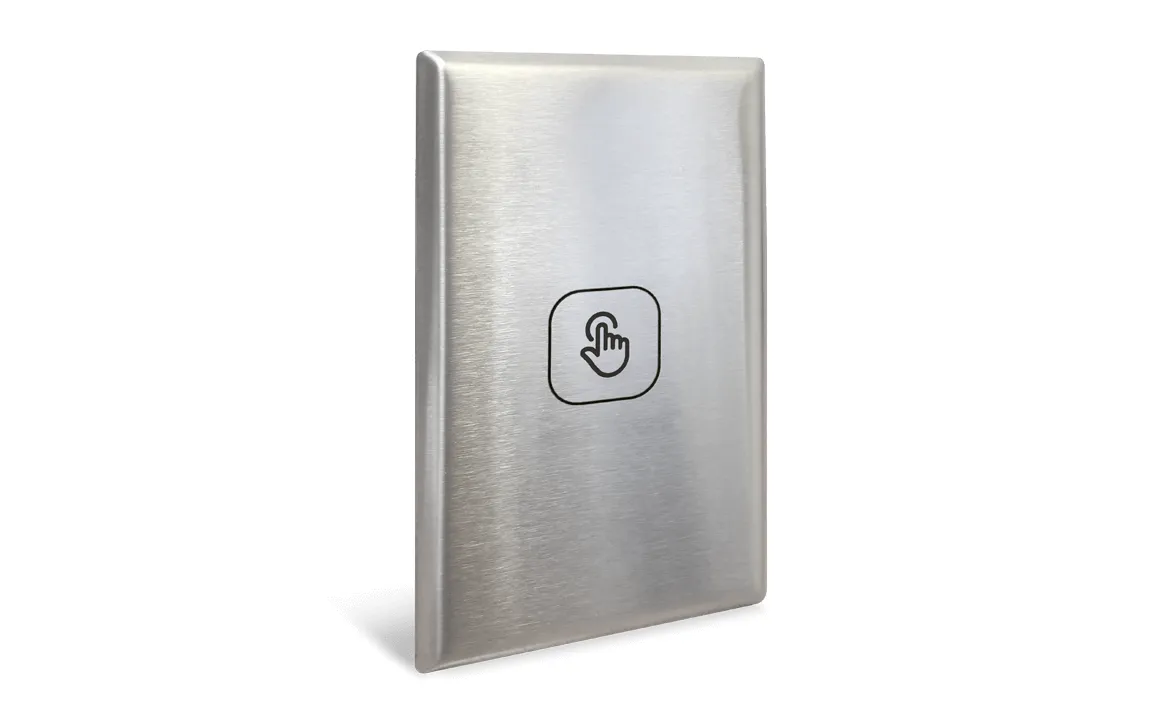
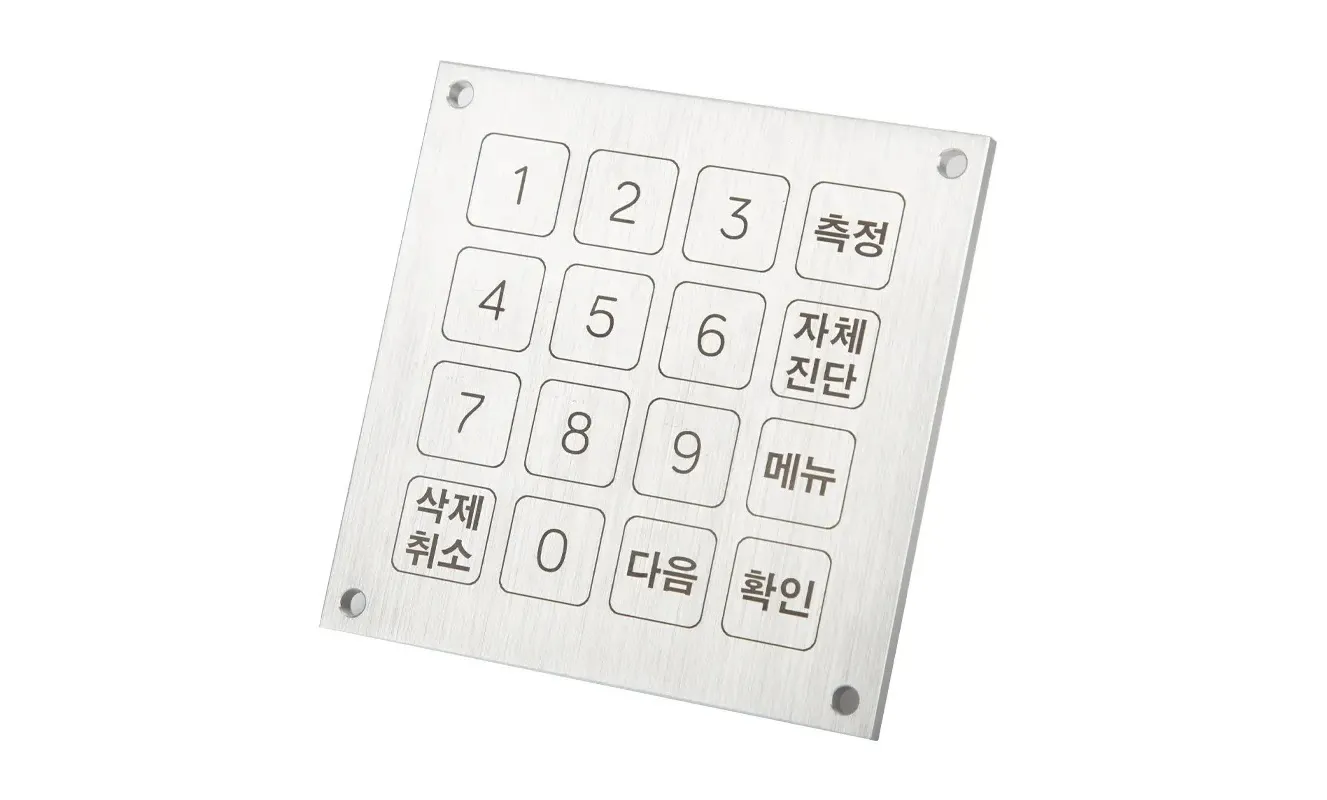
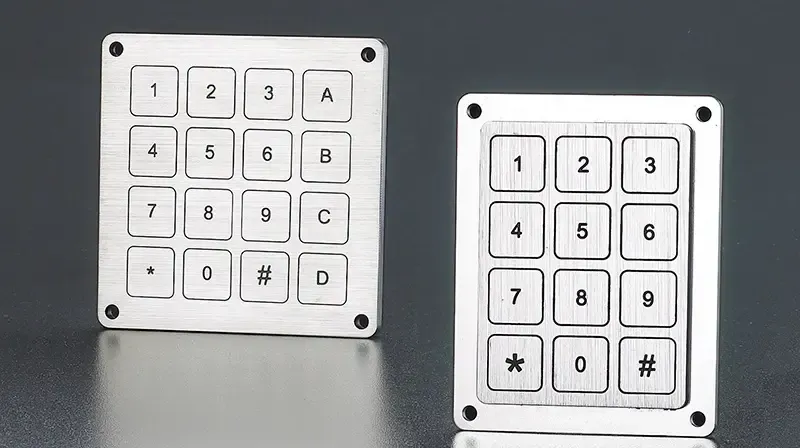
Contact Langir for Custom Metal Push Button Switches
The Basic Function of a Latching Switch
A latching push button switch holds its state after activation, meaning once a consumer pushes the lever, the circuit remains energized at a set voltage until deliberately changed. This design often relies on a transistor to manage the steady flow of current, providing practical benefits in applications where a reliable on/off state is needed:
The Mechanism Within a Latching Push Button Switch
The mechanism inside a latching push button switch briskly locks its state after a press, making it a reliable choice for setups like home automation and even when paired with a momentary light switch under varied heat conditions. This design ensures that once the circuit is activated, it stays connected until intentionally reset, offering a dependable solution that performs well—regardless of a sale price or the demands of industrial lighting.
How Latching Switches Keep Their State After Activation
Latching switches keep their state after activation by mechanically locking the circuit using robust stainless steel components and designed feedback systems that ensure reliable performance and low-maintenance needs, offering a clear contrast to what is a momentary switch:
Common Styles of Latching Mechanisms
Common latching mechanisms use silver contacts and metal components that deliver consistent behavior in both small-scale and automation projects, mimicking the steady reliability of a circuit breaker. They offer a balance of durability and precision, providing a solution that meets industrial needs without fuss.
Everyday Examples of Latching Switch Use
In everyday setups, a latching switch reliably holds the electric current steady, even when paired with a momentary push button switch or a double pole double throw momentary switch to send a clear signal. Expertise from contact Langir ensures that each switch operates with precision, making it a dependable choice for busy industrial applications.
Core Distinctions Between Momentary and Latching Switches
This section breaks down actuation needs and state holding in simple terms. It highlights circuit behavior differences, visual and physical cues like a yellow indicator, and shows how a wiring diagram guides wiring in consumer electronics and devices like a doorbell. It spells out the main functional contrast and typical use cases for each switch type.

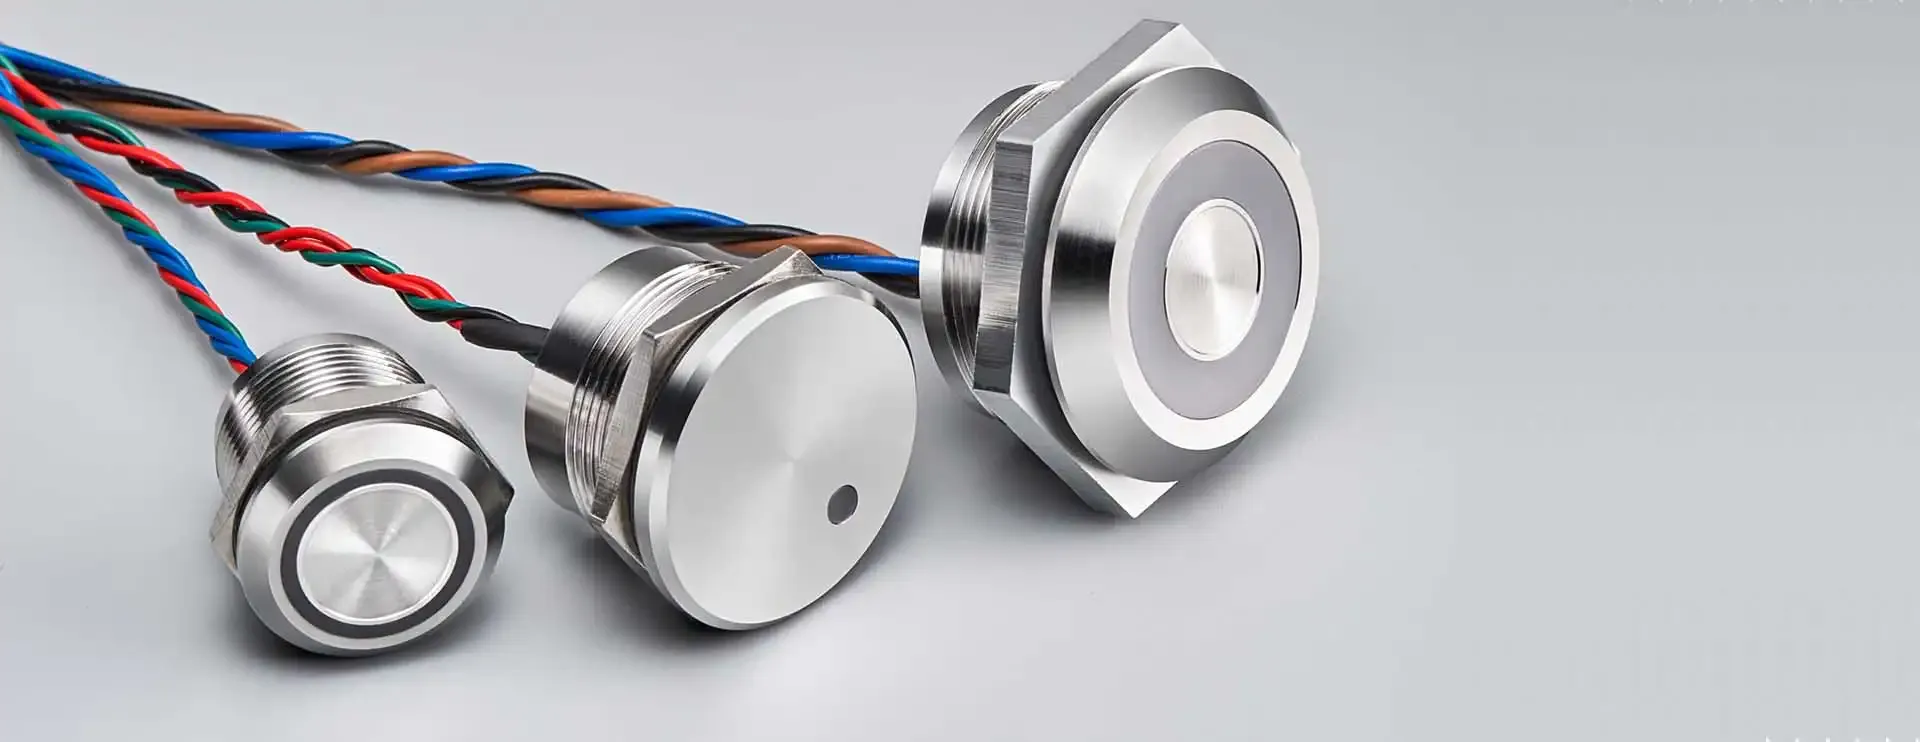
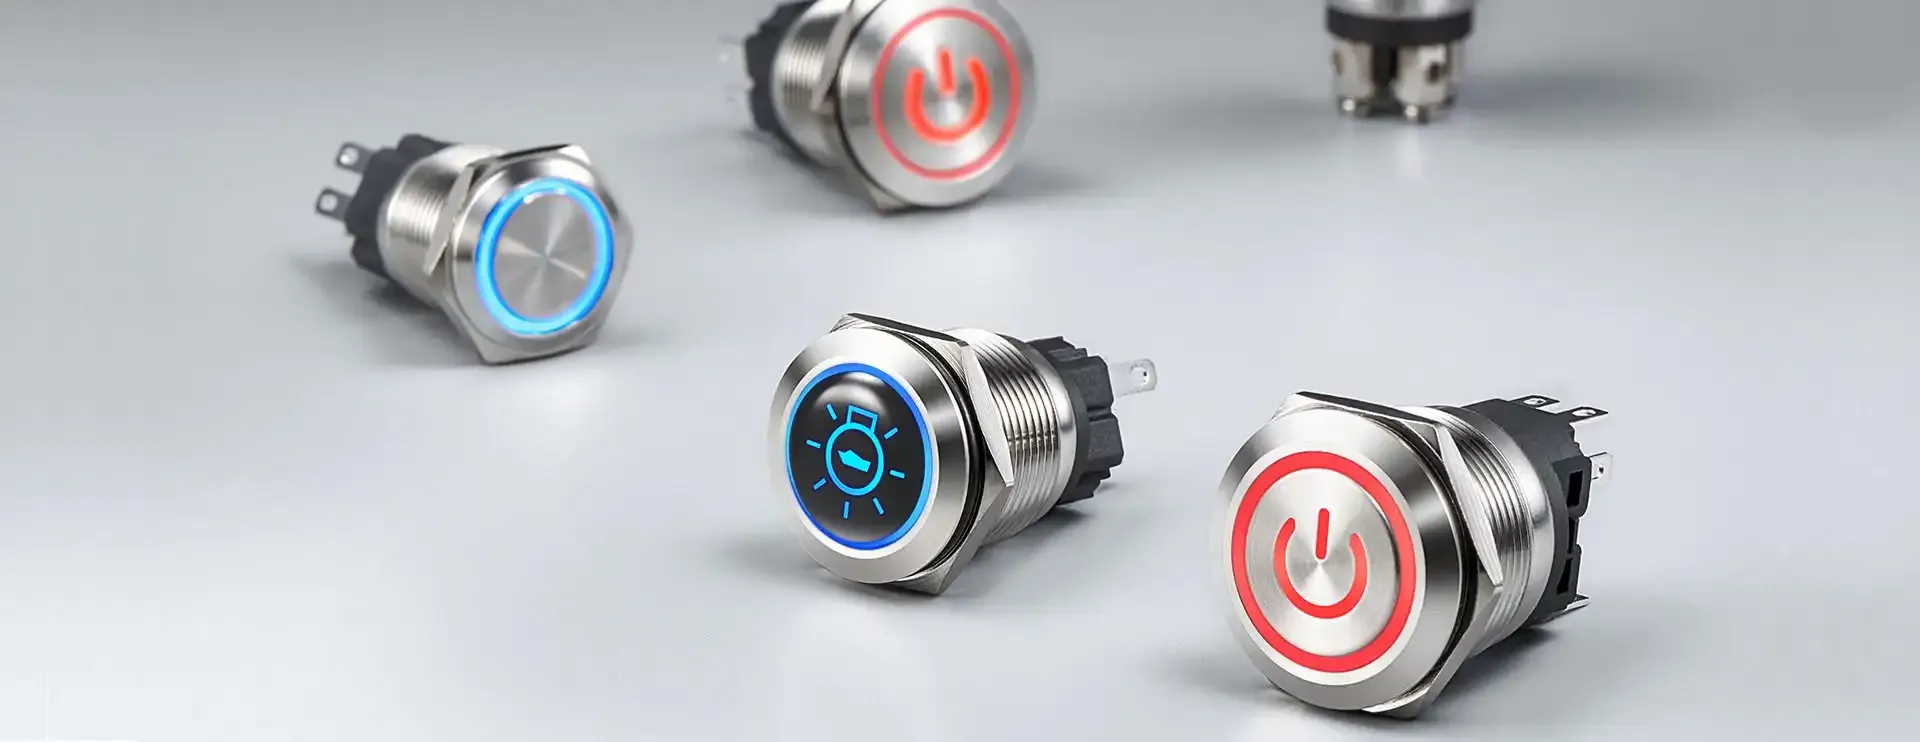
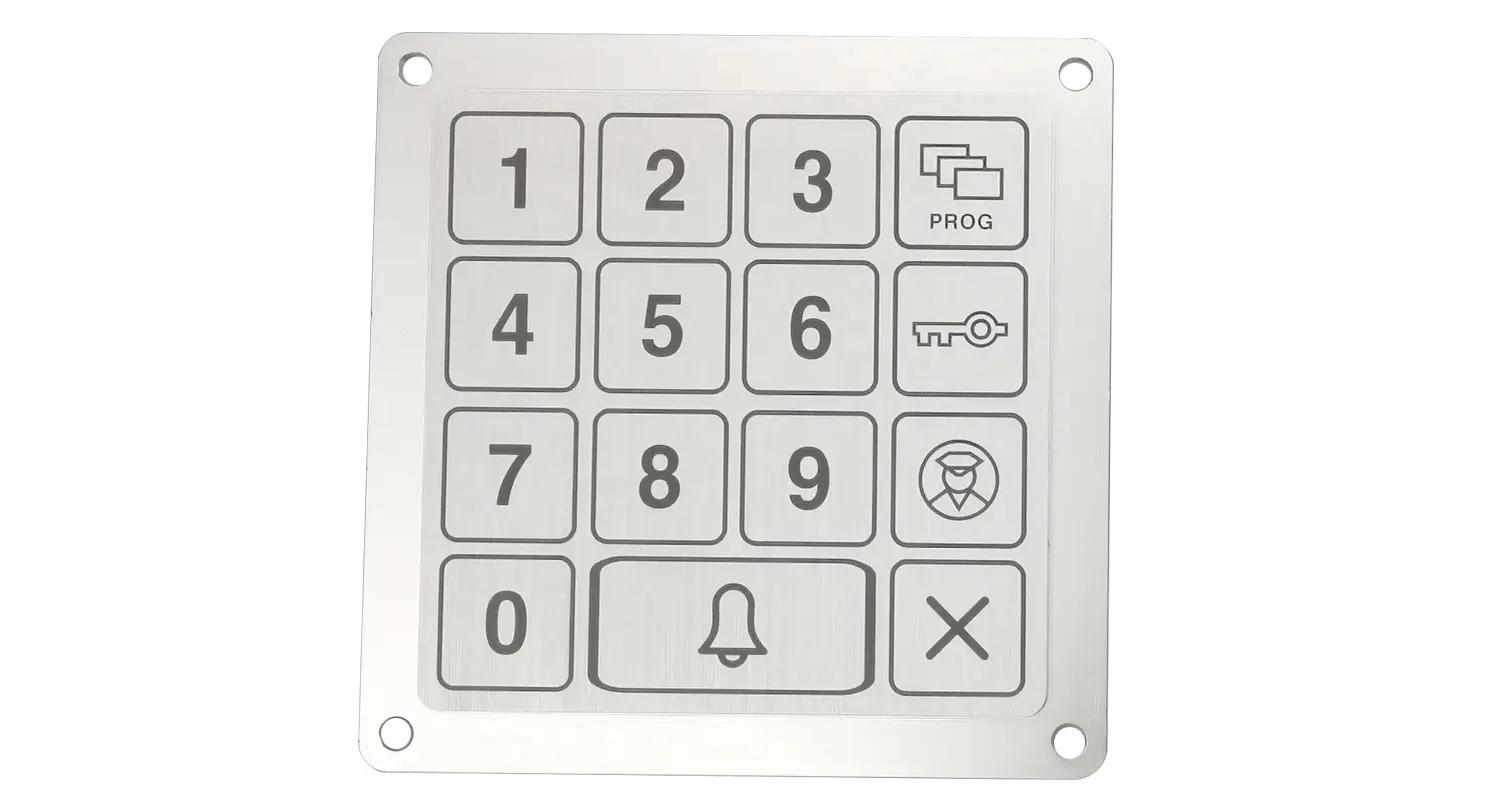
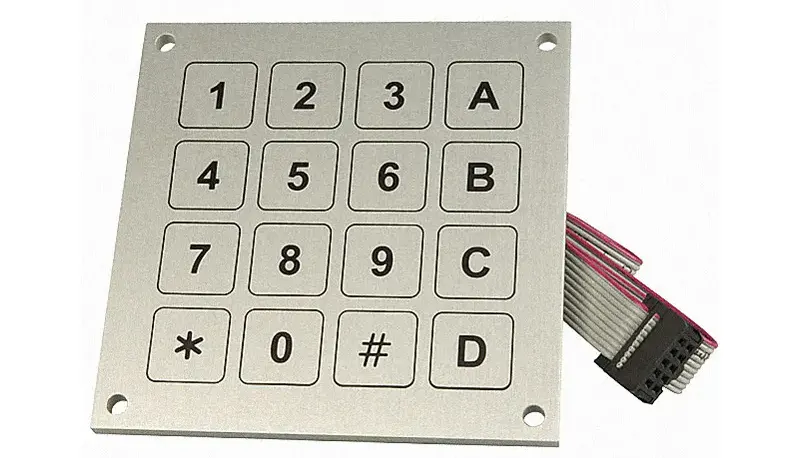
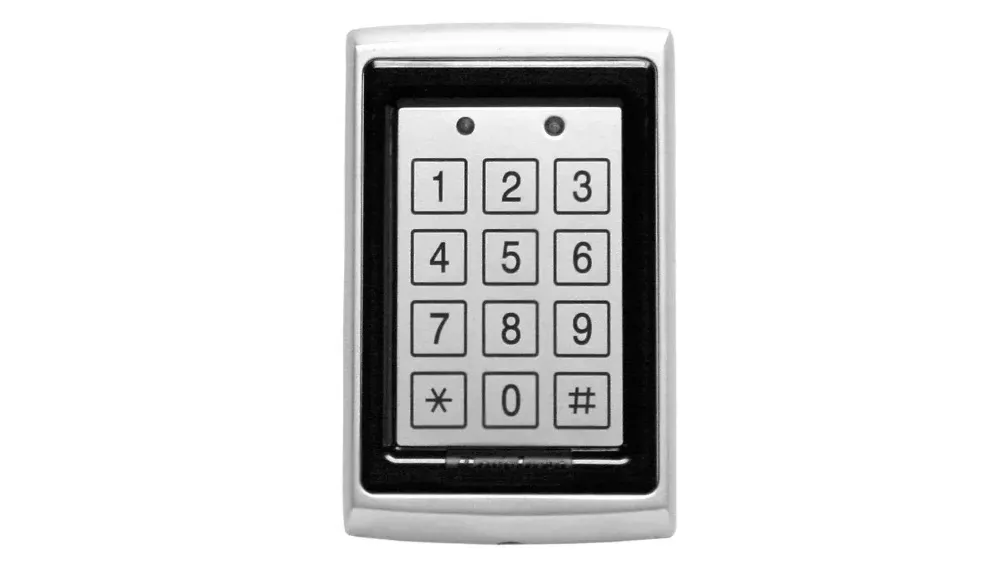
Contact Langir for Custom Metal Push Button Switches
Comparing Actuation Requirements and State Holding
Engineers debate the actuation needs between these switch types, with momentary designs offering quick bursts like a flickering light while latching variants maintain their state as steady as a well-placed magnet. This clear difference shows up daily in systems featuring a reliable keypad and smooth communication, and even in a normally closed momentary switch setup which demands precise timing for a safe and efficient response.
Circuit Behavior Differences When Activated
Circuit behavior shifts notably when a switch activates; a spdt momentary switch sends a quick pulse, while a latching button switch keeps the line steady—and the touch switch adds sleek simplicity to the mix. Here are the key points that sketch the difference in action:
- A screw connection ensures secure contact
- The internet of things benefits from efficient pulse responses
- Momentary switches change state only during engagement
- Latching switches hold position until reset
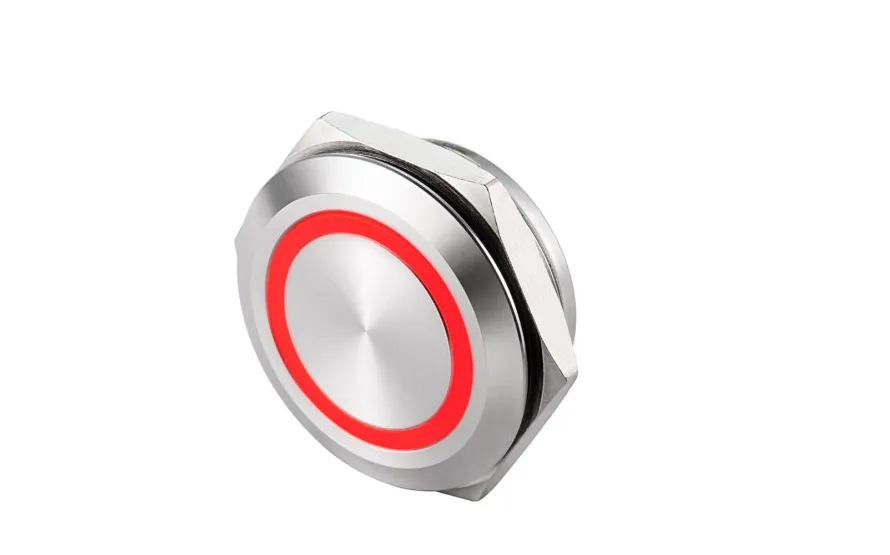
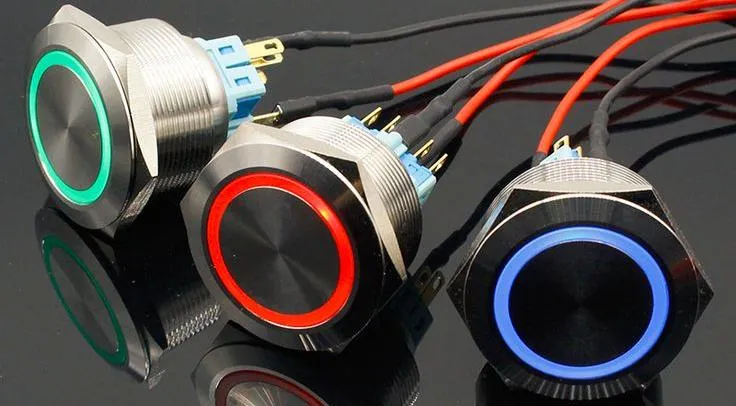
Visual and Physical Cues for Identification
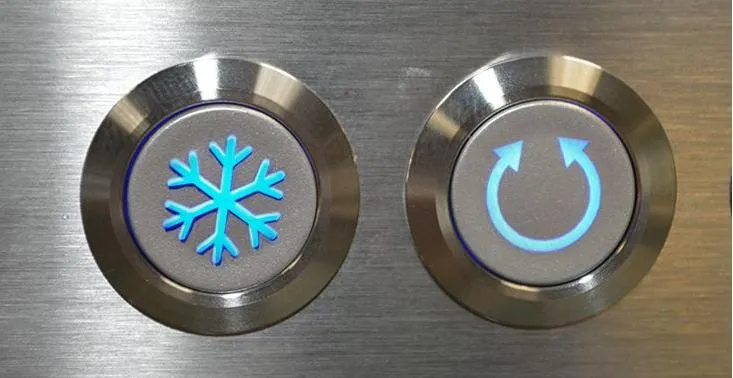
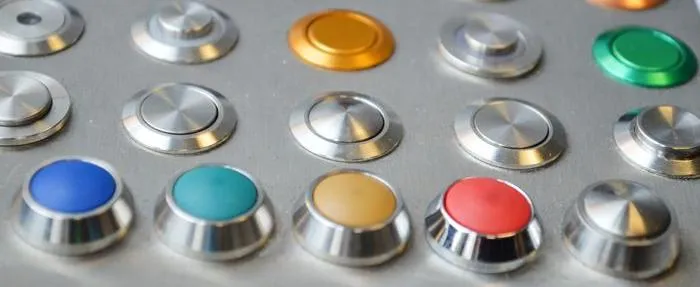
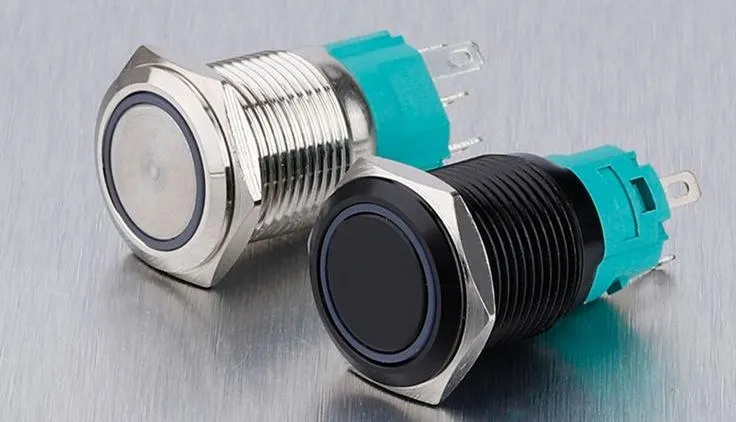
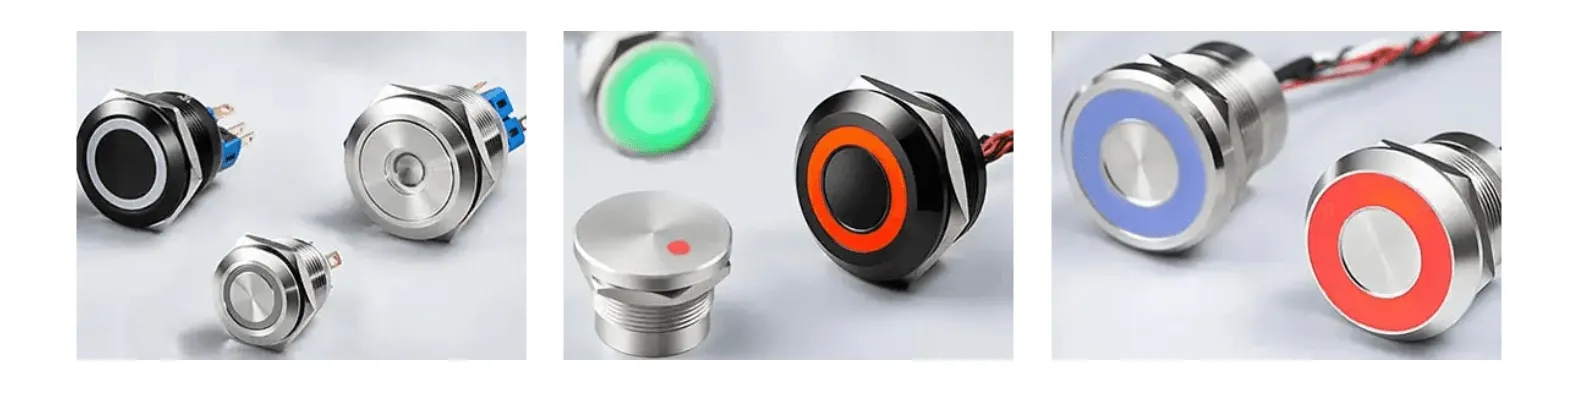
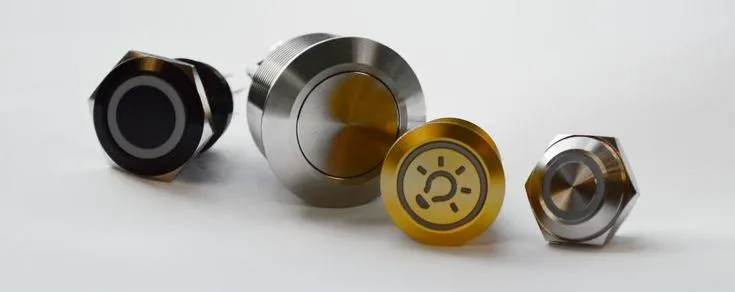
The visual markers of momentary and latching switches lay out their unique traits clearly; for instance, momentary designs often sport sleek aluminium finishes that fit well in home appliance settings, while latching models flaunt a robust manufacturing style that works great for central heating systems and energy applications. A table below sums up these identification cues:
Typical Application Scenarios for Each Switch Kind
A latching switch works great in setups that need to keep steady power without constant contact, such as in access control panels where an actuator maintains a firm hold on the circuit. Engineers choose plastic housings and reliable sensor integration for designs where every pulse counts, ensuring safety and precision in industrial applications:
- Industrial access control panels
- Automated actuator systems
- Robust sensor-based circuits
Outlining the Main Functional Contrast
In a nutshell, the core difference between these switches is all about timing and state—while a momentary switch sends a quick spark of electricity only when pressed, a latching button holds onto its modal state until someone resets it for improved usability. :
Applications Demonstrating the Momentary Switch vs Latching Switch Choice
Doorbells use a classic momentary button. Power buttons lean on latching switches. Industrial controls mix both for a solid user experience. Computer keyboard keys show momentary action in electrical engineering. Emergency stop buttons often act as a kill switch, safeguarding circuits, like a neat fuse. Each setup offers unique benefits that answer different needs in practice.
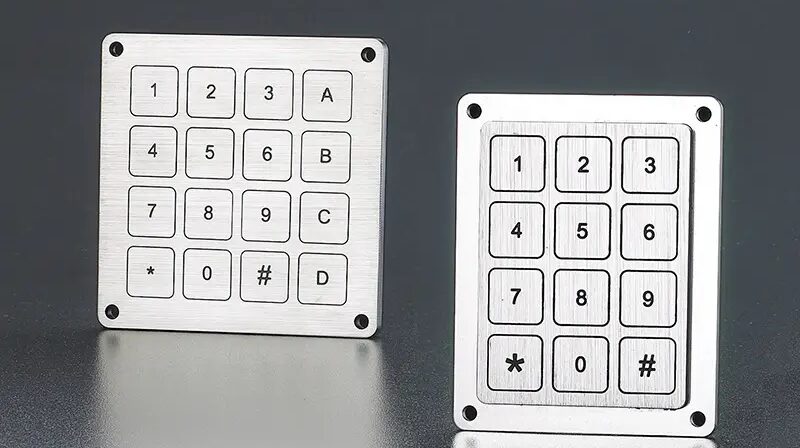
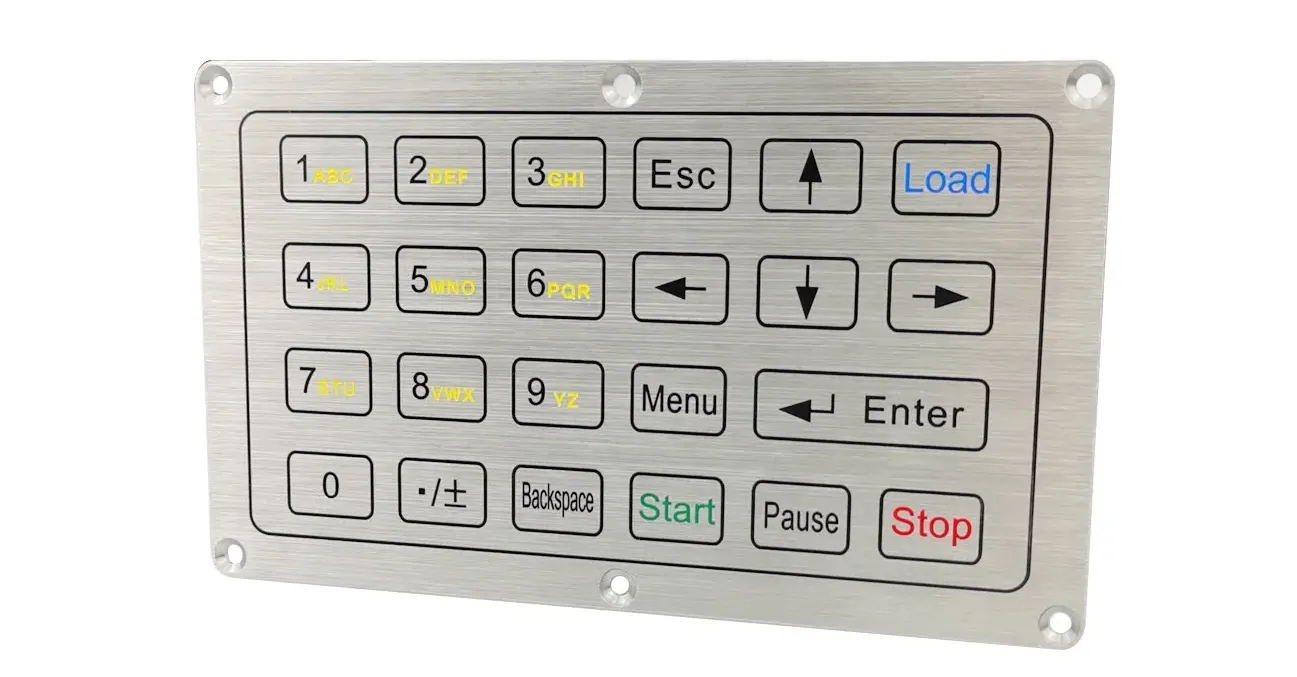
Contact Langir for Custom Metal Push Button Switches
Why Doorbells Employ Momentary Push Button Switches
Doorbells use momentary push button switches because they deliver a quick spark of power exactly when needed—no lingering action. A reliable brand often finesses these switches with waterproofing features that maximize space in compact designs, while built-in resistors help manage the circuit for safe and efficient operation.
Power Buttons on Devices Often Use Latching Switches
Devices rely on latching switches for power buttons to maintain a steady state until someone deliberately turns them off. This design offers reliable, consistent performance in industrial setups where every pulse counts:
Industrial Controls Using Both Switch Varieties
Industrial controls use both momentary and latching switches to tackle different challenges. They mix fast pulses with steady connections to protect systems and ensure smooth operations:
- Fast response for emergency stops
- Constant power for control panels
- Simplified maintenance for reliability
Computer Keyboard Keys as Momentary Action Examples
Computer keyboard keys work as momentary examples by firing a quick burst of energy as soon as they’ve been pressed and then stopping the signal when released. They clearly show the smart, simple difference between momentary and latching switches in everyday industrial use:
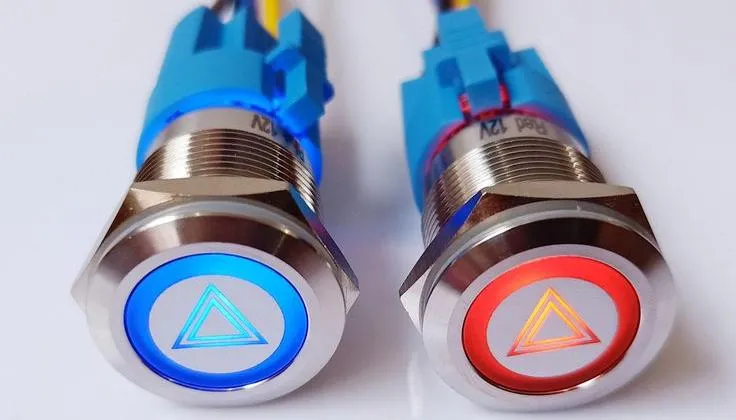
Emergency Stop Buttons Employing Latching Functions
Emergency stop buttons using latching functions offer a steady and reliable way to protect systems in industrial setups. When activated, these buttons keep the circuit locked until manually reset, ensuring safety measures hold firm even in high-demand environments.
Choosing the Right Switch for Your Specific Needs
The right switch fits your setup. One must assess circuit control needs, user interaction, power usage, and safety features to select the perfect match. Setting type plays its part too. Each tip below breaks down these points, serving as practical advice for choosing a momentary or latching switch based on everyday operating demands.

Contact Langir for Custom Metal Push Button Switches
Determining Your Circuit’s Control Needs
When it comes to circuit control needs, Langir’s experts say it’s all about what your setup demands. They break down the decision by matching response time and holding capability to your system’s action—whether you need a quick pulse for instant signals or a steady hold for sustained energy. This hands-on approach helps industrial clients pick the right momentary or latching switch, making sure every design choice meets real-world challenges head on.
Thinking About User Interaction Patterns
Engineers think about how users tap into systems, whether it’s a quick press on a momentary switch or a sustained hold on a latching switch, to keep things running smoothly. The choice taps into practical interactions that can save time and simplify maintenance in industrial setups.
Calculating Power Usage Considerations
Calculating power usage is key to matching a switch’s pulse with a circuit’s needs, ensuring systems run efficient and safe while keeping costs down:
- Examine instant pulse draw
- Measure sustained energy consumption
- Balance safety requirements with operational efficiency
Safety Aspects Influencing Switch Choice
Engineers favor safety when choosing between momentary and latching switches. They look at how each switch handles short bursts versus steady connections to keep systems safe from electrical mishaps. Langir experts say a clear safety edge comes from matching the switch to a circuit’s energy demands, ensuring both reliable protection and easy troubleshooting in high-demand settings.
Fitting the Switch to the Operating Setting
Using the right switch in the right environment matters a lot. In a busy plant or a small workshop, selecting between a momentary and a latching switch based on factors like power demand and environment makes all the difference:
Strengths and Weaknesses of Each Switch Type
The discussion breaks down upsides and downsides for both momentary and latching switches. It covers fast, burst-type power from momentary types and steady, reliable hold from latching switches. Each section offers practical insights on benefits and potential pitfalls, helping to reach a clear decision based on side-by-side comparisons.

Contact Langir for Custom Metal Push Button Switches
Upsides to Employing Momentary Switches
Momentary switches deliver a quick burst of power that suits setups needing rapid response without continuous energy draw. This design offers clean operation and reduces wear on systems, making these switches a solid choice in industrial applications where ease of use and reliability matter most.
Potential Downsides of Momentary Switches
Momentary switches can sometimes show their limits when consistent response time is needed, leaving industrial setups without the steady hold critical for safety. These push button systems may lead to unexpected blips, causing stress when everything should run without a hitch, especially under heavy use in manufacturing. Experts notice that users may face more frequent troubleshooting, making it a pain point in high-demand operations.
Upsides to Employing Latching Switches
Latching switches deliver a steady, reliable connection that sits perfectly with setups needing constant power, and they provide ease during regular operation. The technology shines in industrial applications, giving users a dependable solution that trims the hassle from maintenance routines.
Potential Downsides of Latching Switches
Latching switches can sometimes stall progress in busy setups because they may lock in place longer than desired, requiring a firm hand to reset. Their reliance on mechanical parts often leads to wear from persistent use, which can slow down production and raise maintenance costs in high-demand industrial environments:
- Increased maintenance frequency
- Pain points in high-cycle uses
- Higher operational costs
Reaching a Sound Decision Based on Comparisons
Engineers make a clear call by comparing practical performance, ease of maintenance, and cost factors. They break down the major points as follows:
- Quick response from momentary switches
- Steady hold from latching switches
- Maintenance and cost considerations
Momentary Switch vs Latching Switch | FAQs
What defines a momentary switch’s operation?
A momentary switch only connects or disconnects while pressed and returns to its default state when released. Langir’s Piezo switches offer this reliable action, perfect for custom push button manufacturing needs.
How does a latching switch function differently?
A latching switch stays in its last set position until pushed again. It keeps the state without constant pressure, making it ideal for industrial button switch setups.
Which switch type suits quick activation needs?
Langir offers efficient push button switches ideal for quick activation. Their reliable design meets industrial needs with low MOQ, fast turnaround, and easy customization, ensuring every application responds promptly and consistently.
What applications benefit from momentary switches?
Momentary switches suit industrial panels, medical tools, and home gadgets well, offering precise control and quick action. They deliver reliable performance for push button switch manufacturing and customization services.
How can one choose the right switch for projects?
He picks a switch by focusing on project load, available space, budget, and required tech specs. Langir, a seasoned push button switch manufacturer, provides trusted solutions and fast turnaround for bulk orders.
[/vc_column_text][/vc_column][/vc_row][vc_row][vc_column][vc_zigzag]
[/vc_column][/vc_row][vc_row][vc_column][vc_zigzag][/vc_column][/vc_row]