[vc_row][vc_column][vc_column_text css=””]
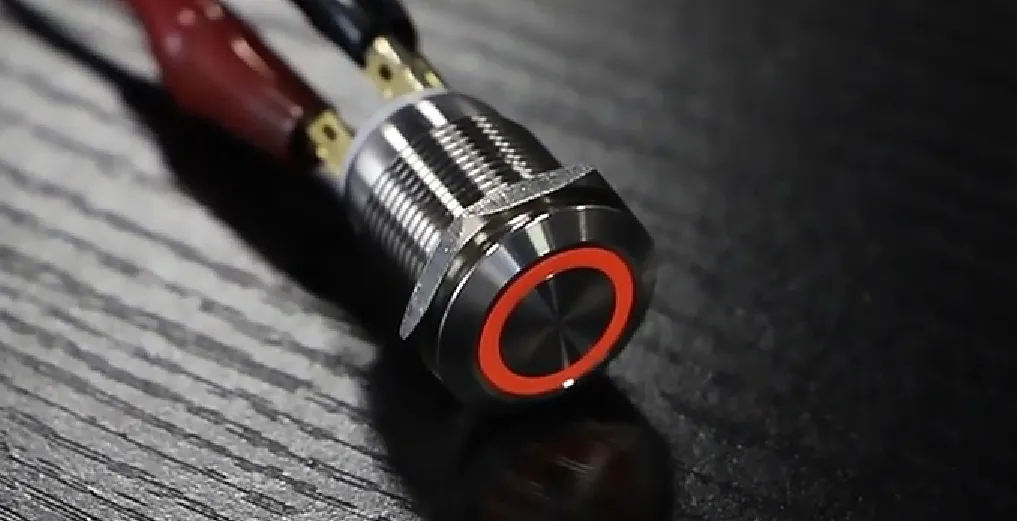
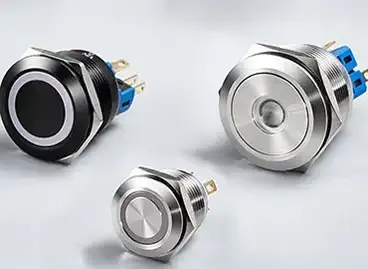
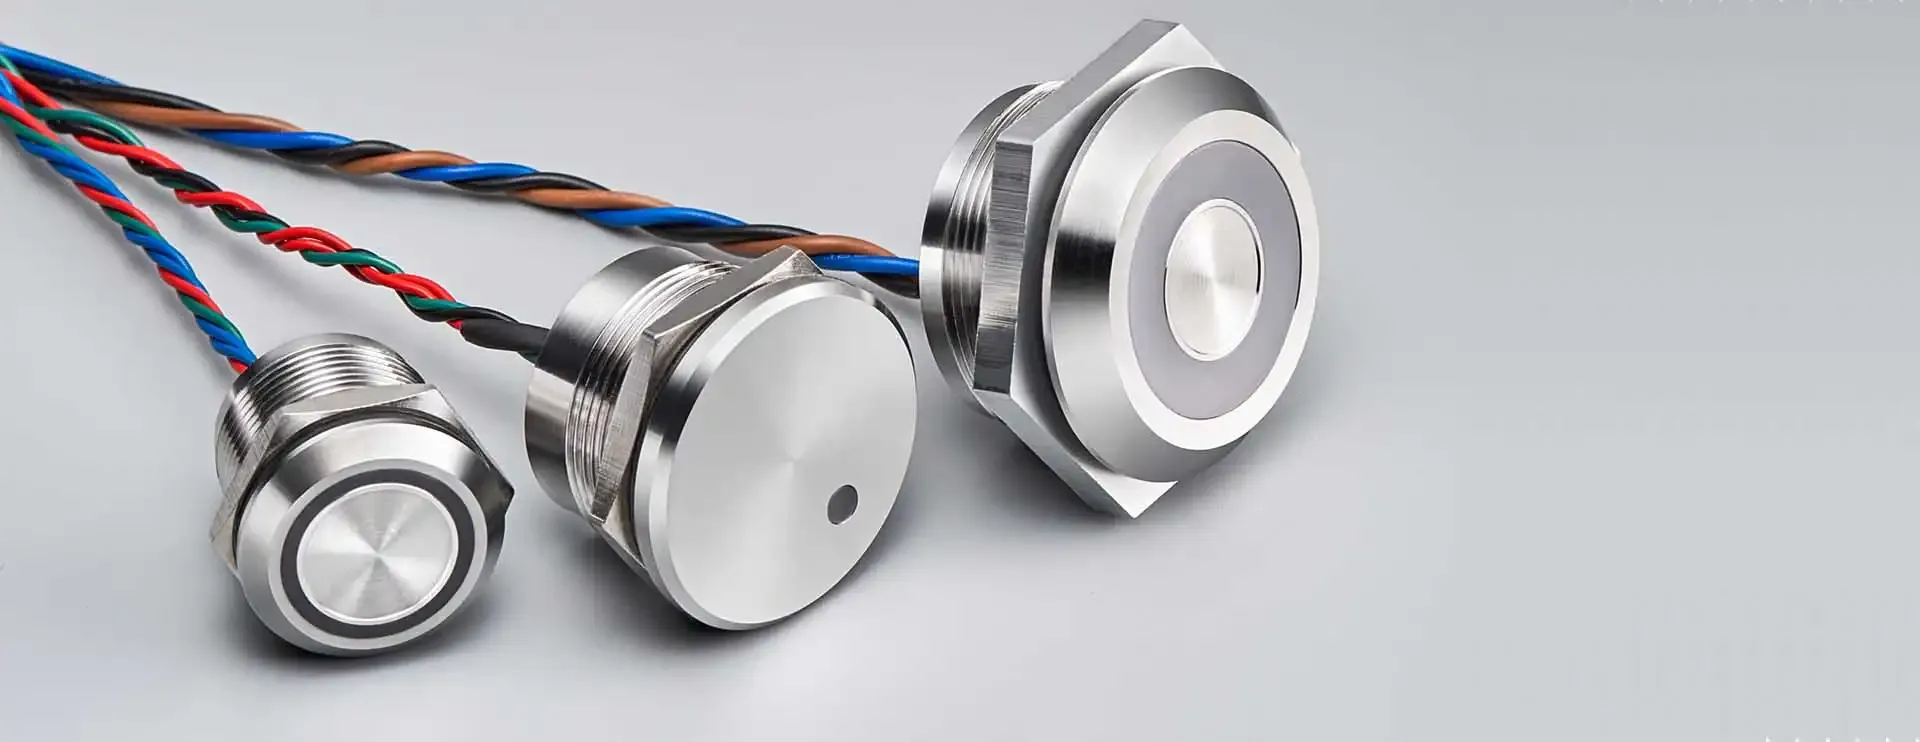
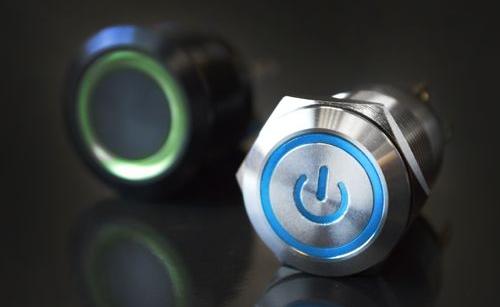
In the world of electronic devices, a mini push button switch can often be a small yet crucial component that facilitates functionality. If you’re experiencing issues with such a switch — perhaps it feels stuck or doesn’t respond as it should — fixing it might seem daunting. However, with a little patience and the right approach, you can address the problem effectively. First, it’s essential to examine the switch for any visible signs of damage or dirt. Sometimes, a small buildup of dust or grime can prevent the push button from making a solid connection. A gentle cleaning using a soft brush or compressed air can often restore its performance.
If the switch still doesn’t function properly, the next step involves deeper inspection. This could mean prying open the casing carefully to check for any loose connections or internal wear. A multimeter can be handy here to test for continuity, ensuring that the circuit is intact when the button is pressed. If internal components are damaged, it may be more effective to replace the switch altogether. Finding a suitable replacement button involves matching the specifications of the original model, which can often be done by checking the device’s manual or a quick online search. Remember, while it can feel frustrating, taking your time with repairs is key. In doing so, you not only revive your device but also gain a better understanding of its inner workings—who knew fixing a little button could empower you like this?
Understanding Your Mini Push Button Switch Failure
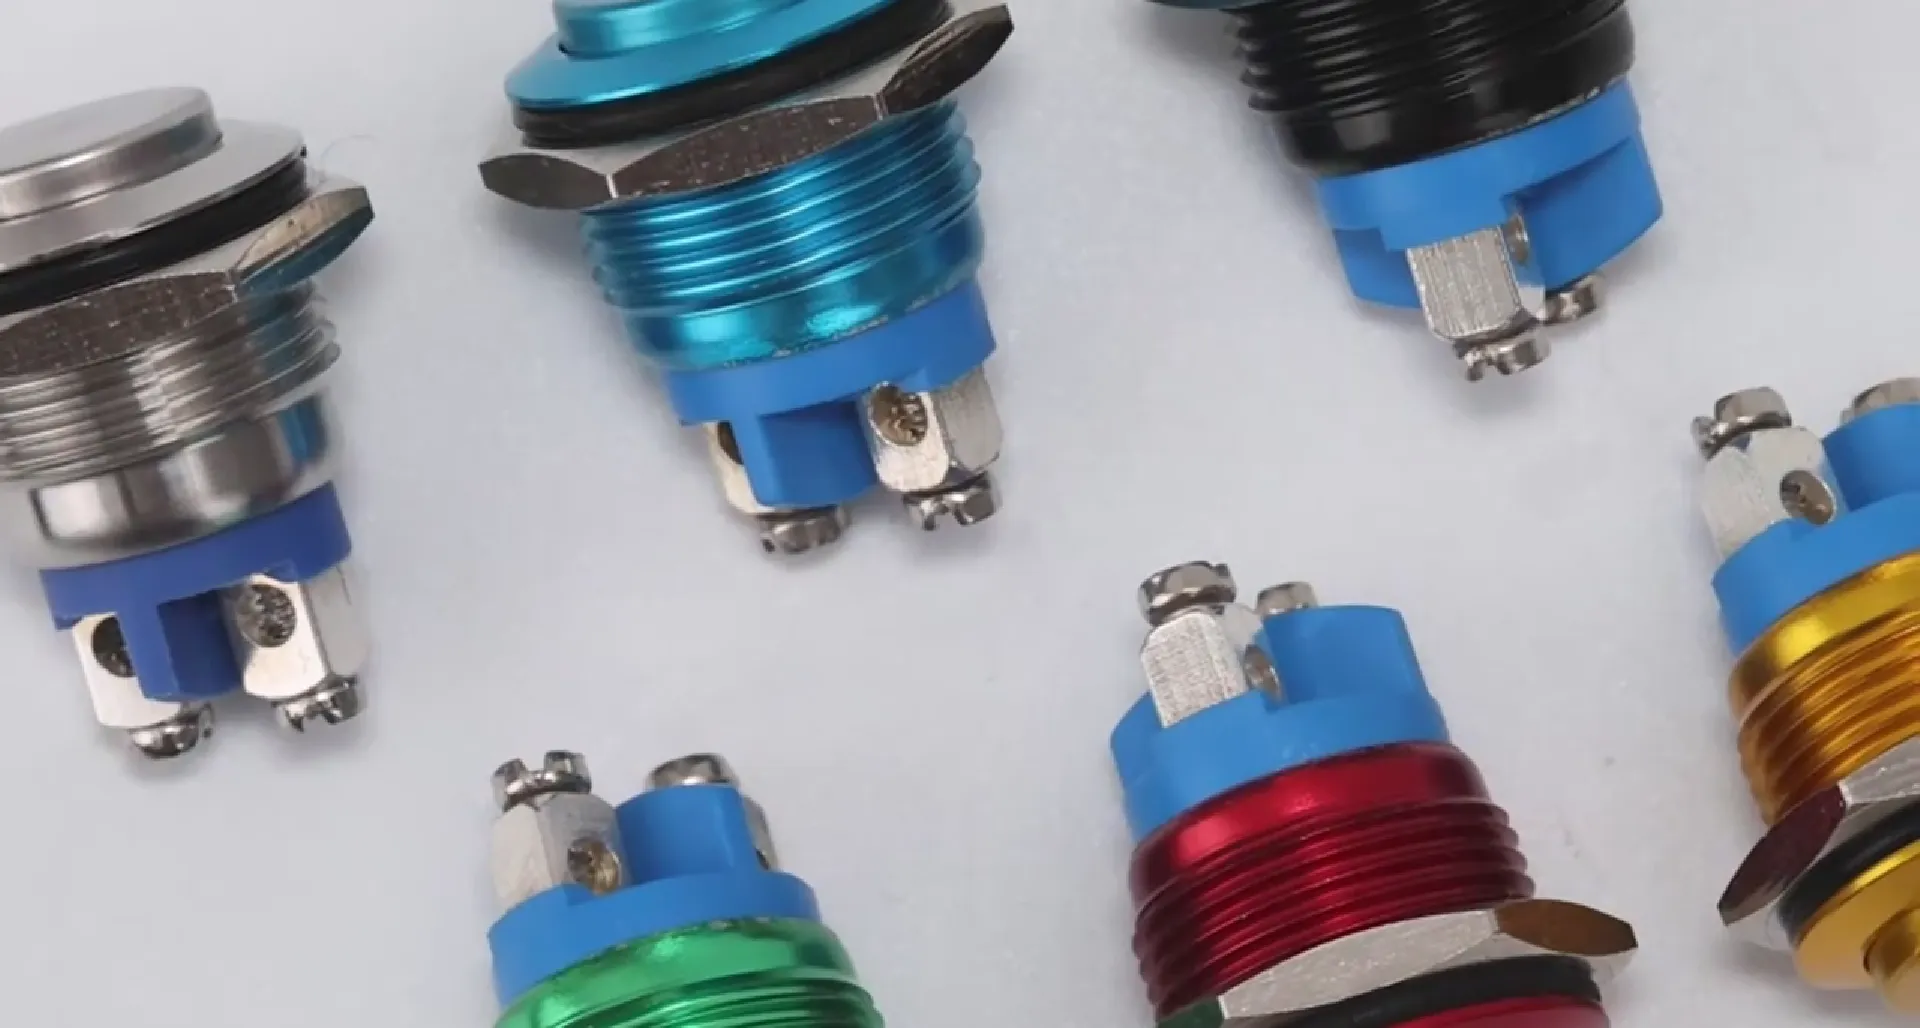
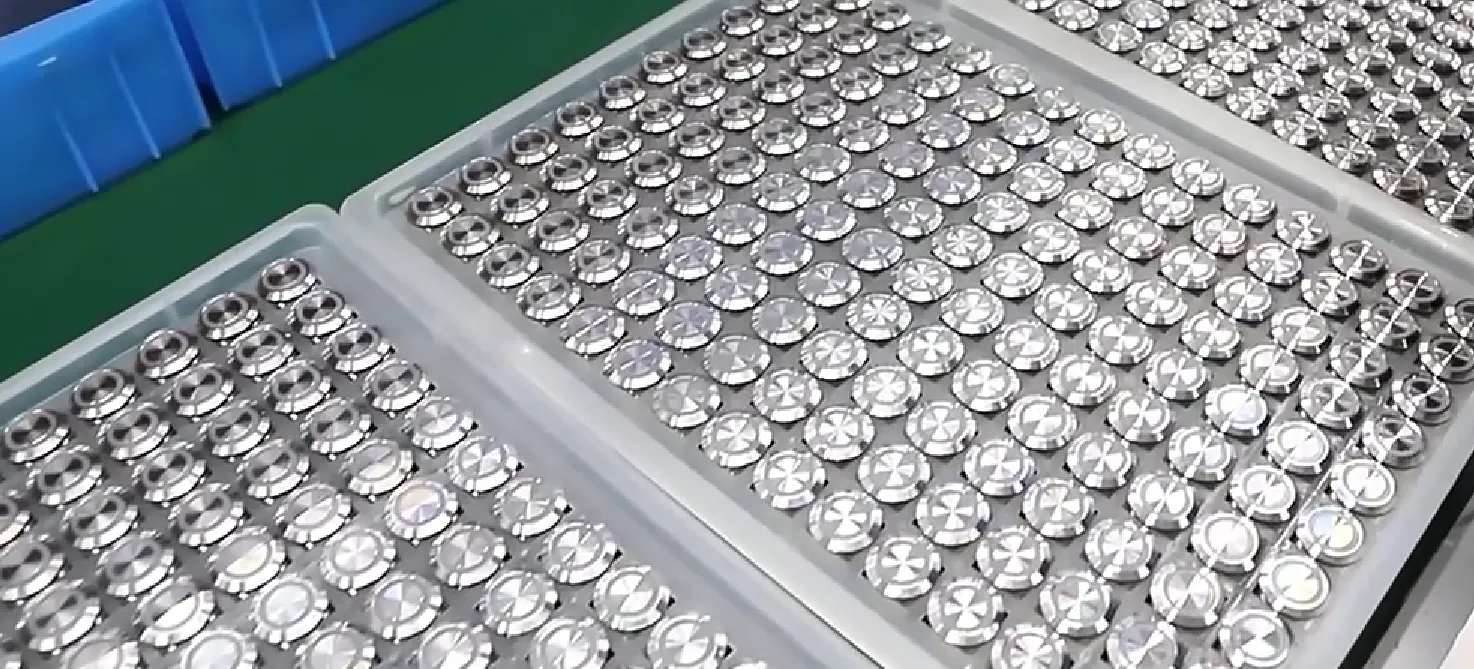
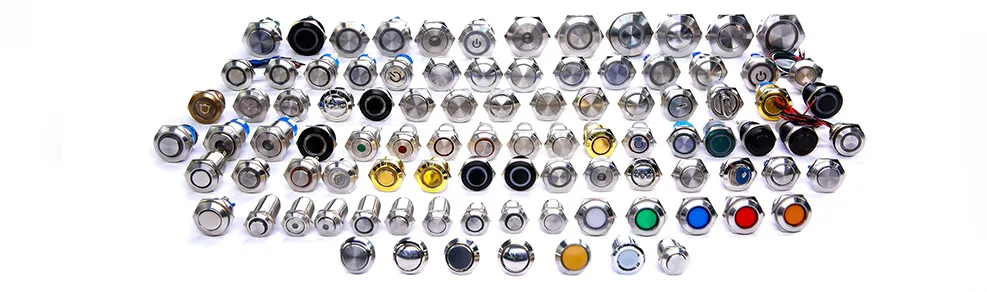
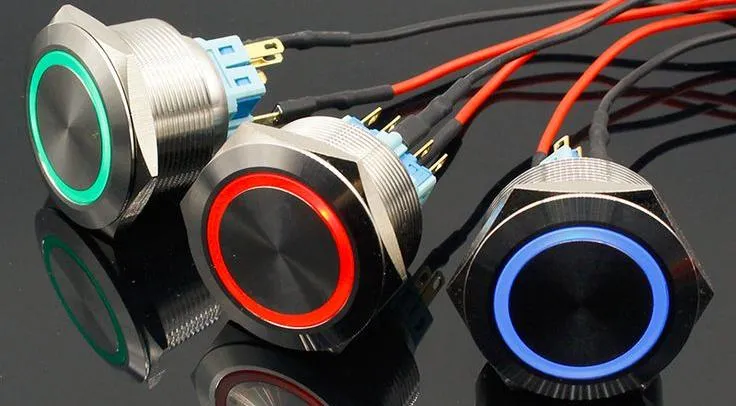
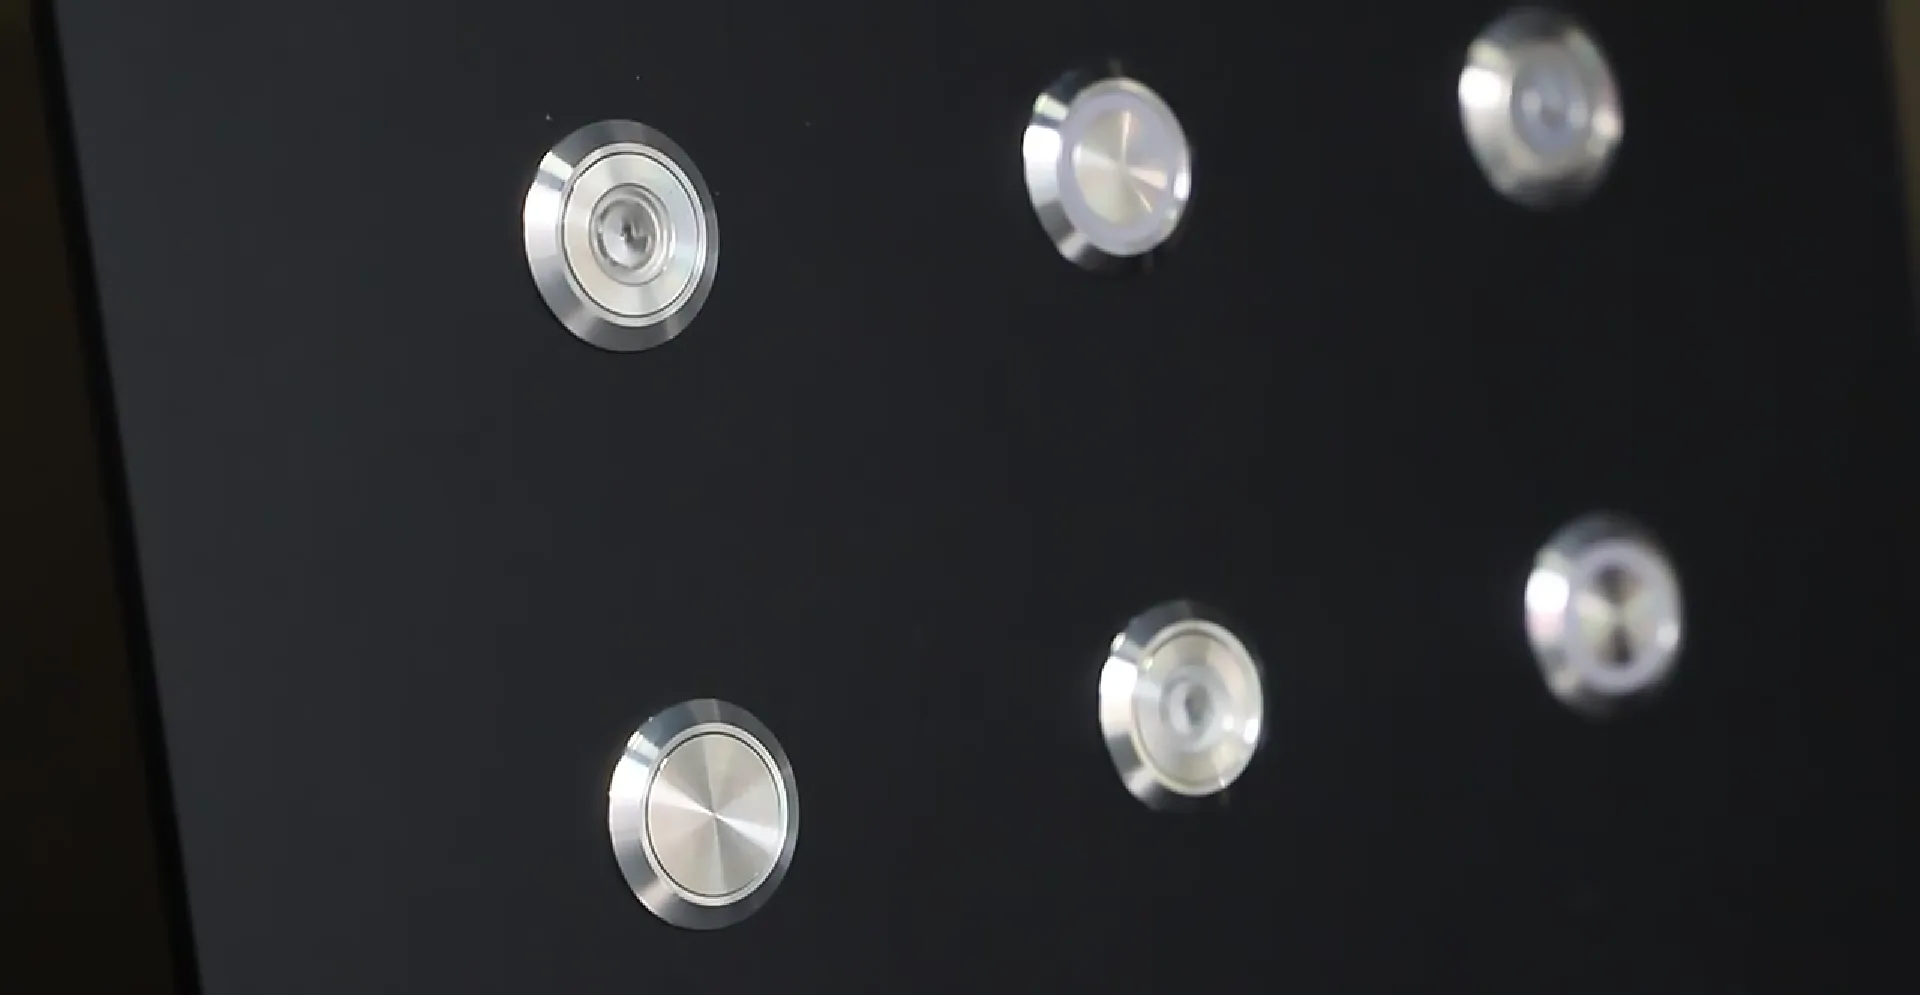
When a mini push button switch fails, it can throw off your equipment’s operation in a snap. Manufacturers like Langir know that these little switches are small heroes inside devices—from keyboards to industrial controls. Troubleshooting starts by noting the symptoms: no click, intermittent actuation, or a loose feel. If problems continue, it’s a good idea to contact Langir for expert advice. Common button failure might stem from debris build-up, worn contacts, or solder issues on the printed circuit board.
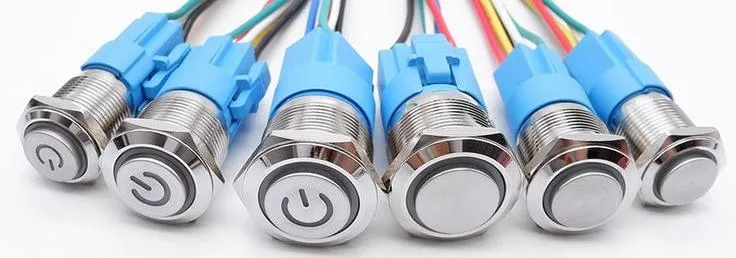
Contact Langir for Custom Mini Push Button Switches
Identifying Common Mini Push Button Switch Problems
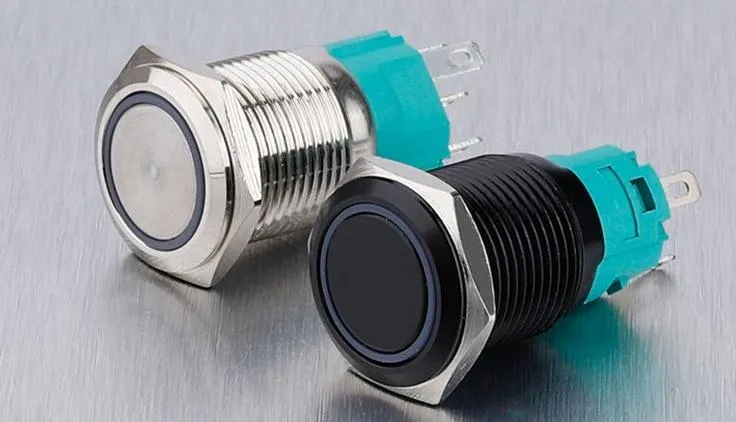
The most frequent issues include the switch not registering a press or having a sticky actuator. These symptoms indicate corrosion or dirt-caused misalignment inside the switch, disrupting its signal. Consistent failure during operation points to a wear-out mechanism that needs repair or replacement.
Symptoms of a Faulty Small Push Button Mechanism
A faulty switch can show signs like no audible click, a noticeably soft feel, or even no response to a press. This is often due to broken internal contacts or an accumulation of dust interfering with the mechanical movement.
Tools Needed for Mini Push Button Switch Repair
To fix the switch, gather a small soldering iron, flux, a multimeter for testing continuity, precision screwdrivers, and cleaning tools. These items help remove solder bridges, clean the contacts, and resecure loose wires.
Safety Precautions Before Starting Mini Push Button Switch Troubleshooting
Before diving into repairs, disconnect the power supply, wear safety goggles, and work on a static-free surface. This minimizes risk of electric shock and damage to sensitive components.
Mini Push Button Switch Troubleshooting Steps
Correct troubleshooting proceeds in a logical order. Begin with a visual inspection for visible wear or loose solder joints. Then, check connections with a multimeter for continuity to ensure the button properly closes the electrical circuit.
Contact Langir for Custom Mini Push Button Switches
Performing a Visual Inspection of the Mini Push Button Switch
Examine the switch for cracked plastic or burnt areas that could point to a failure from overload. A careful look often reveals debris or misaligned parts that require cleaning.
Checking for Loose Connections to the Mini Push Button Switch
Over time, connections can loosen due to vibration or repeated use. Gently tug on soldered joints to see if any wires have come off, and re-solder if necessary to restore full connectivity.
Testing the Mini Push Button Switch With a Multimeter
Hold the multimeter probes to the contact points of the switch. A healthy switch should show zero resistance when pressed and an open circuit when released. Consistent readings will confirm that the push mechanism is intact.
Cleaning External Debris Affecting the Mini Push Button Switch
Dust and debris can stick between the actuator and the contacts. Use a small brush or canned air to clear away particles. This simple step can often restore normal operation.
Common Mini Push Button Switch Issues
Understanding common issues helps in both troubleshooting and repair. Often, problems like intermittent actuation occur because the button’s contacts aren’t engaging properly. Other issues include a stuck actuator or a button that feels too loose—signals that the internal mechanisms are misaligned.
Contact Langir for Custom Mini Push Button Switches
Rectifying a Stuck Mini Push Button Switch Actuator
If the button is jammed, gently work it back and forth to free any blockage. Sometimes a light application of isopropyl alcohol and a soft brush can clear sticky residues.
Solutions for an Intermittently Working Mini Push Button Switch
An intermittent response often suggests poor solder joints or oxidation on the contacts. Cleaning the contacts with a specialized contact cleaner, followed by a careful solder touch-up, may provide a long-term fix.
Repairing a Mini Push Button Switch That Does Not Click
A missing click sound means the mechanical feedback is lost. Check the internal spring and actuator alignment. Replacing or realigning these components can bring back that satisfying snap.
What to Do When a Mini Push Button Switch Feels Loose
A loose-feeling switch indicates that the housing or the internal clip has become worn. Tighten any visible screws or use a spot of adhesive designed for electronics to secure the button in place.
Advanced Mini Push Button Switch Repair Techniques
For those with a bit of technical confidence, advanced repairs might involve opening up the switch to clean inside normally inaccessible areas. Taking apart the casing may reveal microscopic debris or oxidized contacts that a simple cleaning can fix.

Contact Langir for Custom Mini Push Button Switches
Disassembling the Mini Push Button Switch Casing
Carefully use precision screwdrivers to remove the casing without damaging the button’s small parts. Lay out the parts in order to reassemble later.
Cleaning Internal Components of the Mini Push Button Switch
Inside the switch, delicate cleaning with isopropyl alcohol and a fine brush can remove deep-seated dirt. Make sure each part is fully dry before reassembly.
Inspecting and Realigning Mini Push Button Switch Contacts
Examine the tiny metal contacts for wear. If they seem misaligned, use a pair of tweezers to adjust them gently. Proper contact alignment ensures strong conductivity.
Soldering and Desoldering Wires From a Mini Push Button Switch
If connections have deteriorated, carefully desolder and reflow the joints. Use quality solder and flux to create a secure bond, ensuring the signal pathway is restored.
Testing Your Repaired Mini Push Button Switch
Once repaired, it’s crucial to test the switch both electrically and mechanically. This confirms that the solution works before reopening the device housing.
Verifying Electrical Continuity Post Mini Push Button Switch Fix
Use a multimeter again to ensure the repaired switch conducts properly under pressure. A reliable reading indicates that the repair was a success.
Ensuring Smooth Mechanical Operation of the Mini Push Button Switch
Press the button repeatedly to check for consistent feedback and action. There should be no irregular sticking or unexpected looseness.
Reassembling the Device Housing the Mini Push Button Switch
After testing, carefully reassemble all parts. Ensure every component snaps into place securely to avoid future failures.
Final Functional Test of the Mini Push Button Switch in Its Application
Finally, power up the equipment and observe the switch in action during normal operation. This confirms that the repair process has fully restored functionality.
When to Replace Your Mini Push Button Switch
Sometimes repairs just aren’t enough, and replacing the switch is the wisest choice. Recognizing when damage is beyond repair saves time and prevents further issues down the road.
Contact Langir for Custom Mini Push Button Switches
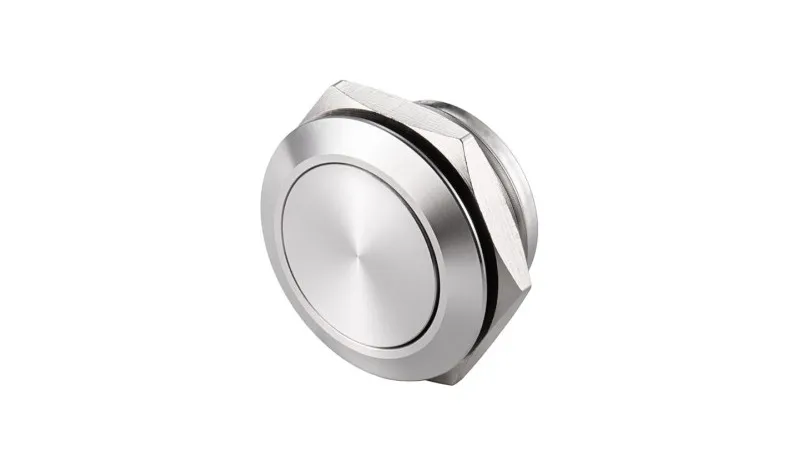
Recognizing Irreparable Damage to a Mini Push Button Switch
If the switch’s internal components are too corroded, or if repeated repair attempts fail to produce consistent action, it’s time for a new one. Look for extensive physical wear or broken parts as clear indicators.
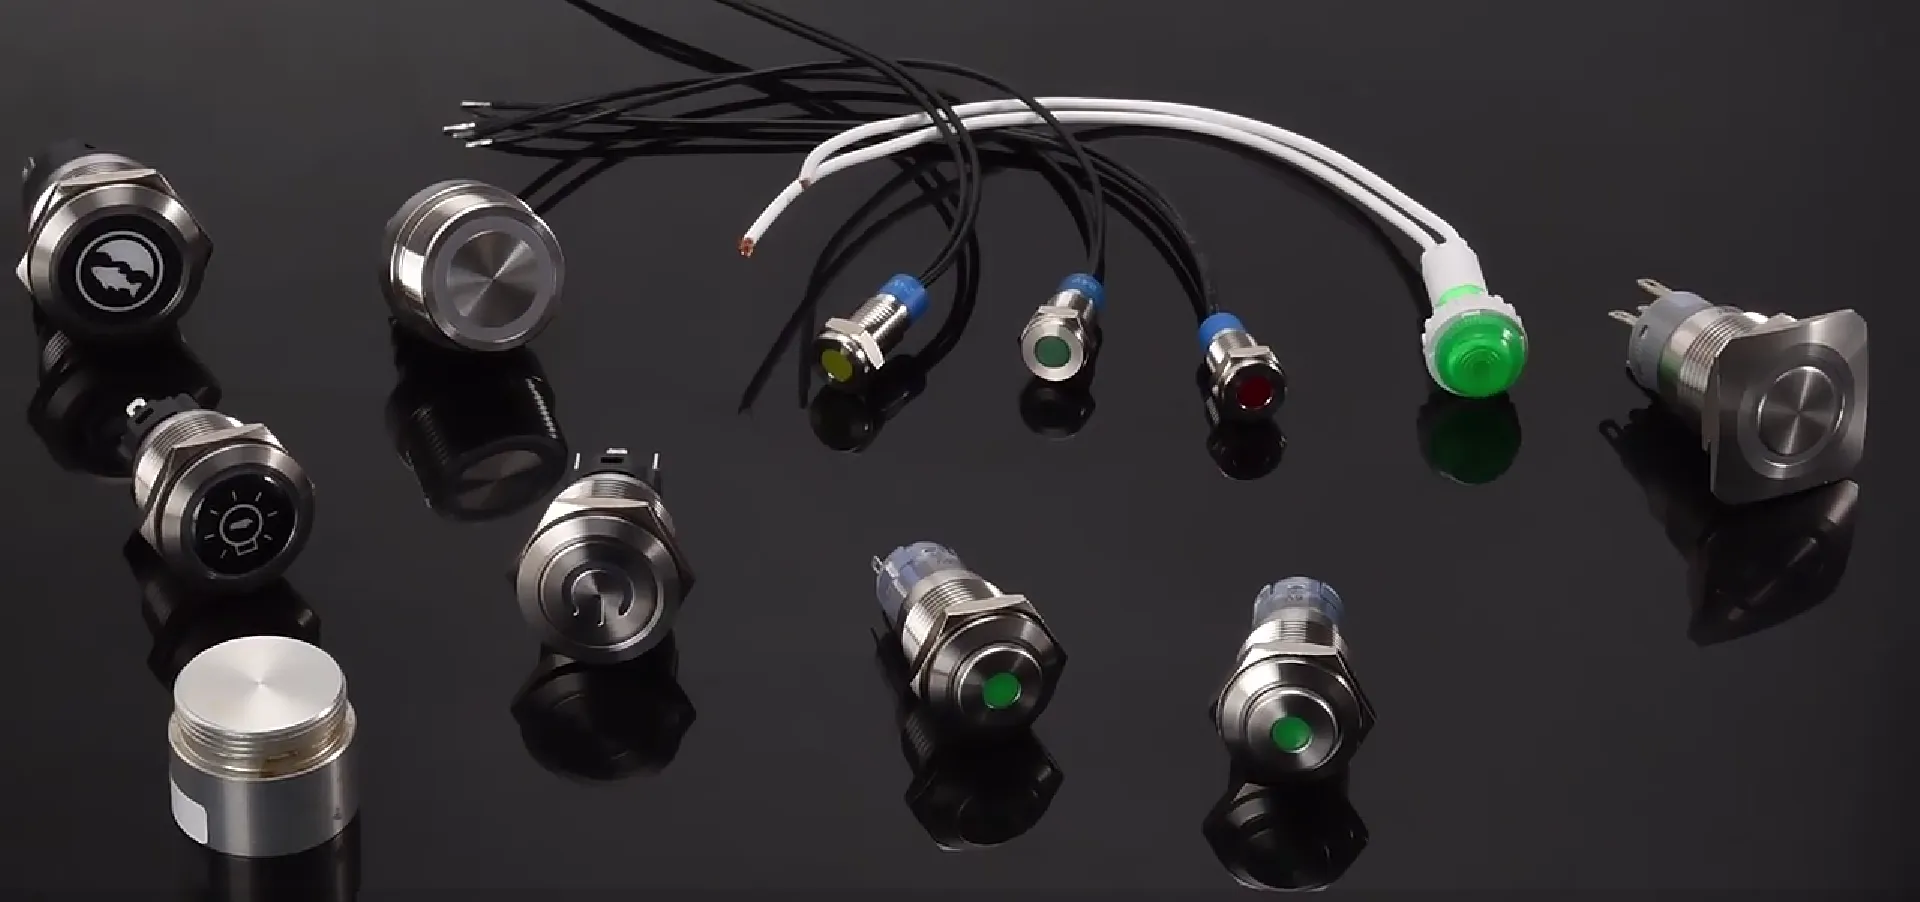
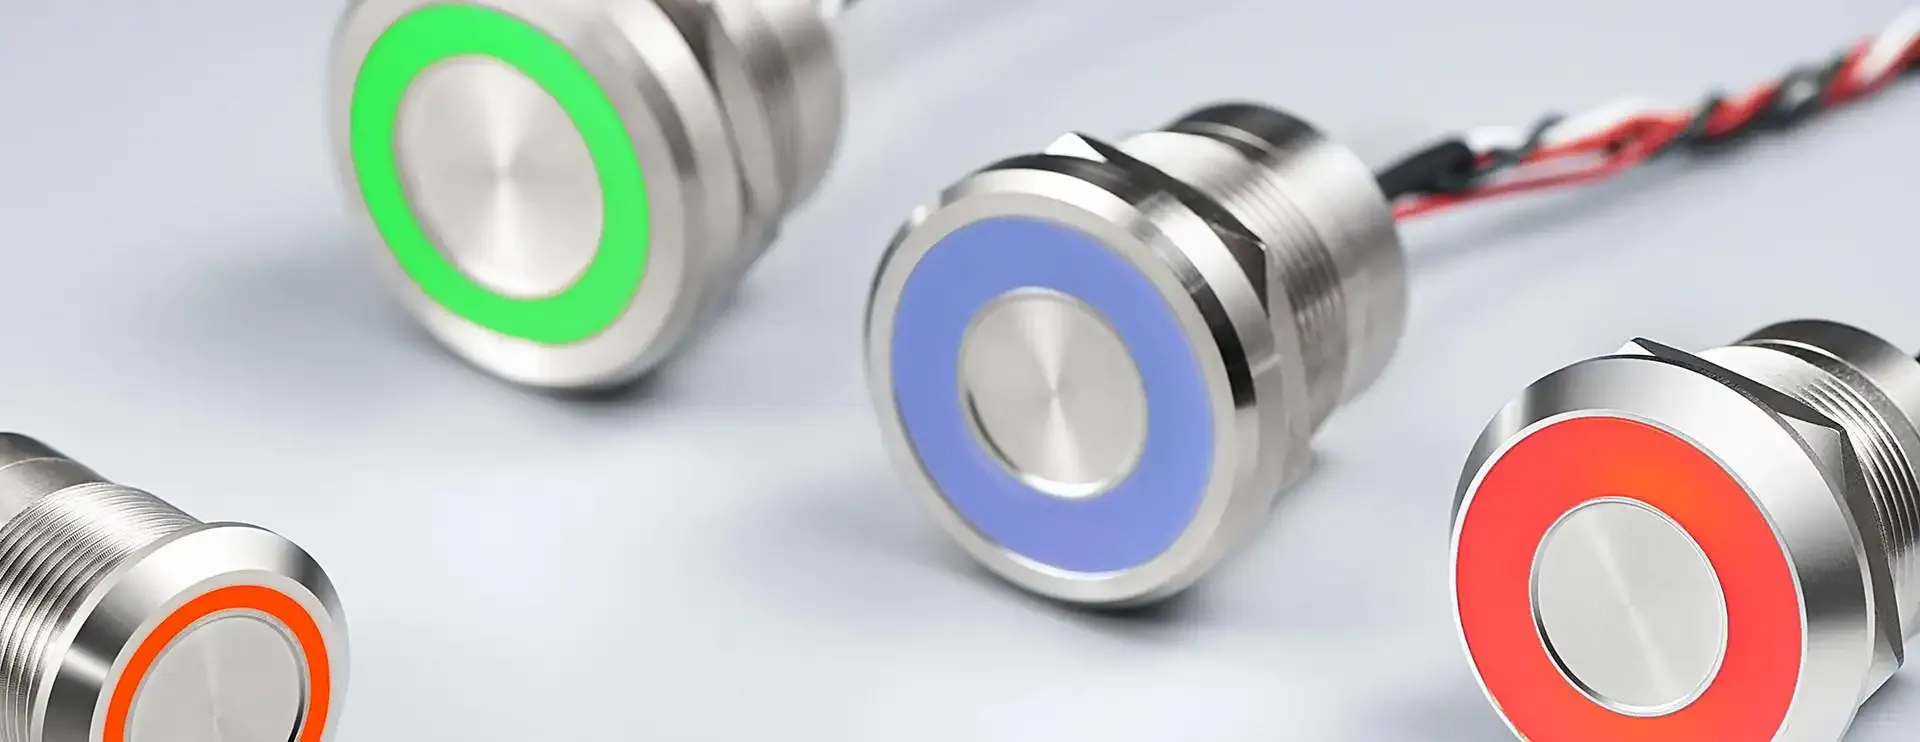
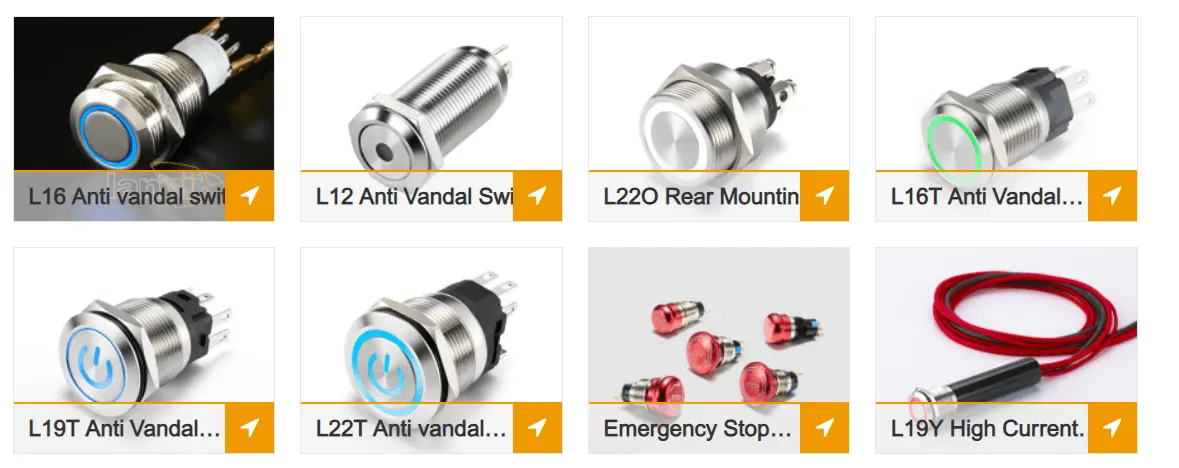
Selecting a Compatible Replacement Mini Push Button Switch
Choose a switch that matches the original specifications in terms of voltage, size, and force requirements. Using the right replacement maintains system integrity.
Steps for Installing a New Mini Push Button Switch
Remove the damaged switch carefully and solder in the new unit with proper alignment. Always follow manufacturer guidelines for installation to ensure lasting performance.
Proper Disposal of an Old Mini Push Button Switch
Dispose of faulty switches through electronic waste programs. This responsible method helps protect the environment from hazardous materials.
This table offers a quick reference to common issues, their causes, and recommended repair steps, ensuring you have a handy checklist during troubleshooting.
- Troubleshooting Checklist:
- Inspect visually and clean any debris.
- Test continuity with a multimeter.
- Re-solder if poor connections are detected.
By following these steps and tips, Langir ensures you get the most out of your mini push button switches, keeping your equipment running smoothly without unnecessary downtime.
[/vc_column_text][/vc_column][/vc_row][vc_row][vc_column][vc_zigzag]
[/vc_column][/vc_row][vc_row][vc_column][vc_zigzag][/vc_column][/vc_row]